Let’s Go Tote
OMG. Yesterday was Labor Day 2021. No more wearing white pants! (Not that they all all that flattering!)
And we actually had a whiff of cool air over the weekend. Even went to a local outdoor bar to hear one of our favorite bands Sunday afternoon for about an hour and didn’t melt.
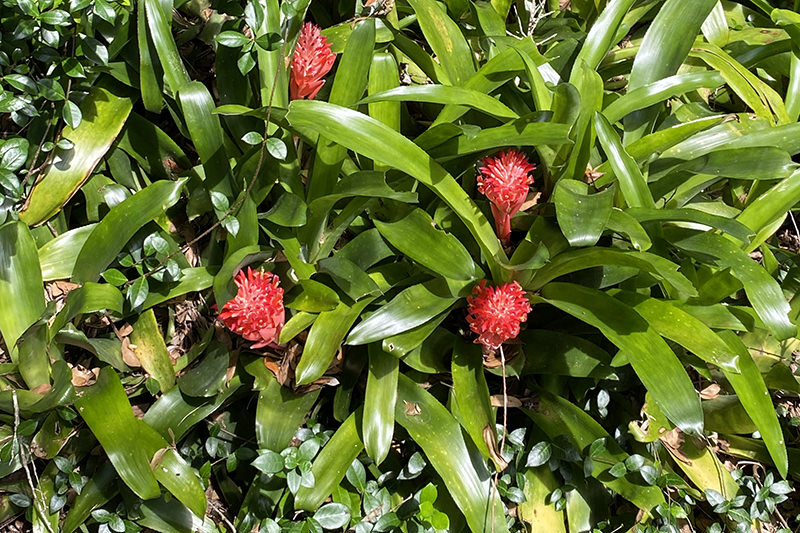
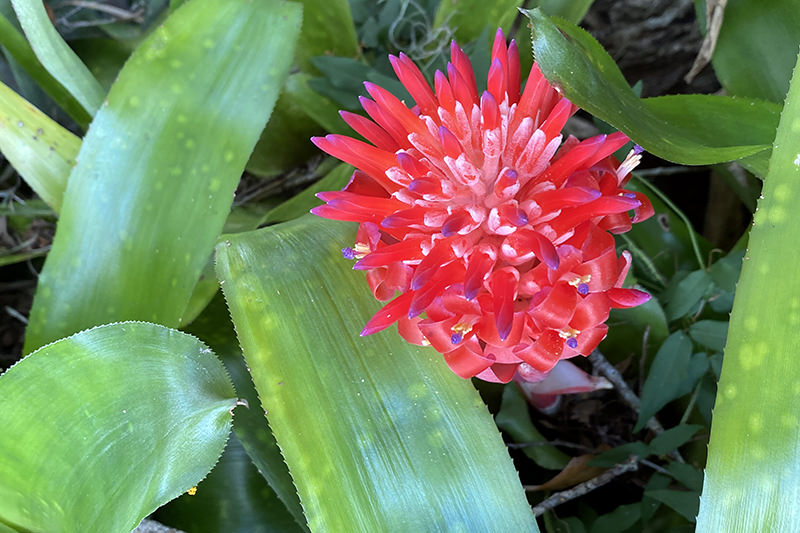
And even better than great weather, these bromeliads are blooming.
Long ago, I attended a seminar held by the mosquito control guys and they said to either rinse out the bromeliads every third day or get rid of them. What???? I don’t even have a hose that long to reach all of them. And what about conserving water?
And digging them up? The edges of those leaves are like knives. Done it when I was moving them many years ago (what was I thinking?) and I looked like tiny knife wielding ninjas had sliced up my arms. Then a friend that raises bromeliads told me that the lizards eat all those mosquito nymphs that are living in the water inside my bromeliads. We have SO many lizards in all sizes and shapes. I accepted that theory. Lizards are happy and I can feel okay about keeping my beautiful bromeliads! Sigh of relief.
And back to the post…..
Last month I wanted to make a bag for a “Gram Gram Jam”. (Which is just a fun term for “First Time Grandma Shower”).
I started to design a new tote. Something with a waterproof bottom. Cause I had recently had two occasions where the tote I brought with me on excursions got wet. The new tote didn’t have to be completely waterproof. Just the bottom.
I had some of this Pellon Vinyl Fuse that I had used in the interior of toiletry bags that I take on my travels. It was a little difficult to work with on those bags but they turned out really well. And they are so easy to wipe out when any of the products leak. (Which has happened on more than one occasion!)
I followed the directions and put the product on the bottom section of the bag and used the iron a little too close and DISASTER! Not the first time I’ve overzealously pressed a project into ruin!
Anyhow. I decided that perhaps this wasn’t the way to go. More research needs to be taken! But not now–I needed a gift and had a deadline.
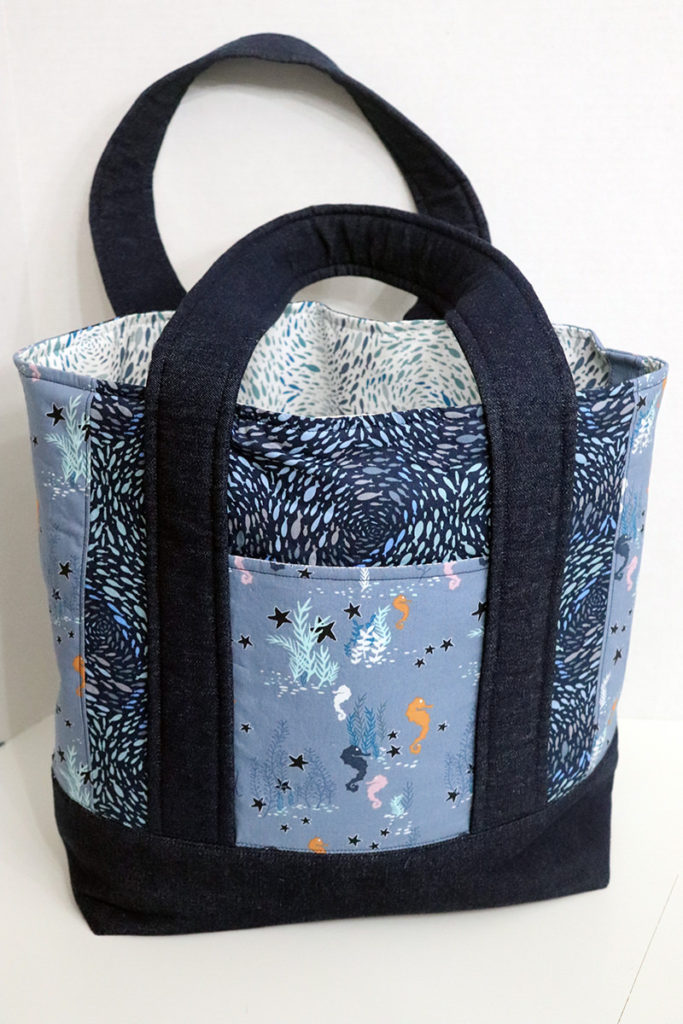
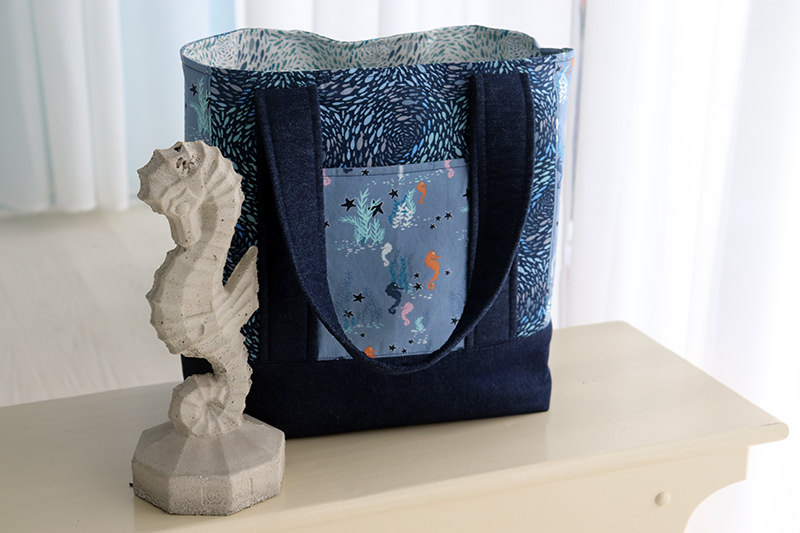
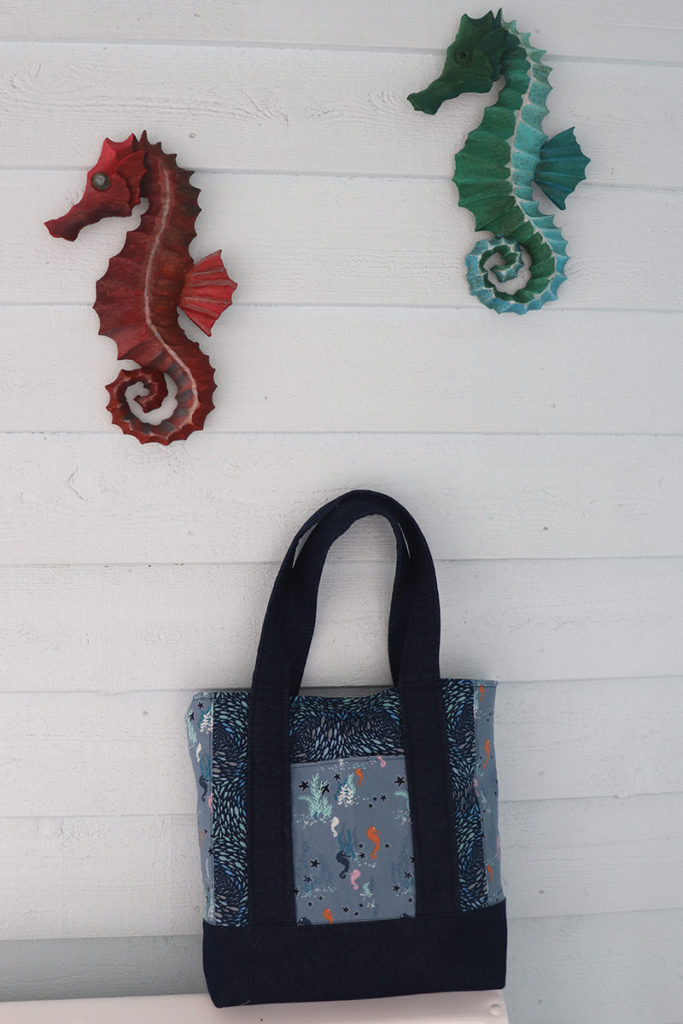
I turned to my tutorial for the “Let’s Go Tote”. I like this design a lot. I ordered this really fun fabric from Fabric.com. It’s Art Gallery Enchanted Voyage. Appropriate for this water-front living Gram Gram.
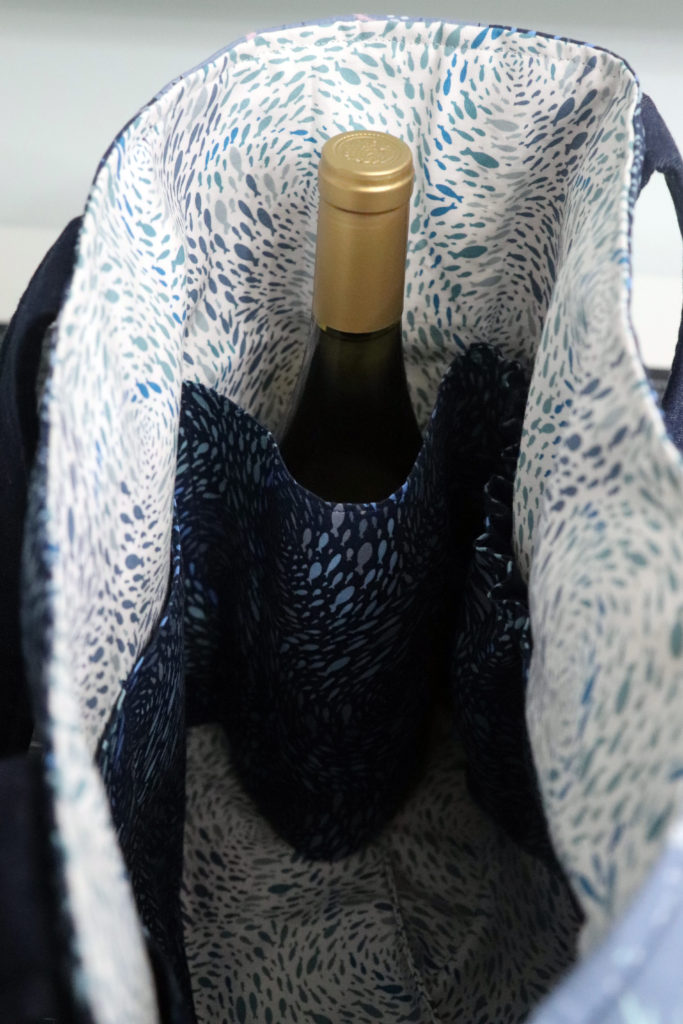
The handles are attached to the bottom section of the tote and then stitched. Makes them extra sturdy. Just in case you want to put a watermelon in there. Or a puppy. (never a baby!) It also has two pockets on the exterior which is handy for your phone or sunglasses. The straps are padded plus the interior is very roomy and has a water bottle pocket and another inside pocket along with a key clasp. Plenty of room for towels, sunscreen, and snacks for a day at the beach or for diapers, baby wipes, and butt paste on a day taking that grandbaby for an afternoon stroll.
Anyhow, since I first designed this bag I have started using different methods on my totes. And I wanted to update the “Let’s Go Tote” tutorial to reflect these options. So I started making ANOTHER “Let’s Go Tote” and updating the directions when I ran out of the lining fabric. Since this was a test bag, I considered just using some muslin I had in my cabinet to finish it. But I couldn’t do it. I’m a bit of a perfectionist and just couldn’t put all the time into another bag and then just throw it into a closet because it wasn’t quite perfect. (There are already too many totes in there!)
Of course, I ordered more fabric. (Fortunately, there were all those Labor Day sales so I got everything at 25% off!)
And now the bag-making is on hold until my package arrives. But I can share with you the tote I made for Gram Gram!
I tried different pockets on the inside. Wasn’t very happy with them so will not be putting them in the updated tutorial.
There’s always a pocket big enough for a water bottle……or perhaps a bottle of wine! Just depends on how the day with baby goes!
Planning to have the tutorial finished in the next few weeks and I will post!
Discover more from
Subscribe to get the latest posts sent to your email.


I love reading your newsy notes. They are like updates from an old friend. And reading about your tote adventures, especially since I am a tote-a-holic! I would like you to show how you would put zippers in the top. I don’t like to use totes, bags, or purses without them because when they tip over, and eventually they all get tipped over, everything inside is all over the floor. I put zips in mine, and add them to purchased ones, but my technique is quite onerous. Jan
Hi Jan, I also struggle with zippers on the top of totes. I can quite easily add zippers to the pouches I make and have used the same technique for bags but what I really want to learn how to add is the recessed zipper. For some reason I never get the size quite right. And I have broken a few needles trying to get through all the layers. I have a cross body bag that I’m trying to design with a recessed top. So far the two I have made just aren’t quite right. But I will persevere! It may take me a few months but I will figure it out and share here! Thanks for reading and commenting! Kathy