Firefly Tote Sew-A-Long 3rd Week
I’ve been on vacation. For several days. Went to Garrison, North Dakota and spent some time with the grandkids.
Had a great time but we’re happy to be home. Miss Kitty is happy that we are home, too.
Last Tuesday, I had a post all ready to go about the 3rd week’s video for the Firefly Tote SAL from Noodlehead.com. (If you buy the pattern, I totally recommend signing up for the newsletters and watching the videos. I’ve been designing and making my own totes, bags, and boxes for several years and found that all three videos thus far have been very informative and covered a few topics I didn’t consider.)
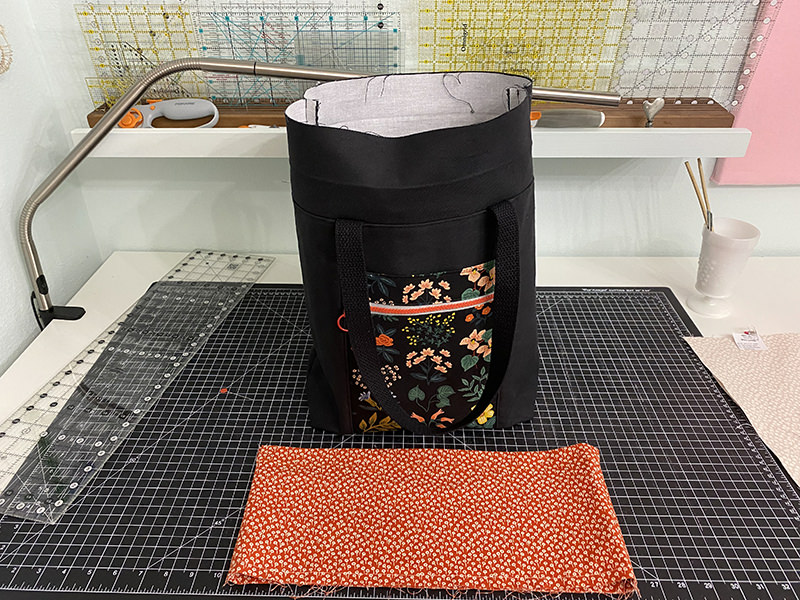
This is how far I was the last time I posted about this tote. Exterior and drawstring closure stitched up.
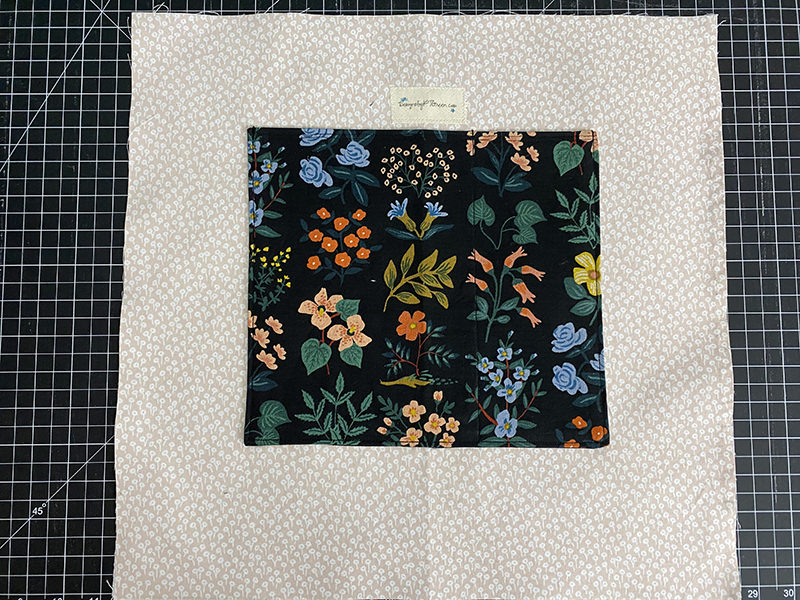
The third newsletter starts out with the interior slip pocket. I used the same canvas that caused me problems on the exterior with all those thick layers. No problem-o on the inside. (Love that Rifle Paper Company canvas.)
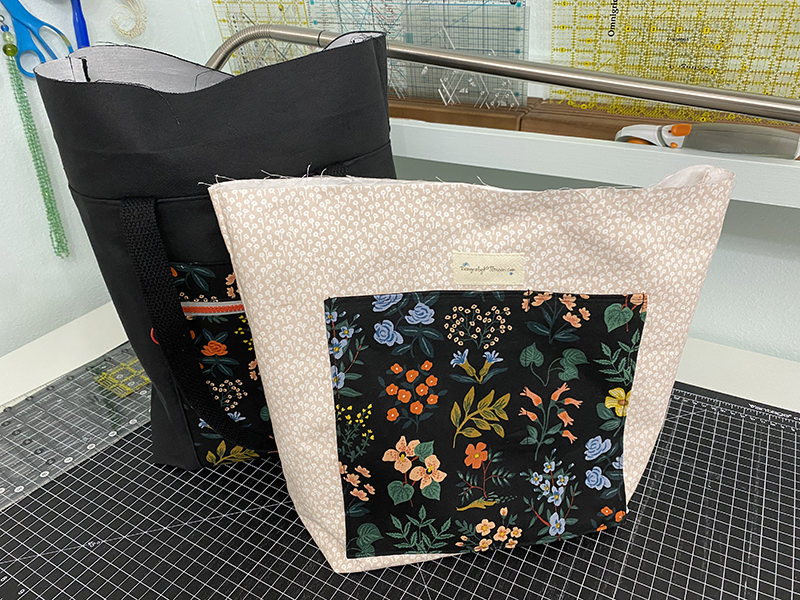
Here’s the interior from this week along with the exterior that I did last week. Just hanging out. Trying to be friends. Both are equally pretty. The lining fabric is also from Rifle Paper Company.
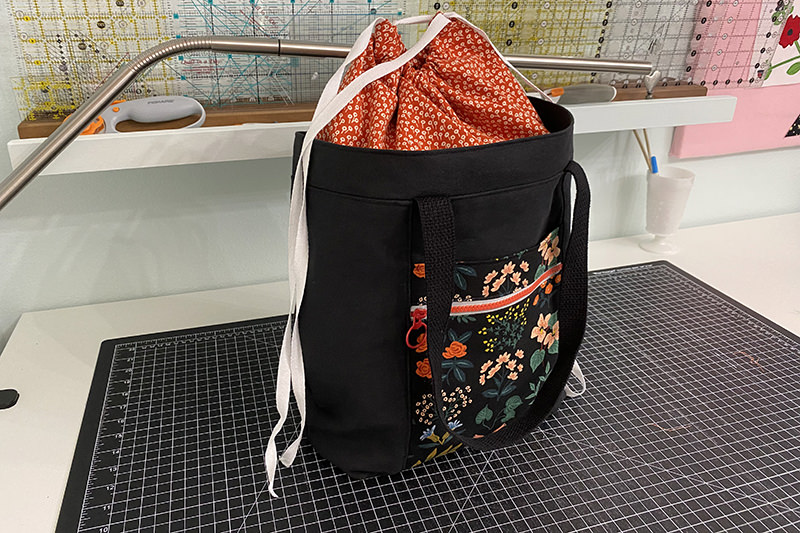
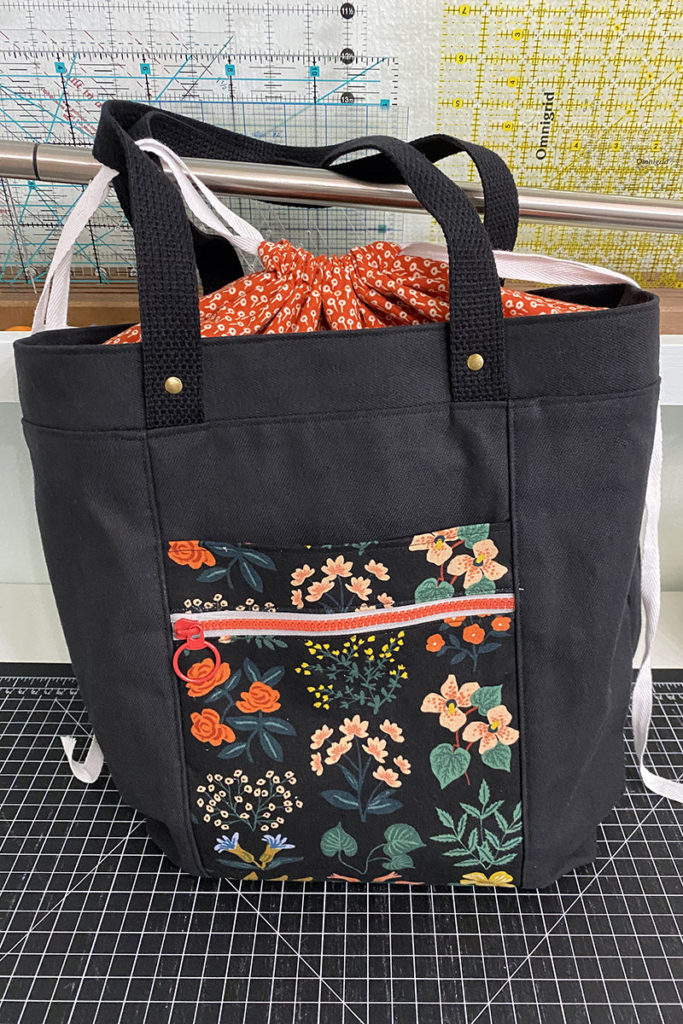
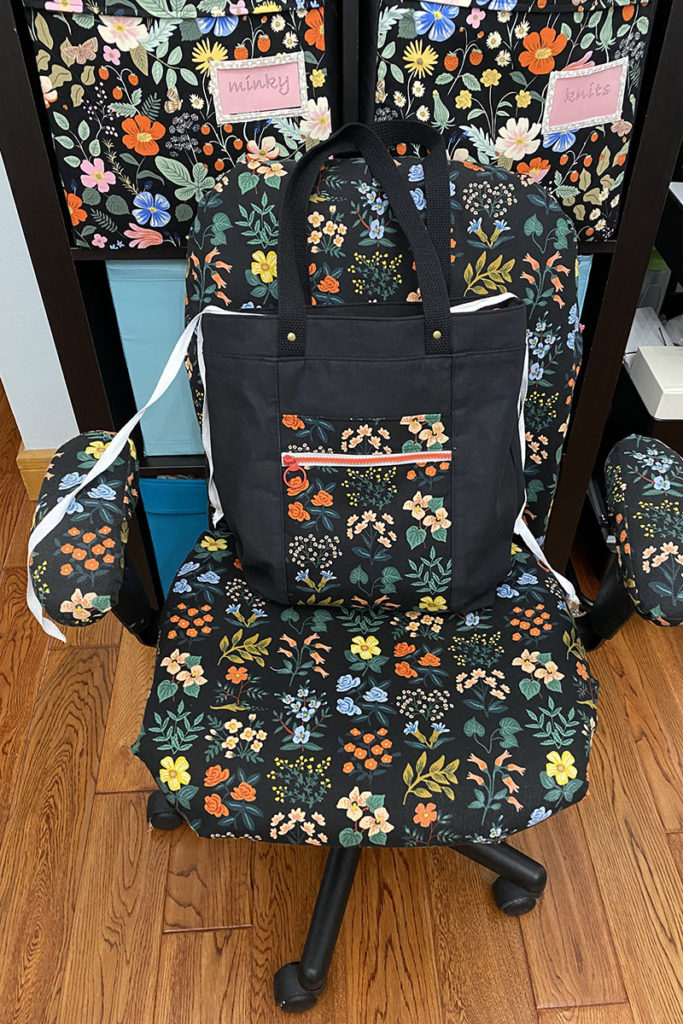
And almost the final product!
But while I was in Garrison, I watched the video again and realized that I put in the drawstring incorrectly. I’ve done lots of drawstring bags and just assumed that I knew how to install the drawstring for the closure. Nope. So I decided to wait until I got home and try the correct method. It made a HUGE difference.
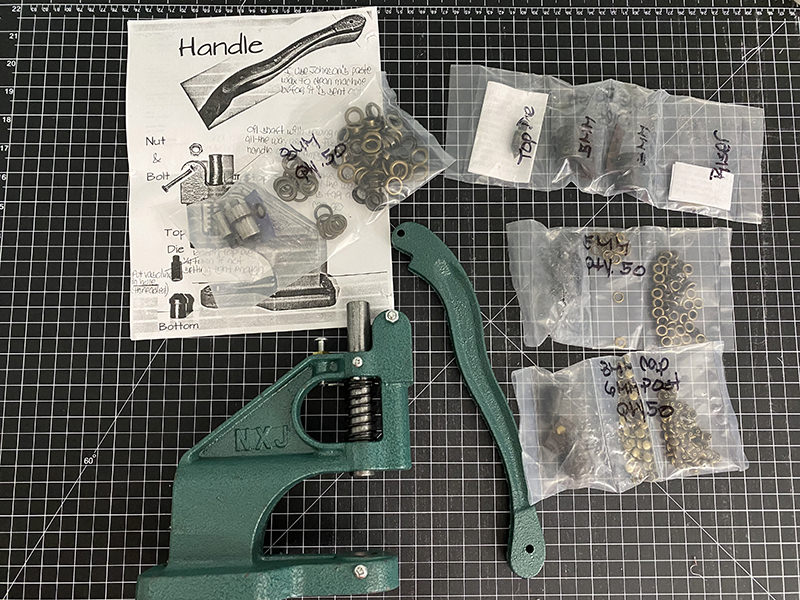
Also while I was on vacation I finally broke down and ordered a hand rivet press. I’ve been going back and forth on the purchase for several years. Ever since I started using Kam Snaps. I have a hand press for them but you can only use plastic snaps in it. In order to use metal snaps, you have to have a rivet press. I finally ordered it from MinkusMargo on Etsy. NoodleHead and SewSweetness.com, another bag maker, both recommended this site. I ordered it to arrive after I got home but it was there several days before. As usual, vendors on Etsy ship FAST!
I ordered a set that included several dies and packs of grommets and rivets. I don’t see it out there anymore but the rivet press is listed without the accessories. I watched a couple videos that both recommended getting the dies from the same place as I bought the rivet press. I’m following that advice.
Here’s what was in my package.
I’m not very mechanical and viewed this with trepidation. It sat on my cutting table for several hours before I actually tried to put it together. I usually turn the parts over to Terry to assemble but this time I was determined to do it myself. And I did! Easy Peasy!
And I practiced a few times before I installed them on the finished tote.
Success!
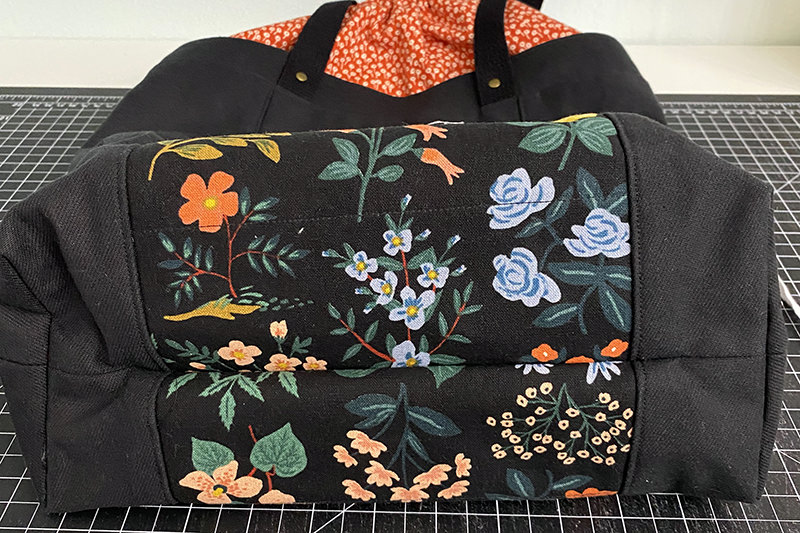
You might recall in my previous Firefly Tote, that I had a lot of problems sewing the bottom seam together. Too many canvas layers. Broke a needle and changed to my other sewing machine which is more heavy duty than the Baby Lock. Here’s that wicked seam!
No glamour shots this week because I am not quite finished. I still plan to put a different drawstring in the tote. This one is very wimpy and I’ve ordered a thicker twill tape. Just hasn’t arrived yet. (Poor planning on my part plus I didn’t order it from Etsy!)
This Firefly Tote is headed to the Homosassa Arts, Crafts, and Seafood Festival for the “Pamper Me Please” raffle package. This is a huge fund raiser for our community so I’m always happy to donate a tote. I will add a matching pouch this year, too. There will be a bunch of other pampering products in the package like jewelry spa and restaurant gift certificates.
The matching pouch is the next sewing project on my list plus I have got to get back to quilting.
Discover more from
Subscribe to get the latest posts sent to your email.


Comments
Firefly Tote Sew-A-Long 3rd Week — No Comments
HTML tags allowed in your comment: <a href="" title=""> <abbr title=""> <acronym title=""> <b> <blockquote cite=""> <cite> <code> <del datetime=""> <em> <i> <q cite=""> <s> <strike> <strong>