Label It!
I like all my storage labeled so I can find my “stuff” quickly and easily. Nothing is more frustrating than searching through numerous boxes and baskets for that one certain item that would just finish that project.
This post is all about labeling.
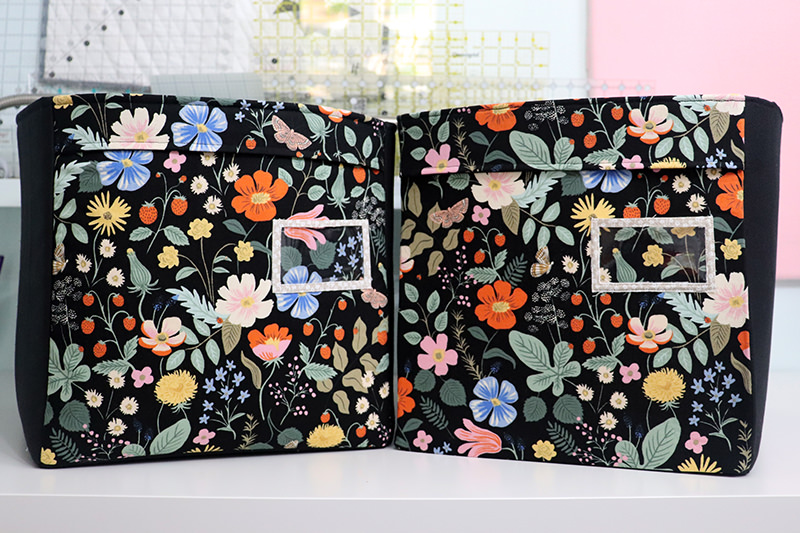
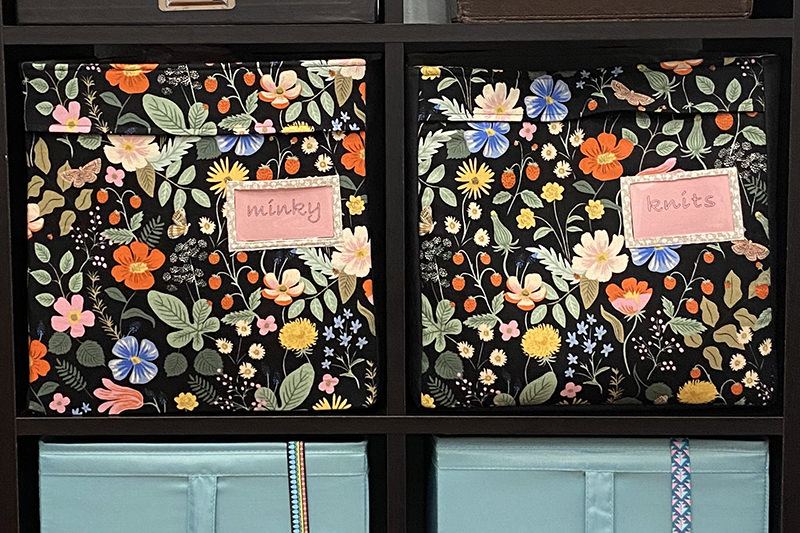
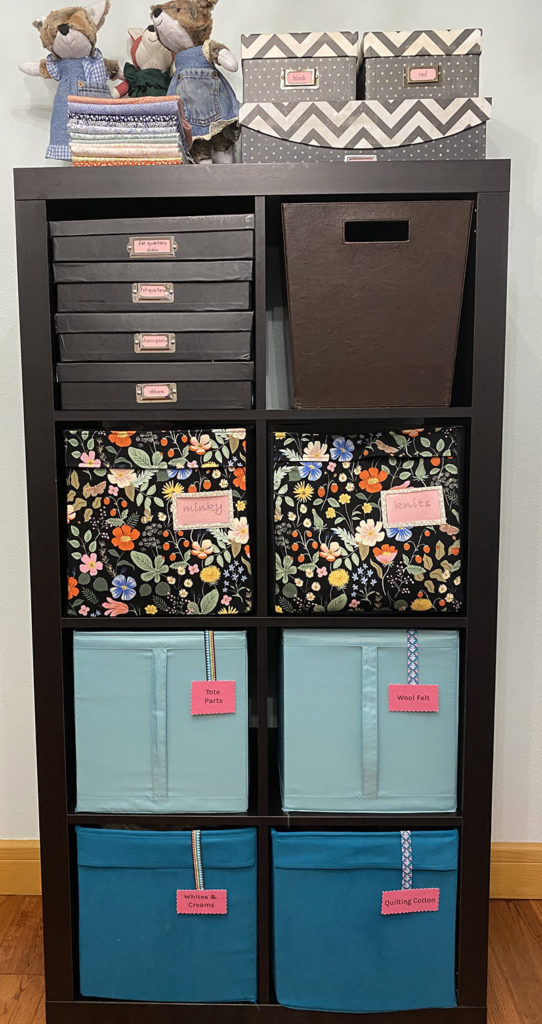
First up was the new fabric boxes that I made for more bookcase.
Back when I originally started planning the design for the boxes, I knew that the first thing I needed to do was make the label holders for the front of the box.
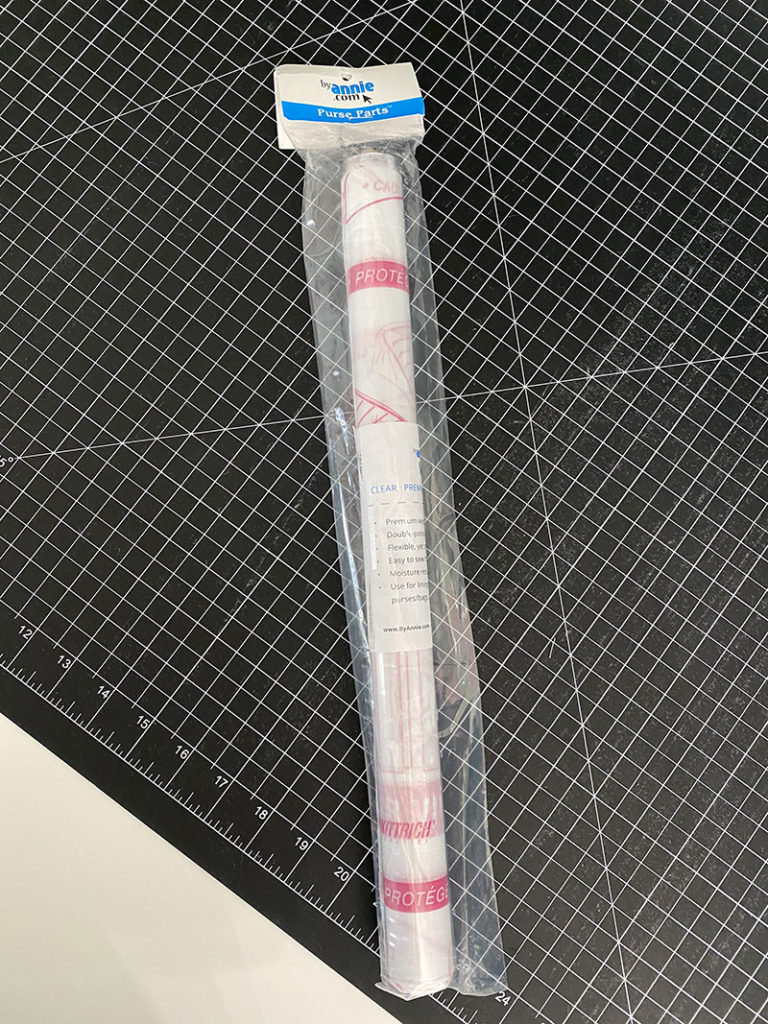
I know I’ve seen directions for these before and searched Pinterest and numerous blogs. No luck. So I started designing one of my own. I wanted it to be about the size that would hold a business card. And it had to have vinyl on the front. Here’s the vinyl I purchased from FatQuarterShop.com.
I tried several different methods. Wasted a lot of time and fabric. Finally I came up with this idea and it worked!
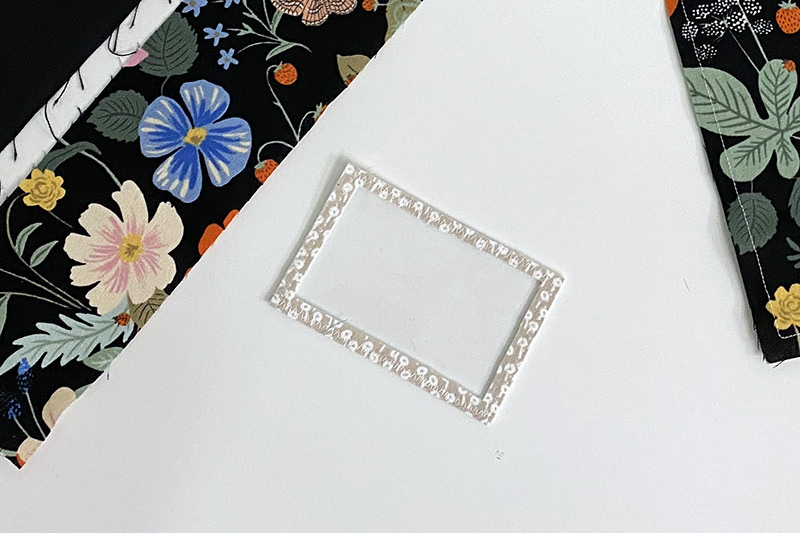
The labels are 4″ wide by 2 1/2″ tall. I pressed “heat n bond lite” on the back of the fabric. Peeled off the paper and then pressed on Peltex 70 to make the label very firm. I then measured in 1/4″ on all sides and cut the center out. Leaving a 1/4″ frame. I cut vinyl to the same size as the label and placed it on the wrong side of the label holder. I’ve never sewn with vinyl before and the only issue I had was getting it to stay in place. I ended up using Wonder tape which I totally love for installing zippers. It’s double sided sticky tape for fabric. Perfect.
Next I zig zag stitched around all four sides with my sewing machine.
Before I stitched the fabric box together, I placed the label holder on the front piece, 4 1/2″ from the top and 1 1/2″ from the right side. Again I held it in place with wonder tape. Then I stitched along the outer and inner edges. Success!
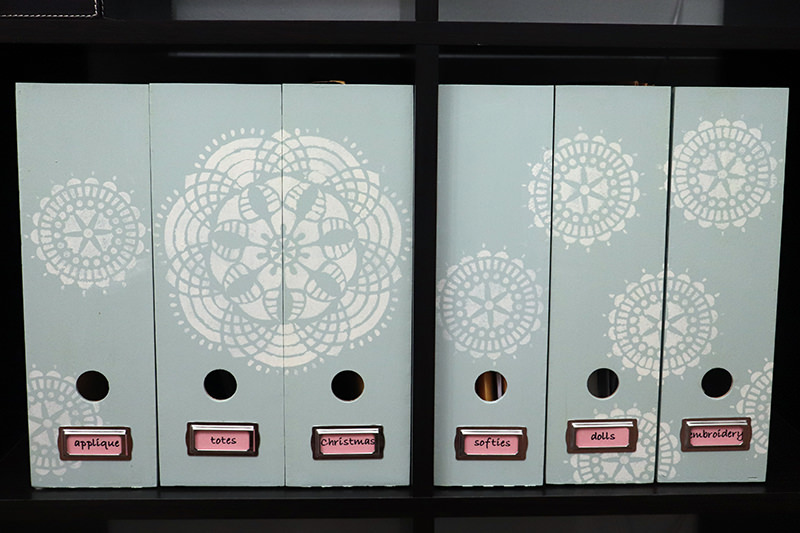
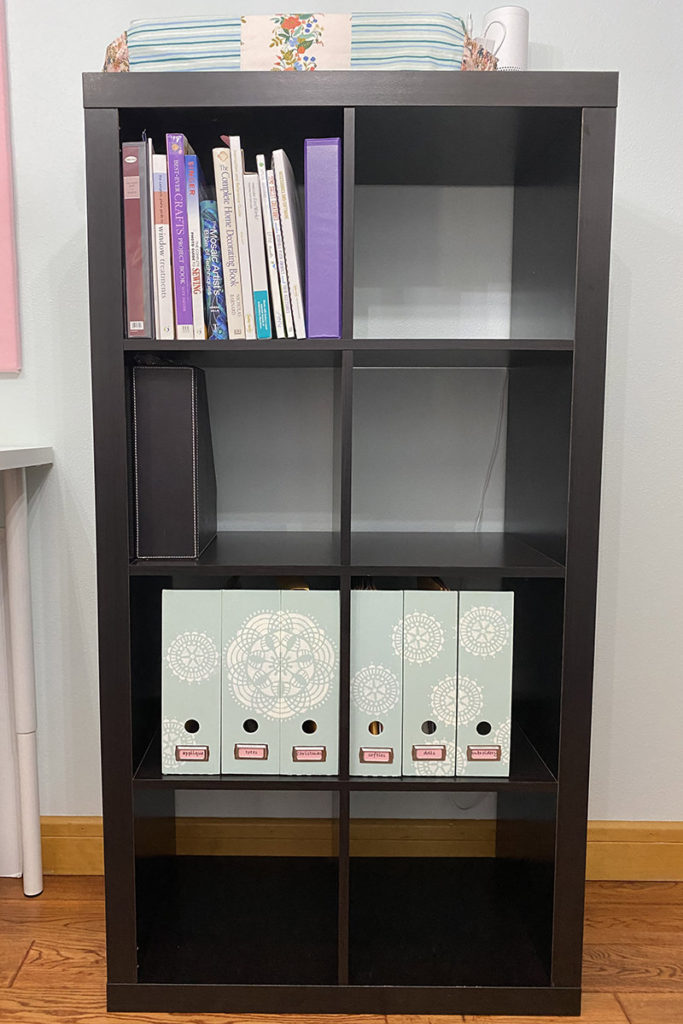
Next up, these wooden magazine file boxes from Ikea.
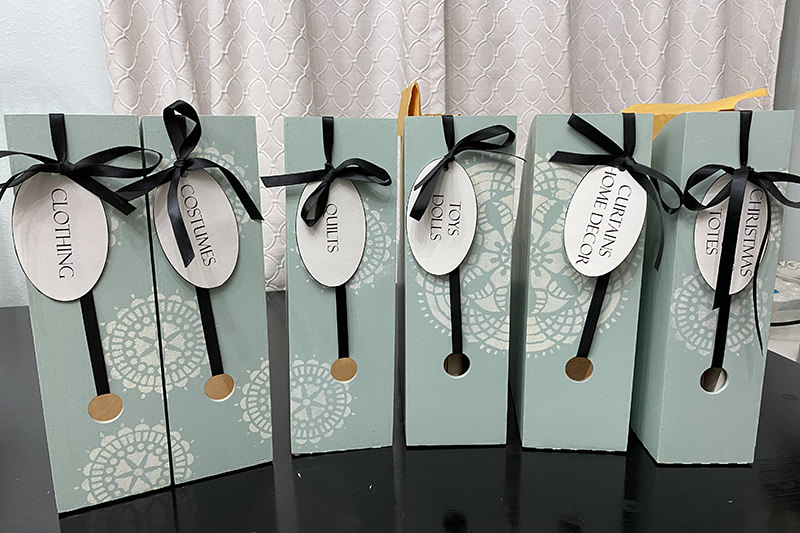
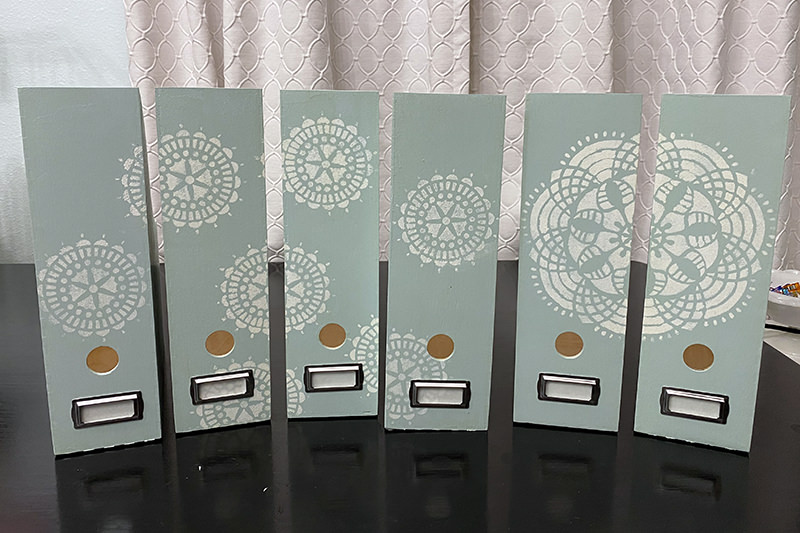
I’ve had these for many years. (I couldn’t find them on Ikea’s website so they may not be available anymore.) Painted them and then brightened them up with stencils. I keep patterns in these. Still love the boxes but not those card stock and ribbon labels. Time for an update.
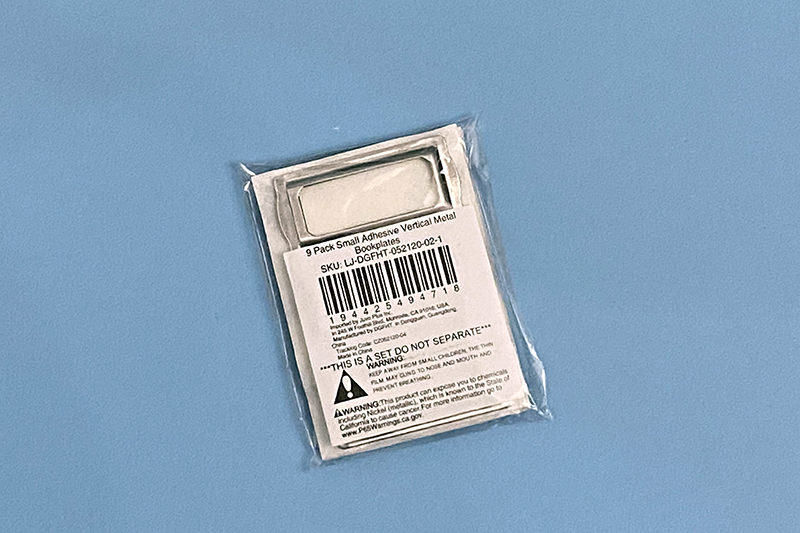
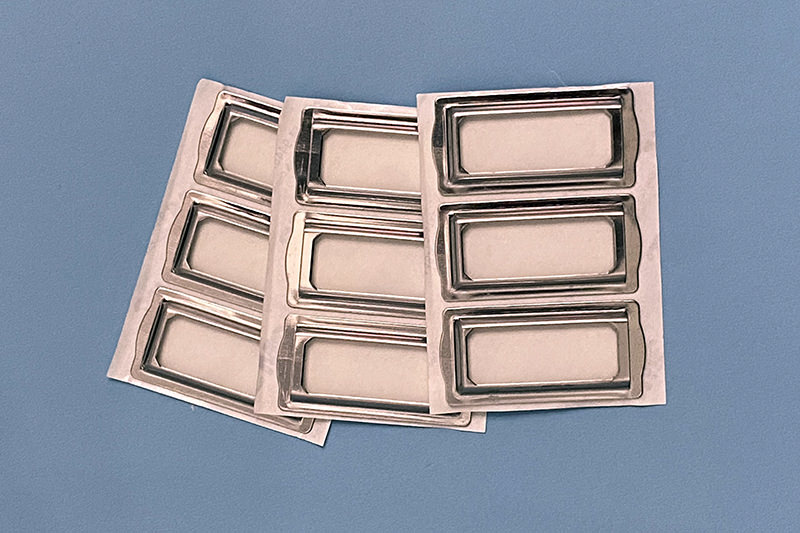
For this project, I ordered self adhesive metal label holders.
Easy Peasy
The last four boxes have ribbon and magnet labels which you can read about here. I still like those so I kept them. Might change them out later but they are good for now!
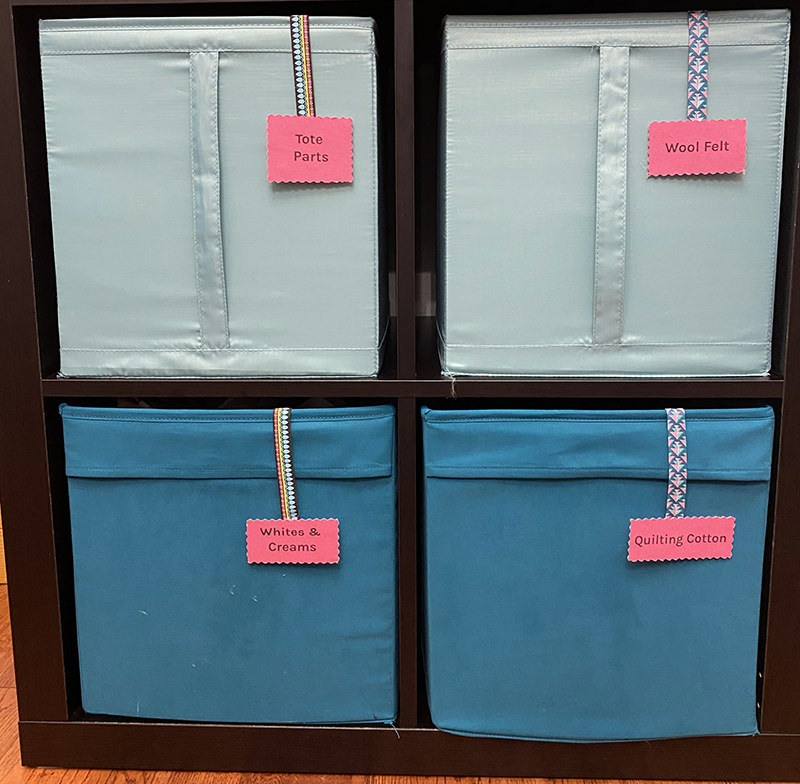
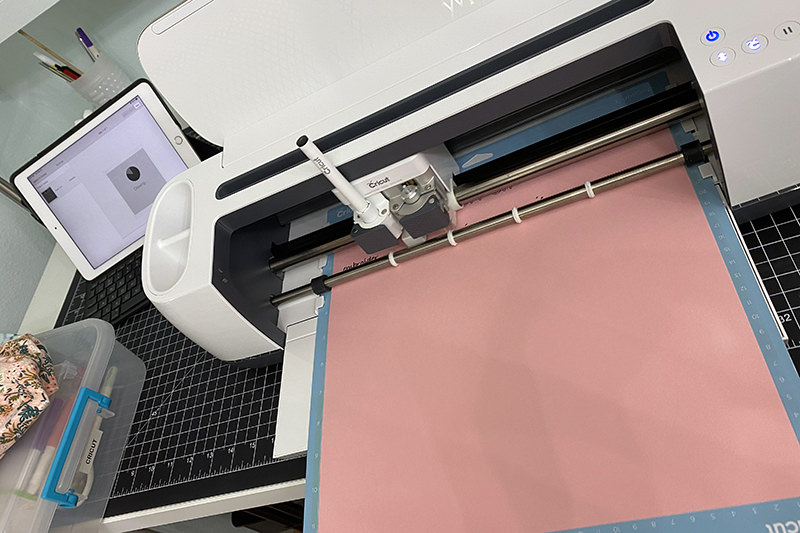
Then I got out my Cricut Maker to make the labels. I just used my Cricut 3 months ago. Really. Just 3 months. Forgot everything I had struggled to learn. Scheesch. After several hours of trying a very simple “draw and cut” project, I finally had success!
Then I had to redo it two times because the label sizes were wrong. (I could have had it finished in a quarter of the time if I had just used Adobe Illustrator and a paper cutter. But I was determined to use the Cricut!)
I did discover something that I hope I remember in 3 months when I use the Cricut again. I was using Cricut’s Design Space on my computer to create the labels–because I’m more comfortable with a keyboard than the touchscreen on the iPad. Saved it to the cloud. Opened on my iPad to “make it” on the Cricut which connects wirelessly. The designs did not carry across correctly. Weird. Like I said, I hope I remember that for my next project!
After I was relatively happy with the labels and placed them in the holders, I realized that the fonts had changed. I had started out with an Adobe font but what printed was a generic Cricut font. Not all of them. If they were all the same it would have been okay. Rather than starting over, I’m living with it. It’s likely that I’ll be changing the labels when I move supplies around again. I’ll fix it then.
Here’s the font that I wanted:
The rest of the labels were a mix.
I still have more projects for this room.
The second bookcase has plenty of room for more storage. I would like to find a neat and pretty way to store the Cricut supplies. All that paper, vinyl, and tools! (That I rarely use but if I know where they all are I might actually use it more. That’s my theory!)
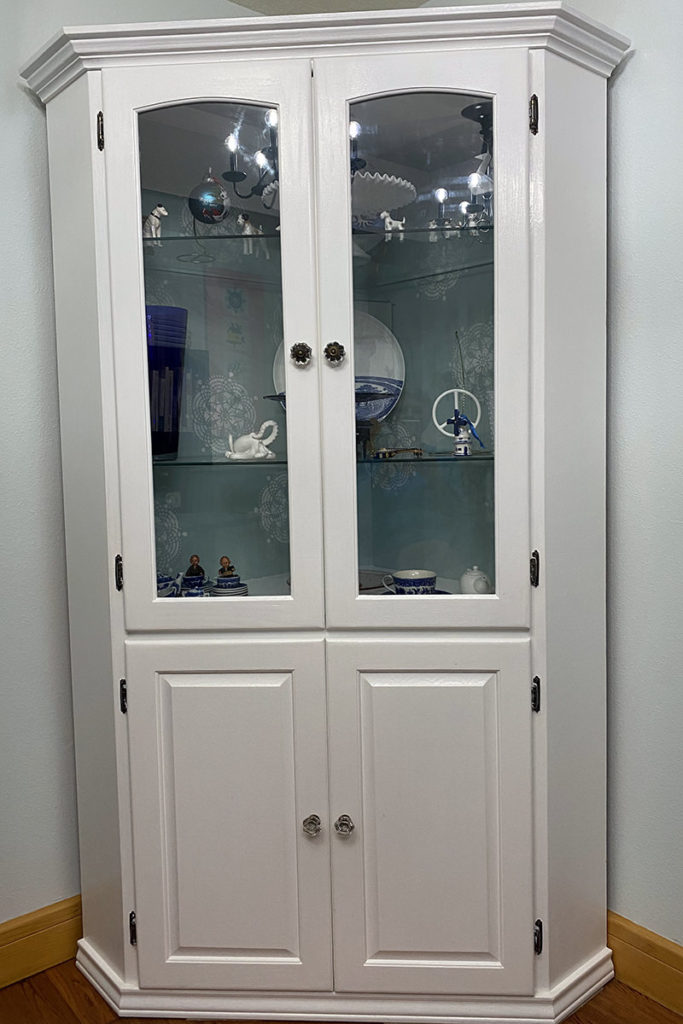
I’m also still looking for clever ideas for this china cabinet.
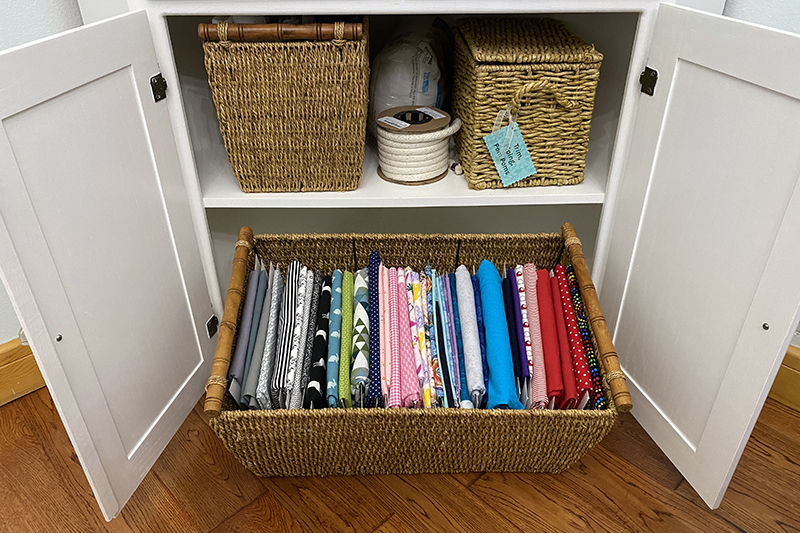
I’m already making use of the bottom section…
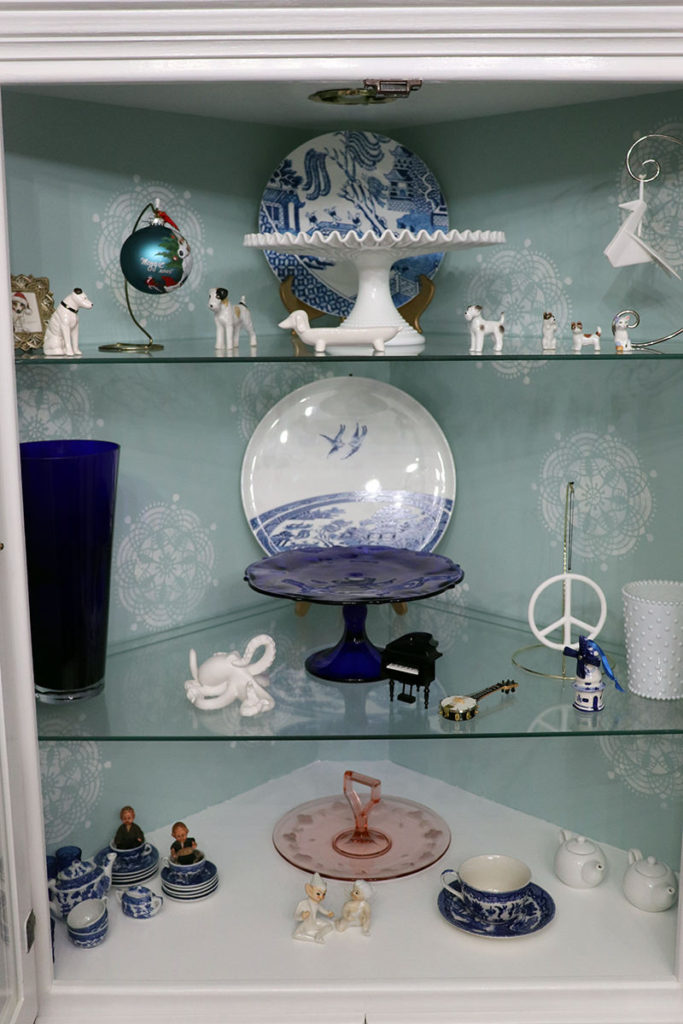
In 2020 we had planned on updating our kitchen. These pretty cake plates, china, and serving dishes were supposed to go on new open shelving.
But like many plans for 2020, the new kitchen fell through. Maybe 2022?
Anyhow, I bought this cabinet at an unfinished furniture store and painted it white. I finished the interior with the same paint color and stencils that I used for the magazine file boxes. I love it. I plan on storing all the china away and using it for sewing supply storage. But I have to figure out how to make the storage pretty for those glass shelves.
More to come on my quest to refresh my sewing room!
Discover more from
Subscribe to get the latest posts sent to your email.


Comments
Label It! — No Comments
HTML tags allowed in your comment: <a href="" title=""> <abbr title=""> <acronym title=""> <b> <blockquote cite=""> <cite> <code> <del datetime=""> <em> <i> <q cite=""> <s> <strike> <strong>