Moda BlockHeads 3, Block 5
Back to the Moda BlockHeads quilt. Since a new block is released every week, that’s all I’ve been doing in my sewing room. I’m almost caught up. I think that block 8 is released this Wednesday. I’ve got some other projects that I want to work on!
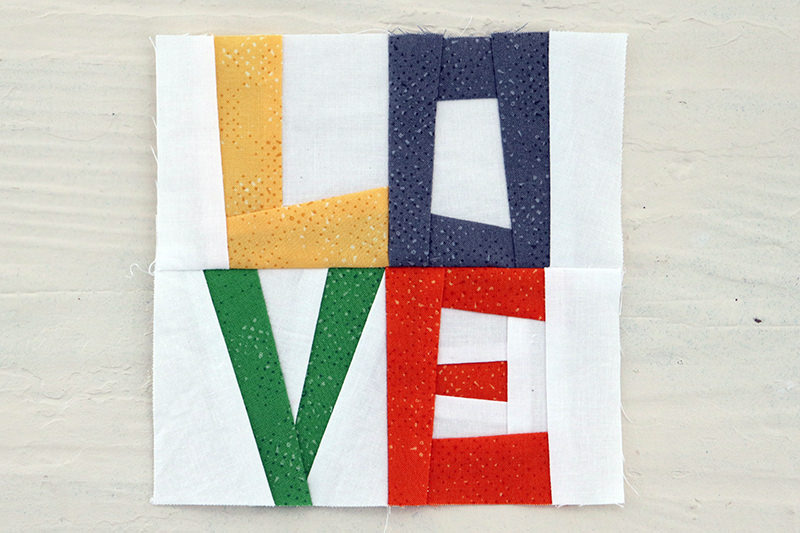
The designer for Block 5, the “Love” block, is Brigitte Heitland from Zen Chic. Same designer that created the Spotted fabric that I am using for this quilt. I love paper-piecing because of the nice tight angles and pointy points. But a little warning here–paper-piecing is NOT EASY to learn. I tried so many You-Tube videos and just didn’t get it. Ended up taking a class at BluPrint from Carol Doak. And–finally–the light went on.
Brigitte is bringing in some greens in her ombre quilt layout starting with this block and I don’t have a lot of greens. So. I decided to make the 6″ block. Not sure how that will end up in the final quilt, but I’ll make it work. Just don’t tell the quilt police!
Paper-piecing is really the opposite of common sense sewing. It’s backwards, inside out, upside down. Really. You sew on paper! But, if you want to try it, I’m not going to tell you how to actually do paper-piecing, but I do have some hints.
First, while you can use plain old copy paper, it really is easier to use the paper from Carol Doak. When you go to remove the paper, it tears so much easier and leaves the stitches in place.
Use a very small stitch which again makes it easier to pull the paper off of the fabric. On my machine, I use 1.6 mm. In comparison, I use 2 mm for patchwork piecing and 2.5 mm for regular sewing.
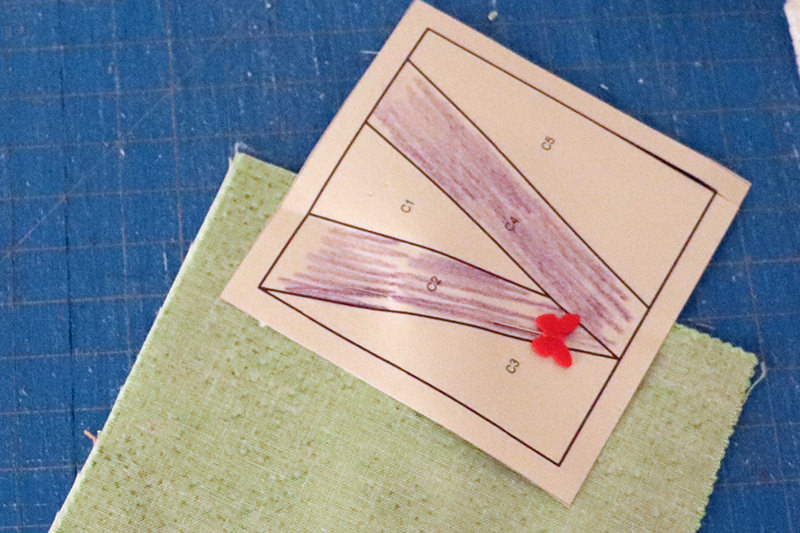
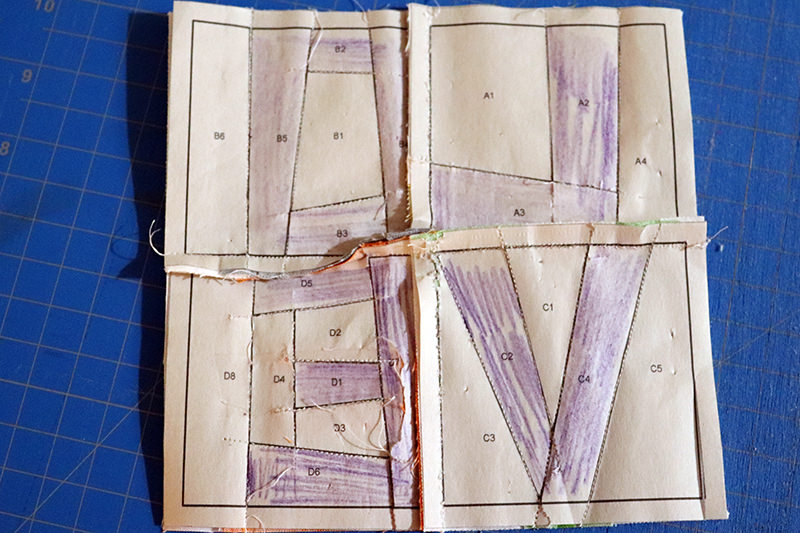
For this block I colored in the pieces that make up the letters on the pattern. They are backwards and I thought a little confusing.

Cut your fabric pieces bigger than you need to. It’s seems wasteful, but it’s more wasteful to find out that the piece didn’t reach into the seam allowance and you have to do it all over.
If you have to rip something apart–I tend to sew the wrong sides together–just tape the paper back together with scotch tape. You can sew right over it.
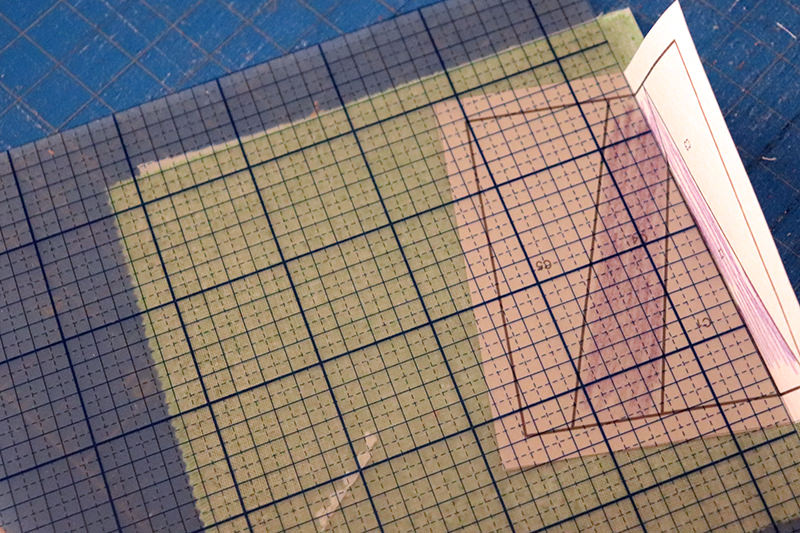
I use this piece of plastic grid to fold back my paper. Or if I misplace that I use some thin cardboard.
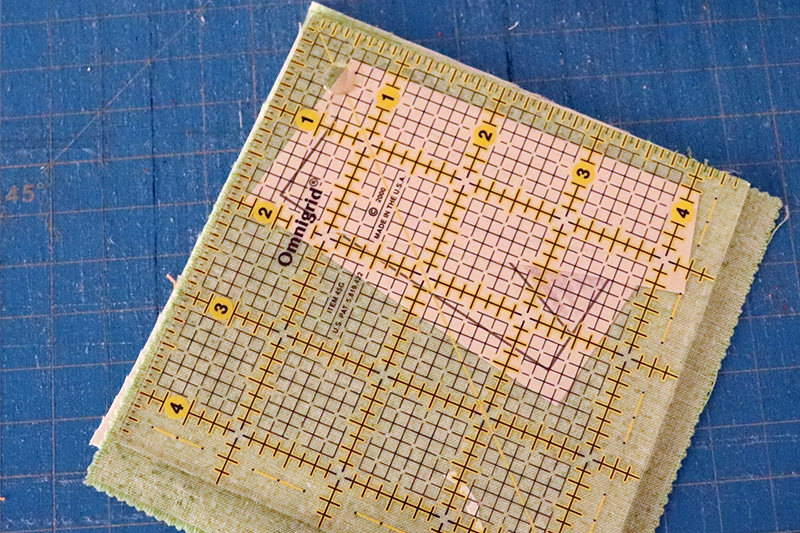
There is a special ruler you can purchase to do the 1/4″ cut but I just use one of my quilting rulers–putting the 1/4″ mark on the fold.
Some quilters glue the first piece of fabric to the paper but I’m not sure why. I use a flat head pin. I’m stitching along that line between C2 and C1.
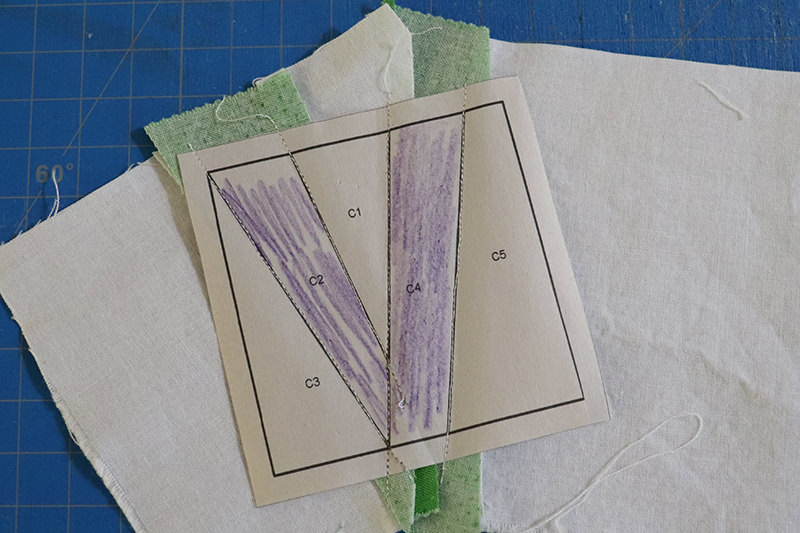
Here’s the back of the block before I did the trimming. Like I said, I use bigger pieces than necessary!
And the front after it’s trimmed.
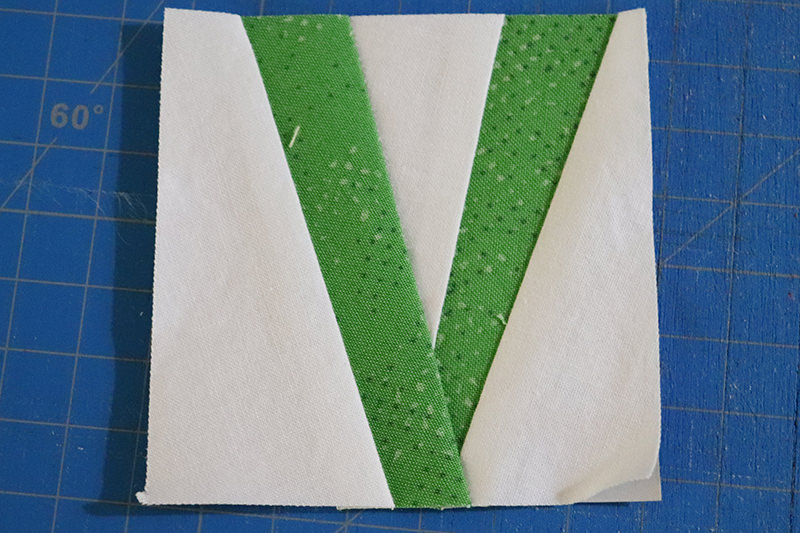
All four letters trimmed.
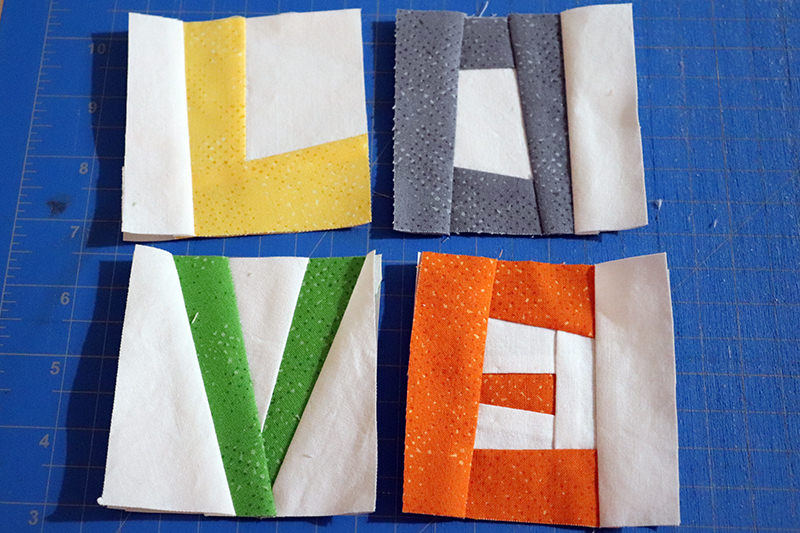
I leave the paper in until I am completely done and all the blocks are stitched together.
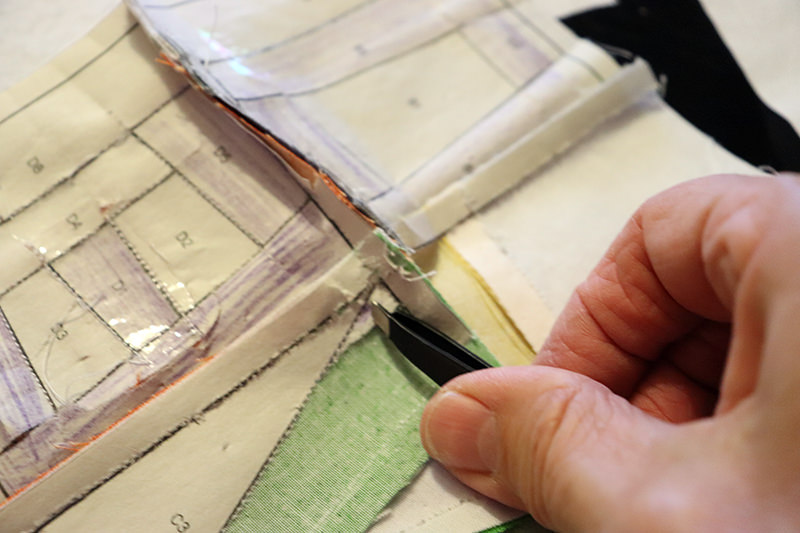
When I pull out the paper, I use a tweezer to remove the stubborn little bits.
And the final 6″ block. I LOVE it!
Since I am now making 6″ blocks, I decided to make block 4, the Birdhouse applique block, in a 6″ side.
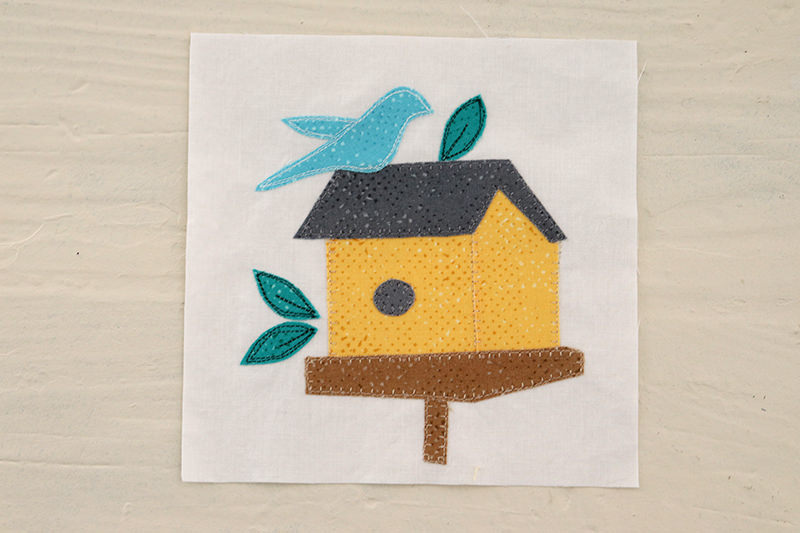
I was a bit concerned about running out of fabric before finishing the quilt so was not planning to do all the blocks. But…..these are small blocks using small bits. And I’ll only need four of these blocks to equal a 12″ block. Plus, this fabric is still available so if I absolutely run out, I can order more. And I have to confess that I already did! Although I told myself, “Self, use these scraps. When you run out that is how big the quilt will be.” But. Self went online to the Fat Quarter shop and said “life is short, get the yellow and orange!”
And here are all of my blocks so far!
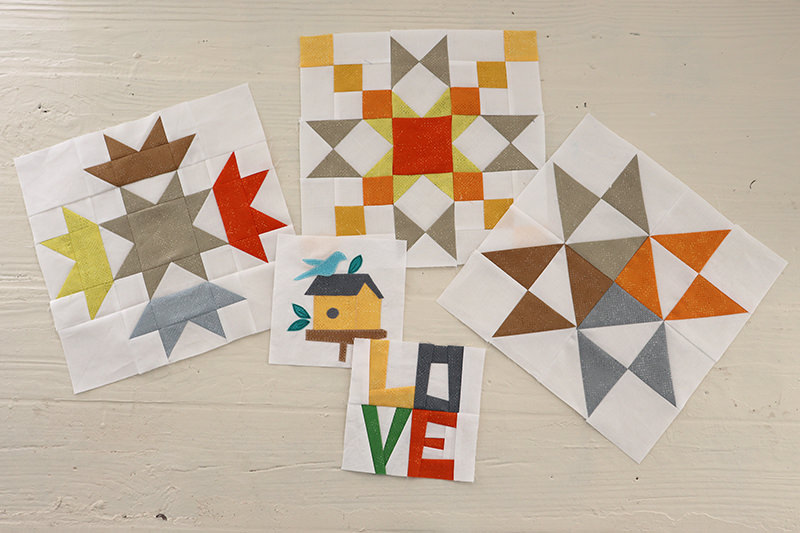
LOVE all the happy colors and patterns!
Discover more from
Subscribe to get the latest posts sent to your email.

Comments
Moda BlockHeads 3, Block 5 — No Comments
HTML tags allowed in your comment: <a href="" title=""> <abbr title=""> <acronym title=""> <b> <blockquote cite=""> <cite> <code> <del datetime=""> <em> <i> <q cite=""> <s> <strike> <strong>