Beer Bag DIY
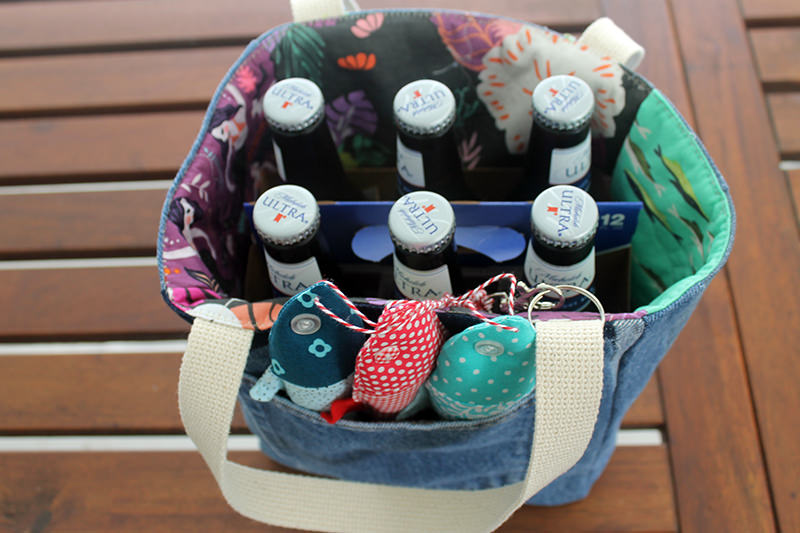
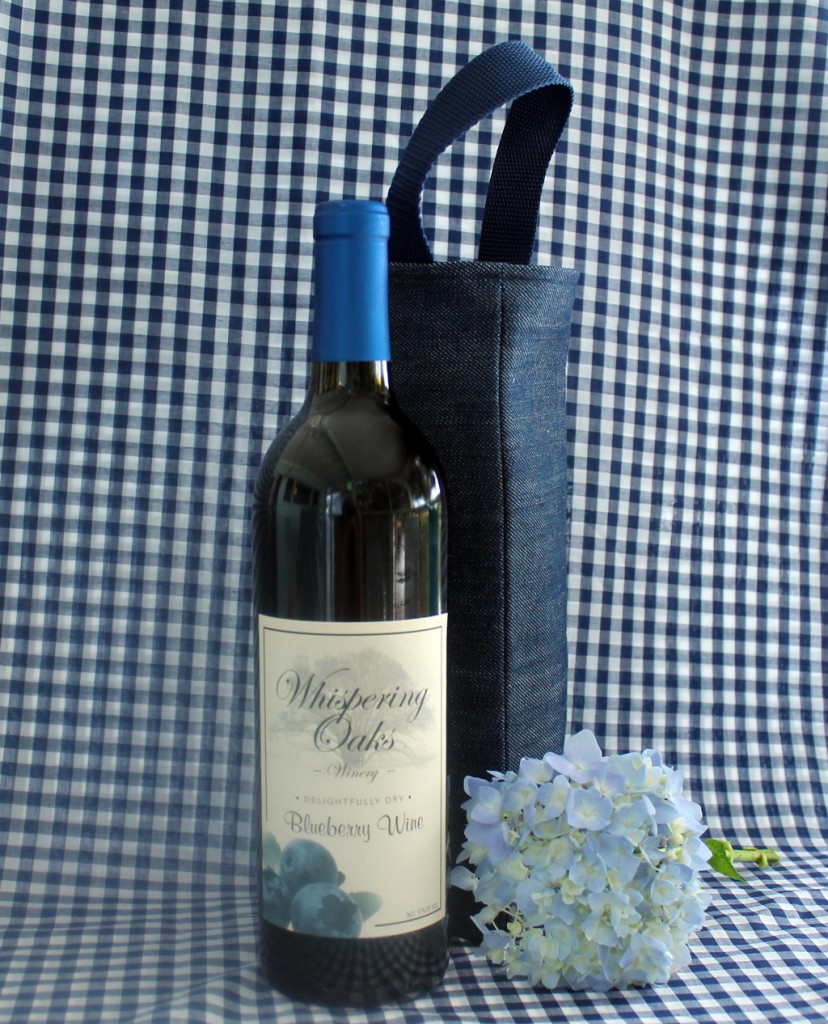
Okay. I’m sure some of my readers just laugh at the idea of a “beer bag” as a hostess gift. But…..It’s pretty acceptable to bring wine in a cute bag and present it at a nice dinner. And then the hostess has a bag that really is completely useless except to pass along to another hostess. With a new bottle of wine.
Besides having many friends that don’t drink wine, this little bag can be reused as a storage box. Or plant holder. Or contain a bunch of completely useless objects.
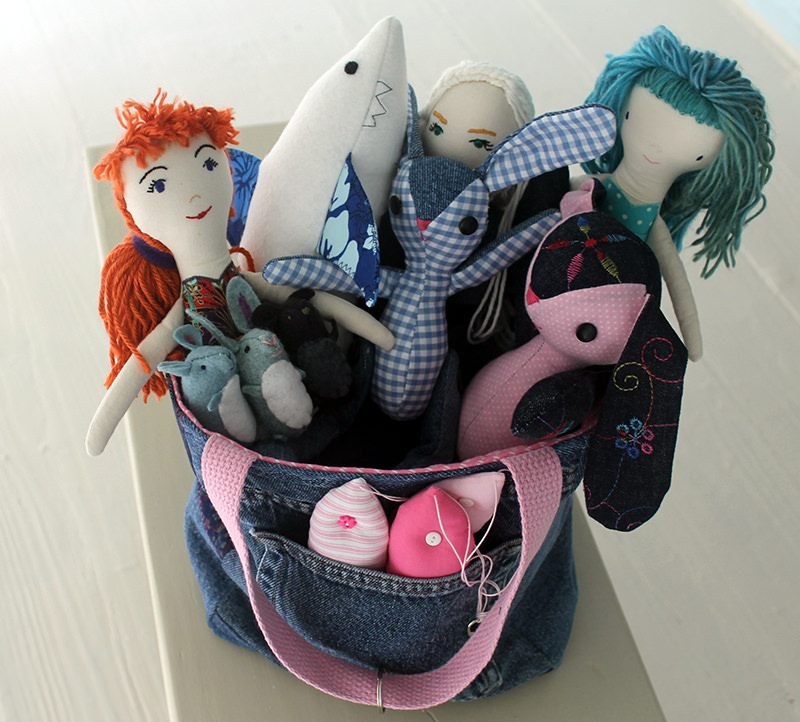
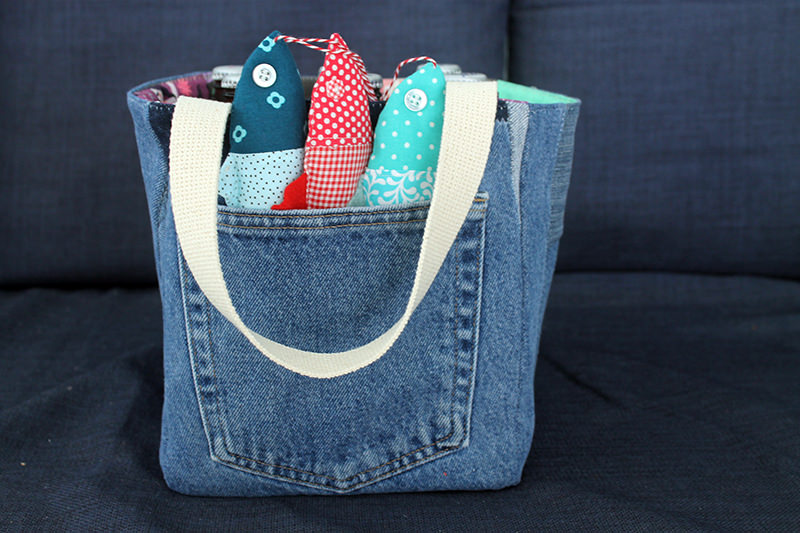
So I take a six-pack of their favorite beer. In a beer bag. And I usually put something in the pocket. Cause that’s what pockets are for.
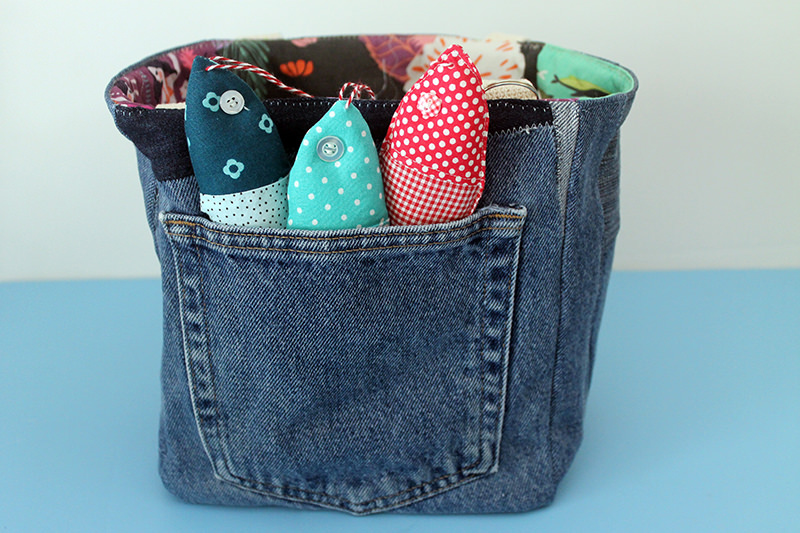

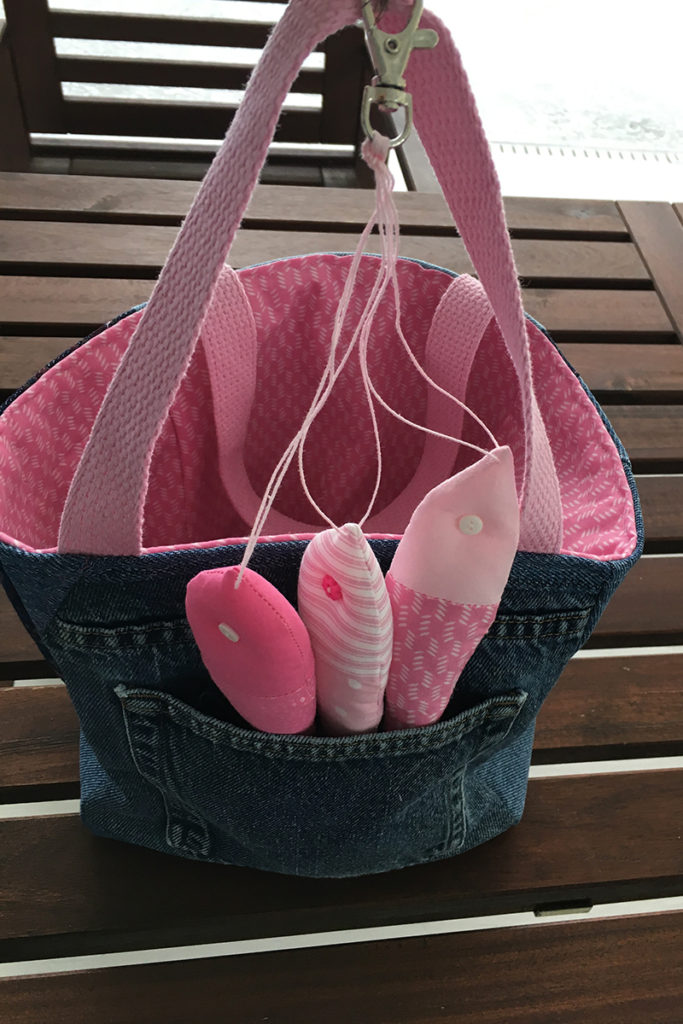
I’ve posted about my “beer bag” design numerous times. But never made a “PDF” for the tutorial. And that’s what this post is all about. You can download the basic instructions right here! BEER BAG TUTORIAL
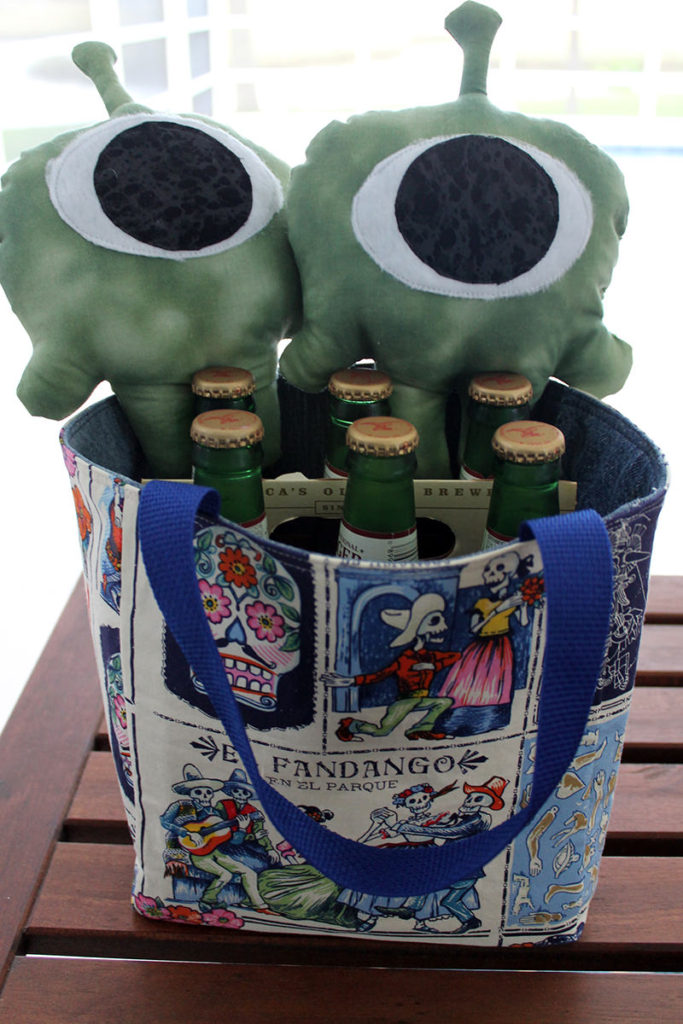
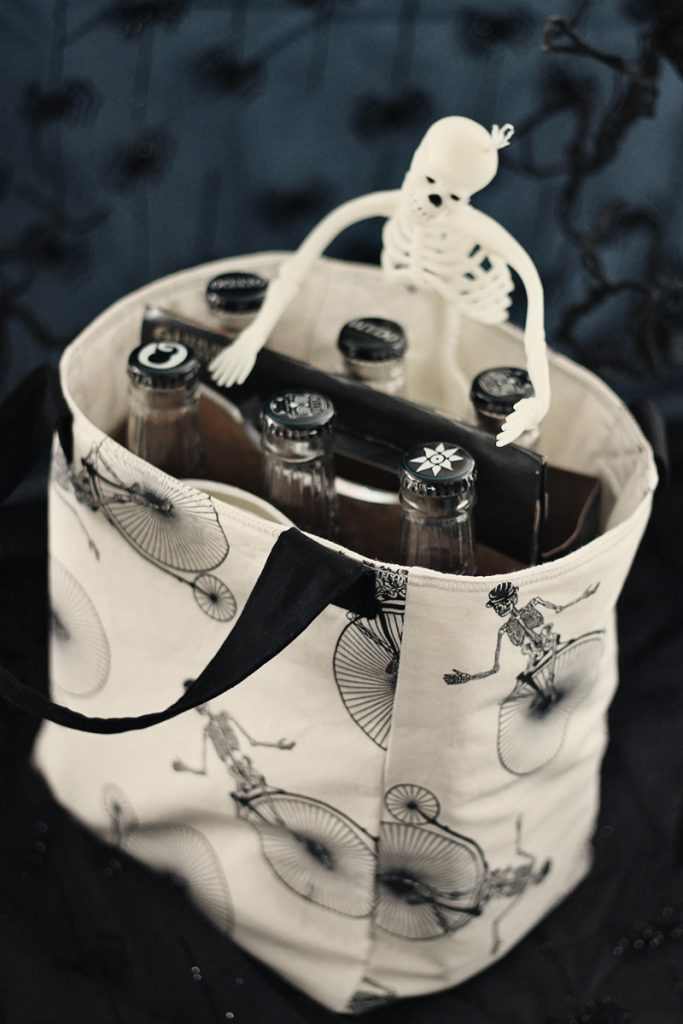
And I want to add a few notes that are not in the PDF.
I use the “plus sign” method for this bag. I didn’t invent it but don’t know where I discovered it. My first totes I actually made the sides then inserted the bottom. Yikes. That is not fun. This way is SO easy.
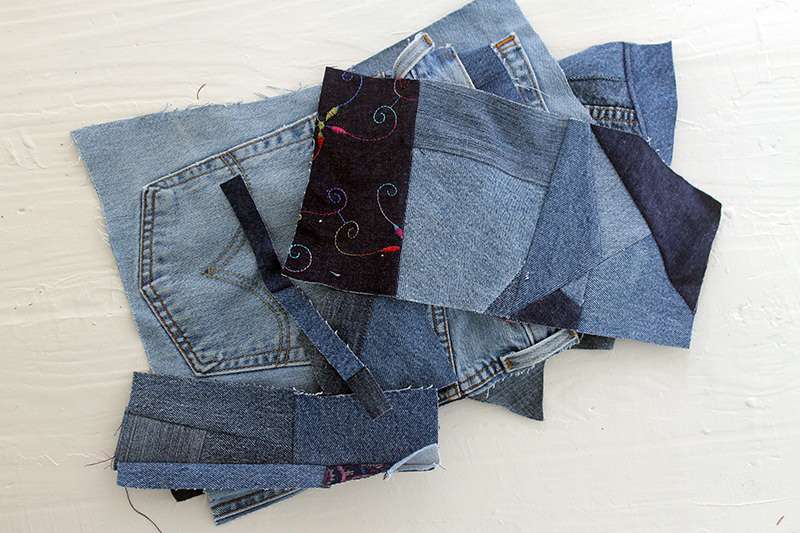
I like to cut up denim and put it back together for these bags. Kind of a “crazy quilt” look. With denim. But if you don’t like that look, the pieces are actually small enough that you could just buy an XL pair of jeans at your local thrift store and not have that pieced look. Or about a half yard of denim or other sturdy fabric.
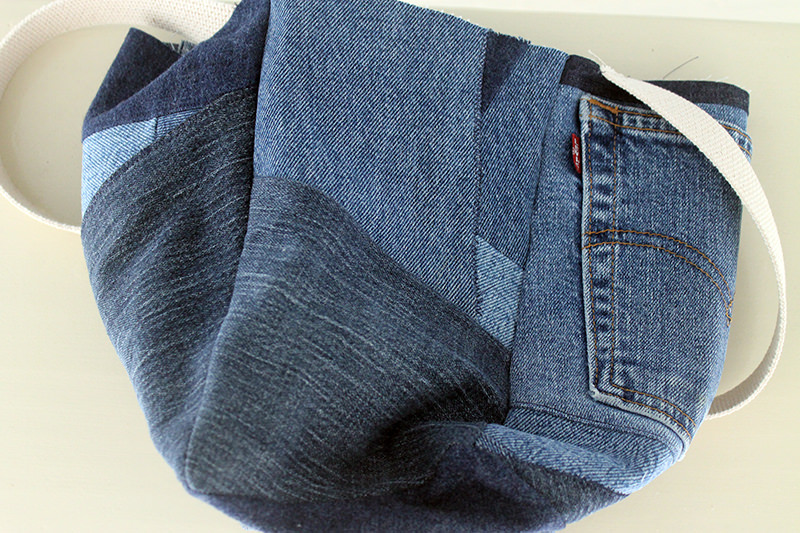
If you are adding a pocket on the side, make sure that it is set at least 1/2” from each side and bottom, and 1” from the top. That leaves room for the handles and seams.
I use fusible fleece on the lining to add a little bit of structure to the bag. And reduce bulk in the seams. Fusible fleece can be very fickle. The instructions say to make it permanent, press for 15 seconds. Don’t believe it. It will peel off the fabric as soon as you turn your back. I usually run at least one quilting line on each side. For this one I ran a serpentine stitch down the center of each piece.
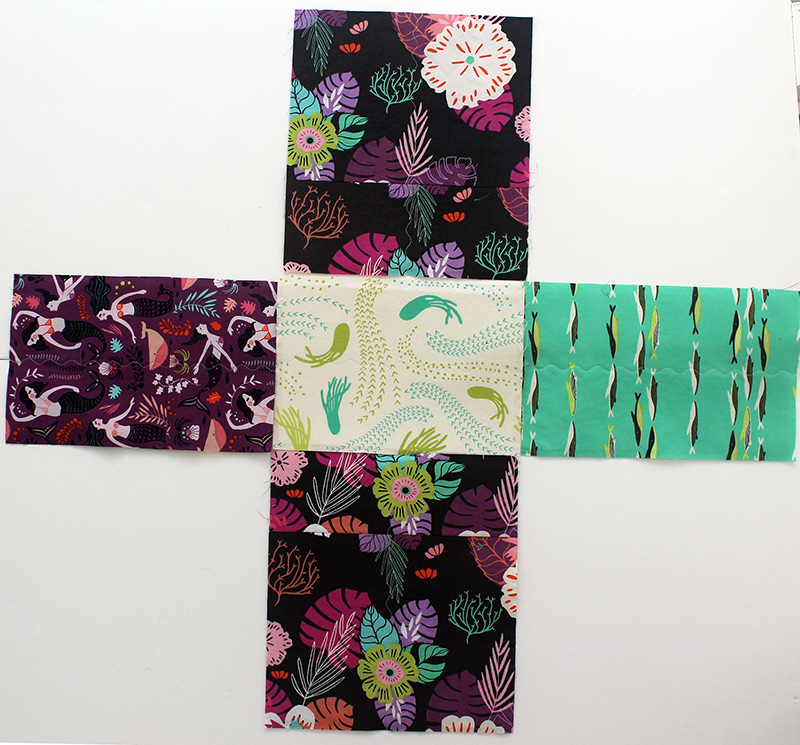
I also have a love/hate relationship with Peltex 71F. I only use it on the bottom of the lining because it is very stiff and difficult to work with. But it makes a great final product. I bought it many years ago and am just using it up. I will probably change over to Annie’s Soft and Stable when my stash of Peltex71F runs out.
The handles in the tutorial are cotton webbing. I have often made my own handles. Cotton webbing is just a LOT easier.
One final note, this bag is fully reversible. Double the fun!
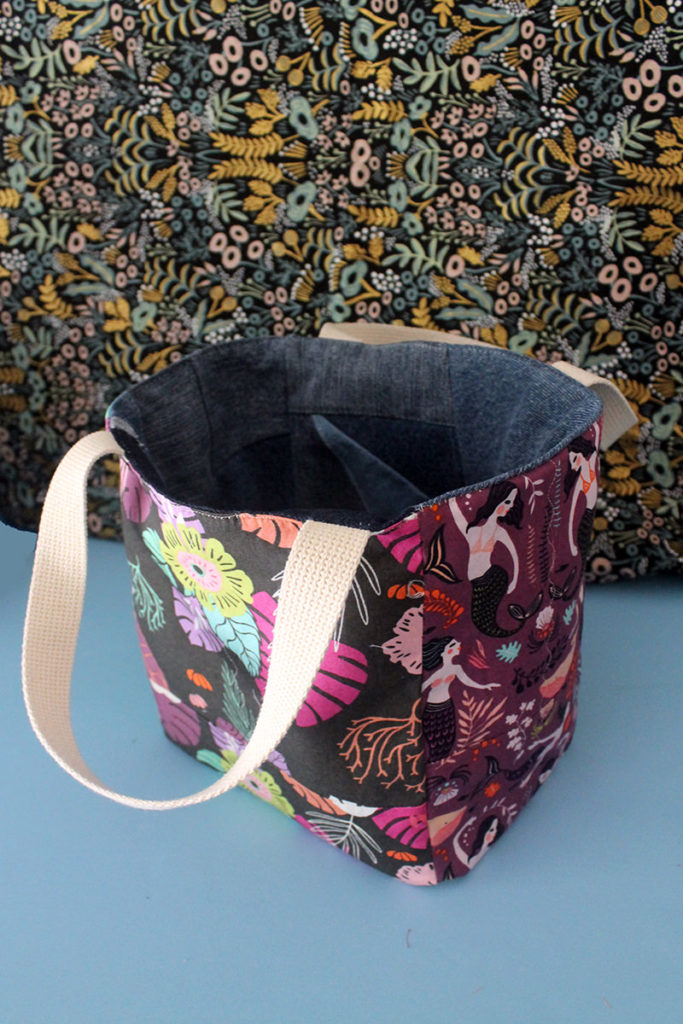
If you have any questions, let me know!
Discover more from
Subscribe to get the latest posts sent to your email.

Comments
Beer Bag DIY — No Comments
HTML tags allowed in your comment: <a href="" title=""> <abbr title=""> <acronym title=""> <b> <blockquote cite=""> <cite> <code> <del datetime=""> <em> <i> <q cite=""> <s> <strike> <strong>