Simple Lined Tote
I volunteer quite a bit at the Old Homosassa Learning Center. We have programs for kids and adults. On Thursdays we sew. From 12:30 – 3:00 we have the “Sew Cool! Workshop” for the adults and then the kids sew in the after-school program, “Sew Cool Kids!”
The adult session is not really a class. We have a “coach” that will help anyone with whatever project they want to do. There are several sewing machines and yards of fabric available. Everything has been donated and the workshop is free.
I do not usually teach the adult class–I do occasionally work with the kids. The “coach” texted me a few weeks ago about half an hour before the workshop to say that she had bronchitis and wouldn’t make it. I thought, not a problem since most of the attendees already have projects underway and are far enough along that they don’t need help. And at least four of us are pretty good with a sewing machine.
But on this occasion, we had two new women show up that wanted to make totes. And they picked out pretty cotton fabric that had to be lined. So I had to figure out how to make a simple lined tote easy enough for someone that had never turned on a machine.
And this is what we did!
Simple Lined Tote

Cut two 14″ x 30″ pieces of fabric–one for exterior and one for lining.
For this demo, I’m using a one-directional fabric. Since I do not want my zebras standing on their heads, I cut two 14″ x 15 1/2″ pieces and joined them at the bottom with a 1/2″ seam. I double-stitched the seam.
For the handles, cut two 22″ pieces of cotton webbing.
If you don’t have webbing, you can make your own handles. Cut two 3″ x 22″ pieces of fabric and two pieces of fusible interfacing 1″ x 22″. On the handle fabric, press down 1/4″ each long side. Place the interfacing at the edge of the 1/4″ pressed part to the center of the handle. Fuse.
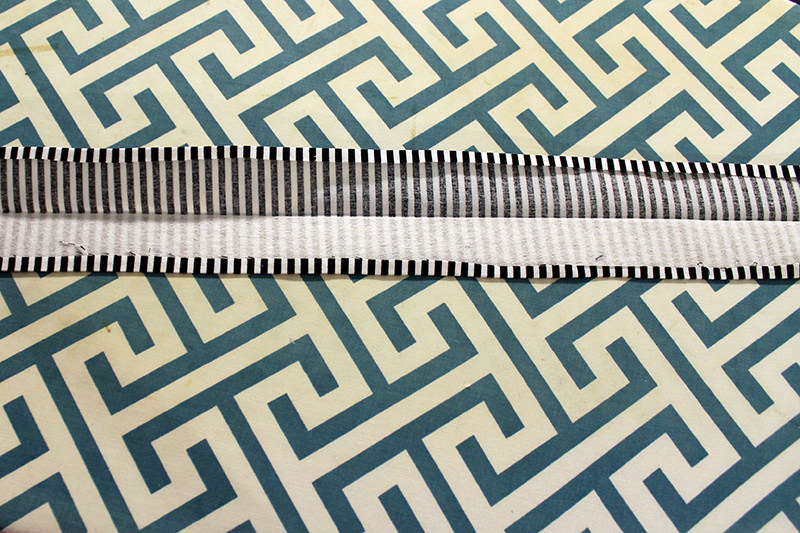
Fold other long side unto top of interfacing. Wrong sides will be together. Press. Top stitch down each side of both handles.
Attach handle on the right side on each exterior piece, 3″ from each side, with a 1/4″ seam. Make sure the handle is not twisted before you stitch!
 Sew up sides of exterior and lining with 1/2″ inseam. Leave about 4″ open on one side of the lining. Clip lower corners.
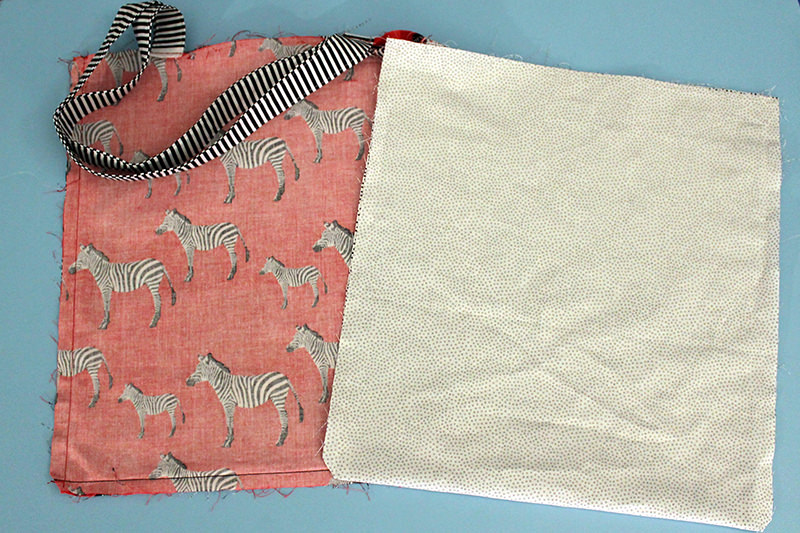
Put the lining piece over the exterior–right sides together. Line up side seams, make sure the handles are tucked in, sew along the top with a 1″ seam.
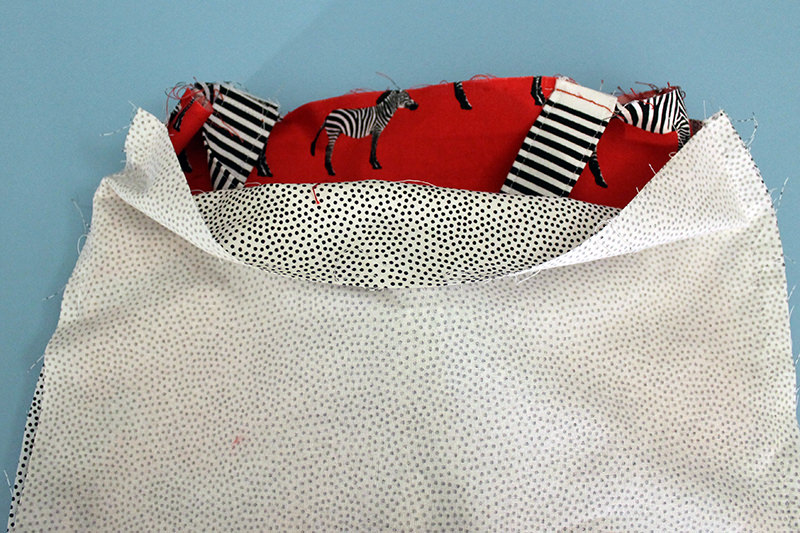
Turn the tote right side out through the opening in the lining.
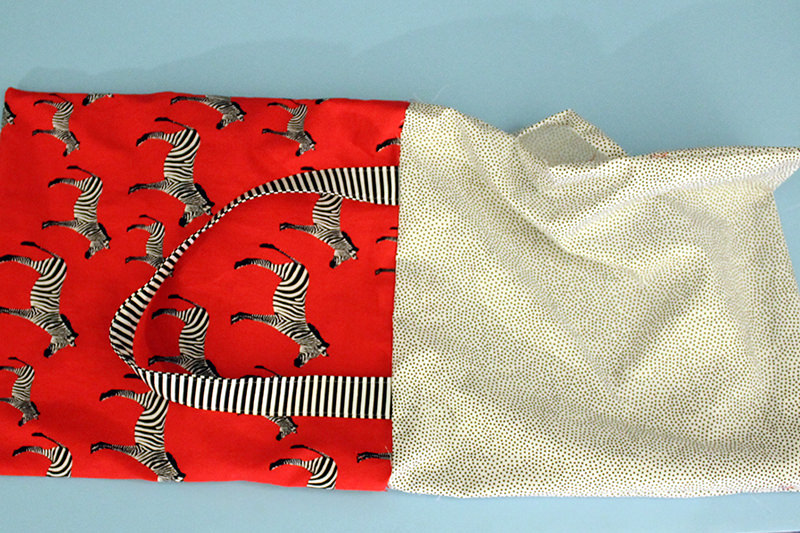
Poke out corners.
Stitch the opening very close to the edge.
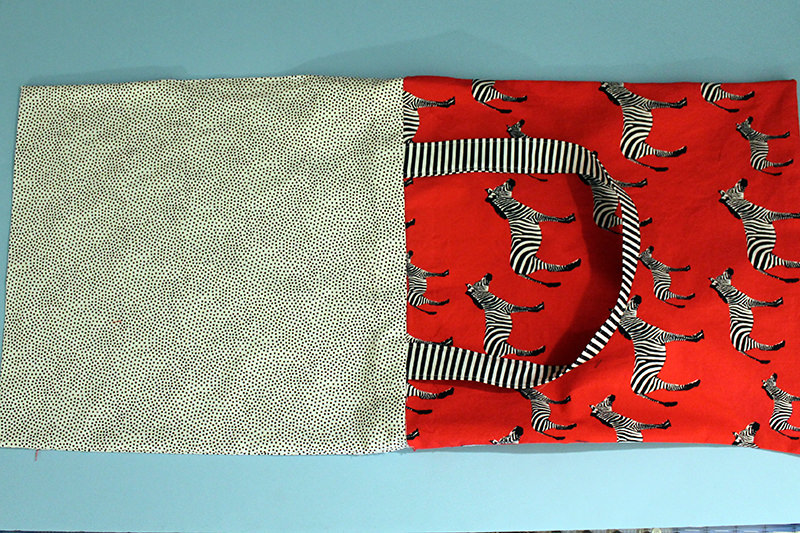
Tuck lining inside bag.
Top stitch close to top edge.
Stitch 3/4″ away from top edge.
Done!

Happy new sewist with her simple lined tote.

Discover more from
Subscribe to get the latest posts sent to your email.

I was looking for a “real” simple lined tote and this was it. I made it and I love it. Thank you for the post.
Hi Norma! I’m so glad you tried the “simple lined tote”. It’s easy peasy! And quick!