The Splendid Sampler — Week 48

Not quite finished. But almost. Have to add the binding and I’ve already made that!
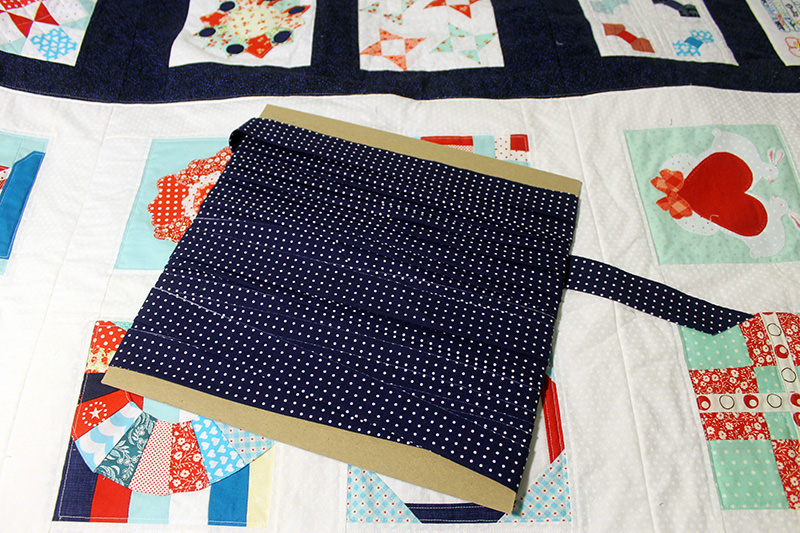
Every time I make binding I look for a tutorial to help me through it. I don’t make enough quilts to trust myself to do it right without a little guidance. This is an excellent FREE tutorial on Craftsy for finishing a quilt. I even downloaded the PDF and joined the quilting newsletter it offered.
I also used this tutorial from Sew4home.com to make the binding. Making binding is easy–boring and monotonous–but easy. I just thought I’d try a different method and this one is pretty cool. I’ll probably use it again. The beginning of the tutorial leads the reader through how to calculate how much binding is needed, etc. I skipped down to the cutting section. I always make a lot of binding because I know I’ll use it on a future project.
Both of the quilting shops within a half hour driving time for me have closed. Typically I would have gone to one of those shops to match up my fabrics for the binding. But I ordered the fabric for the binding from Fabric.com. It was described as “Riley Blake Swiss & Dots Navy/White”. Just what I wanted. But in reality, it has a purplish cast to it. Not the first time that the color was not quite what I was expecting. The perils of ordering fabric online. When I put it up against the navy blues that I had already used in the quilt, it wasn’t that far off so I used it. There’s already so many conflicting colors in Sampler that one more isn’t going to make that much of a difference!
I pin-basted the front and back together. I didn’t know if I had a floor big enough to actually use but the guest bedroom worked out just fine. I taped the back to the floor wrong side up with painters tape.
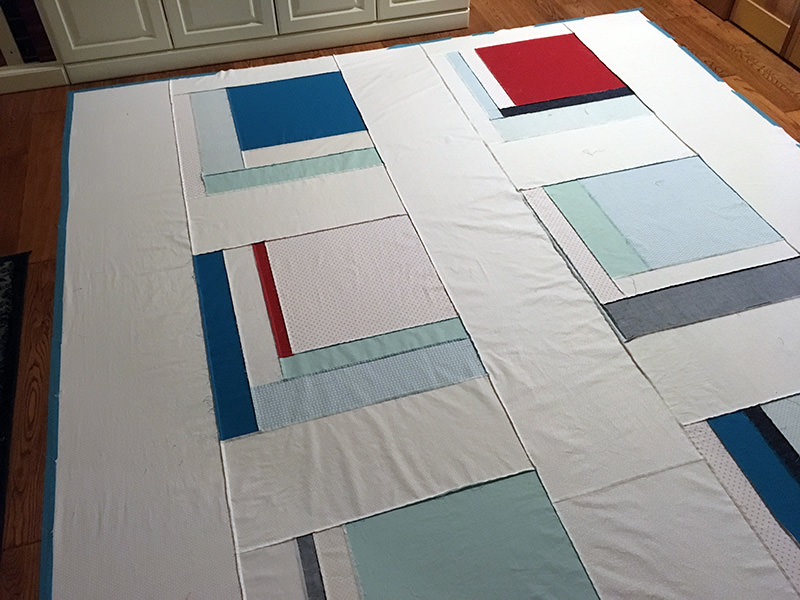
Then I laid the front on top–right side up. And pinned!
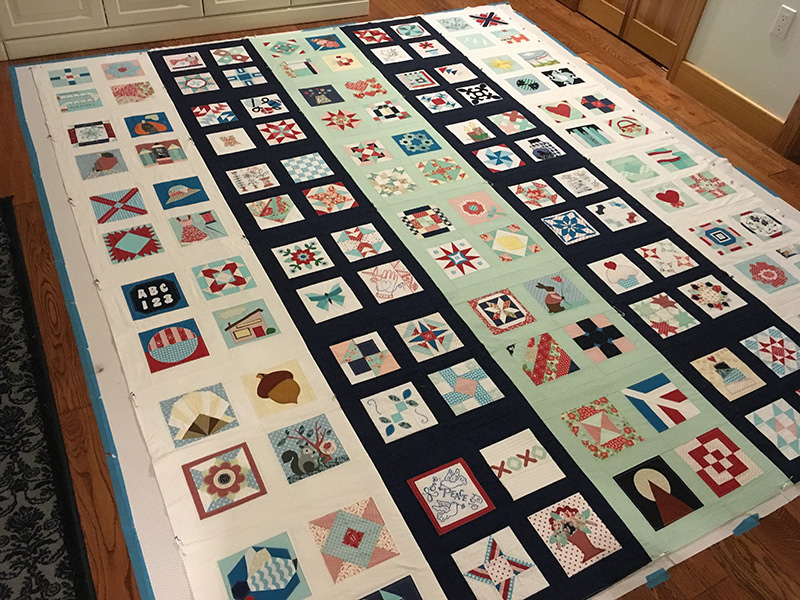
Pin-basting is really hard on the knees. Up and down, crawling around.
Then I stitched the layers together with vertical lines around each column and one horizontal line in the middle.
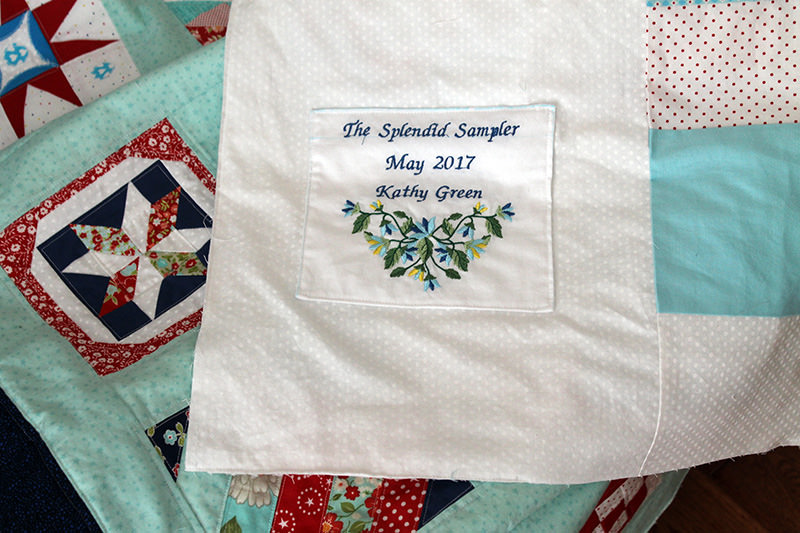
That’s when I realized that I hadn’t made a quilt label! So I put the embroidery attachment on my fancy-dancy machine and made this little pretty!
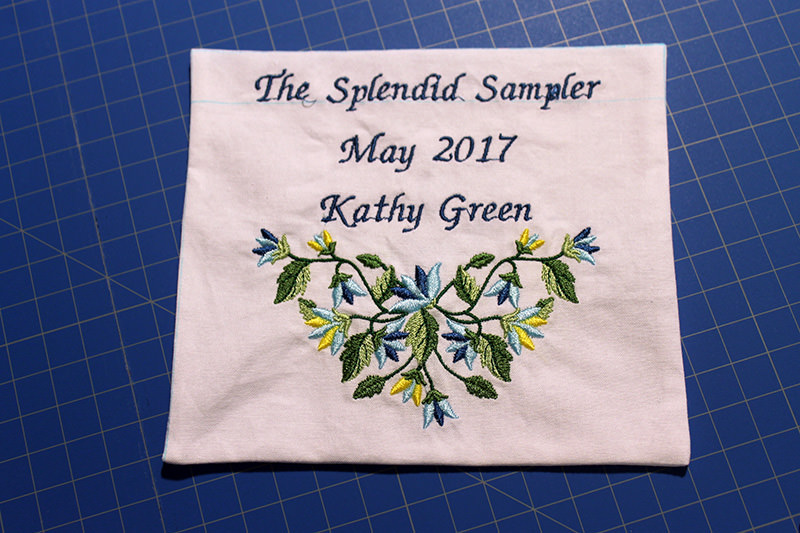
I had to pull some of the stitching out of the quilt and then added to a corner of the back.
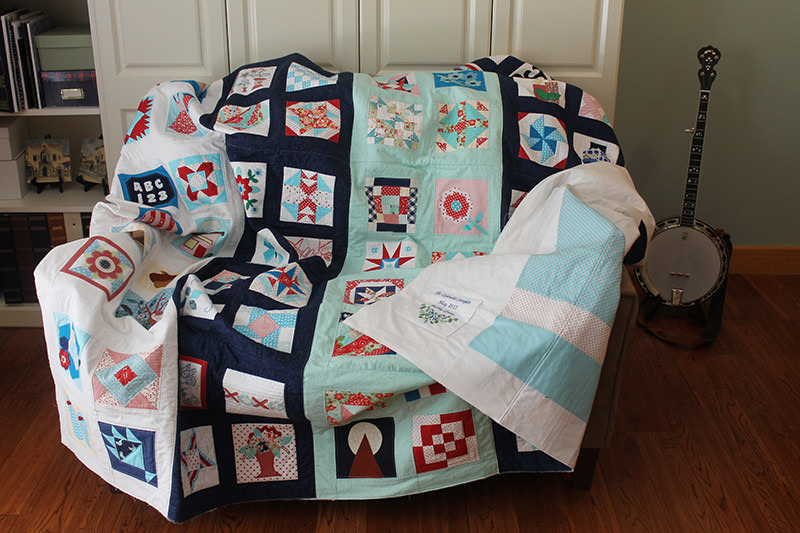
These steps (other than crawling around on the floor) were pretty easy. Time-consuming. But easy. The binding is ready to go on so — unless there is a zombie apocalypse or some other disaster — this will be done NEXT WEEK!
Discover more from
Subscribe to get the latest posts sent to your email.

There is a lovely quilt shop in Dade City, as well as a smaller one in Brooksville. The Dade City one is called Quilts on Plum Lane and it’s a gem.
Thanks Diane, I love going to quilt shops so I’ll check out the one in Dade City. I forgot all about the one in Brooksville!