DIY Photoboard
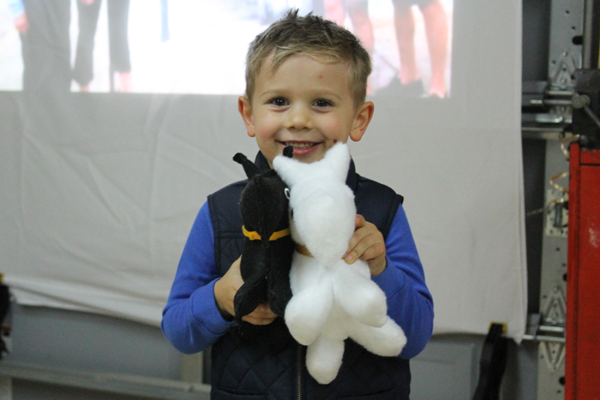
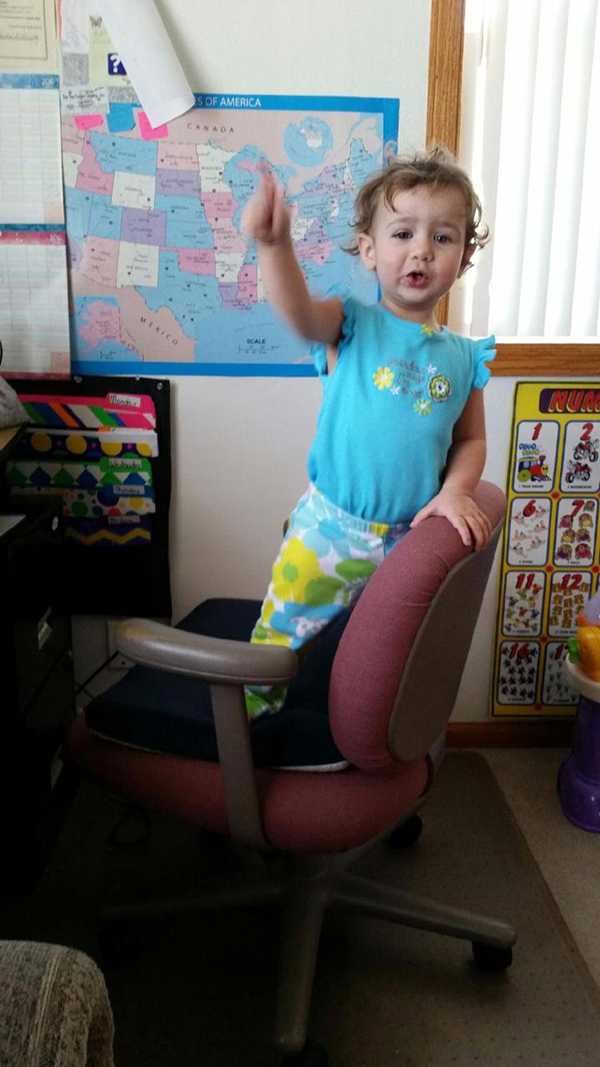
This is Jack.
This is the bulletin board I had in the grandkid’s bedroom.
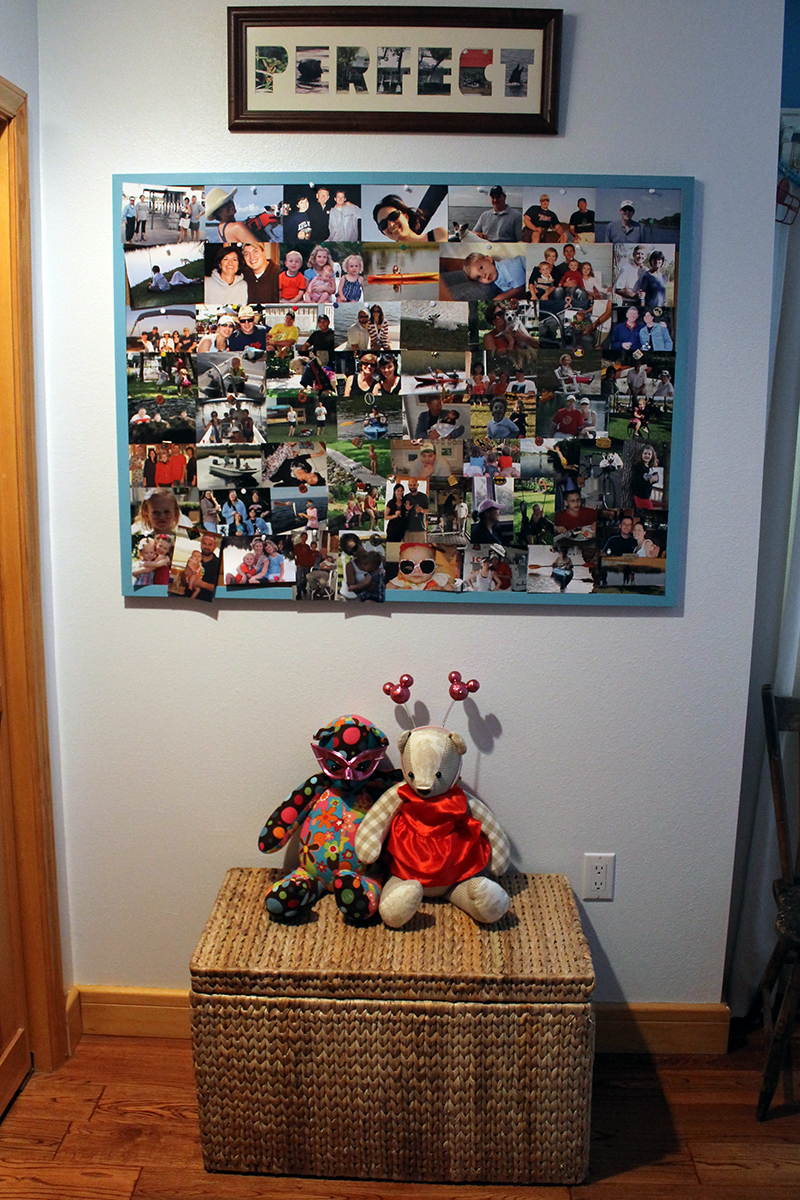
Covered with photos of friends and family having fun here in Homosassa. A little history of our life.
Jack was here one day and asked “Grandma, where’s my pictures?”
I pointed out his newborn snaps.
And he wasn’t happy about it.
But the board is full, Jack.
And Jack said “Why?”
So I told Jack that I would take care of it and took the bulletin board down and had every intention of getting a bigger one.
But have you priced giant-sized bulletin boards? Ka-ching.
So that little project was put on hold.
Until I was out looking for ideas to create a design wall for my sewing corner. I had seen some ideas on pinterest but couldn’t find any of the material that they used. But I did find this Insulfoam at Home Depot. It says it’s for “crafts” on the label. So I figured there couldn’t be anything nasty in it. And I bought it and put it in my garage and then found a better and way easier idea for the design wall.
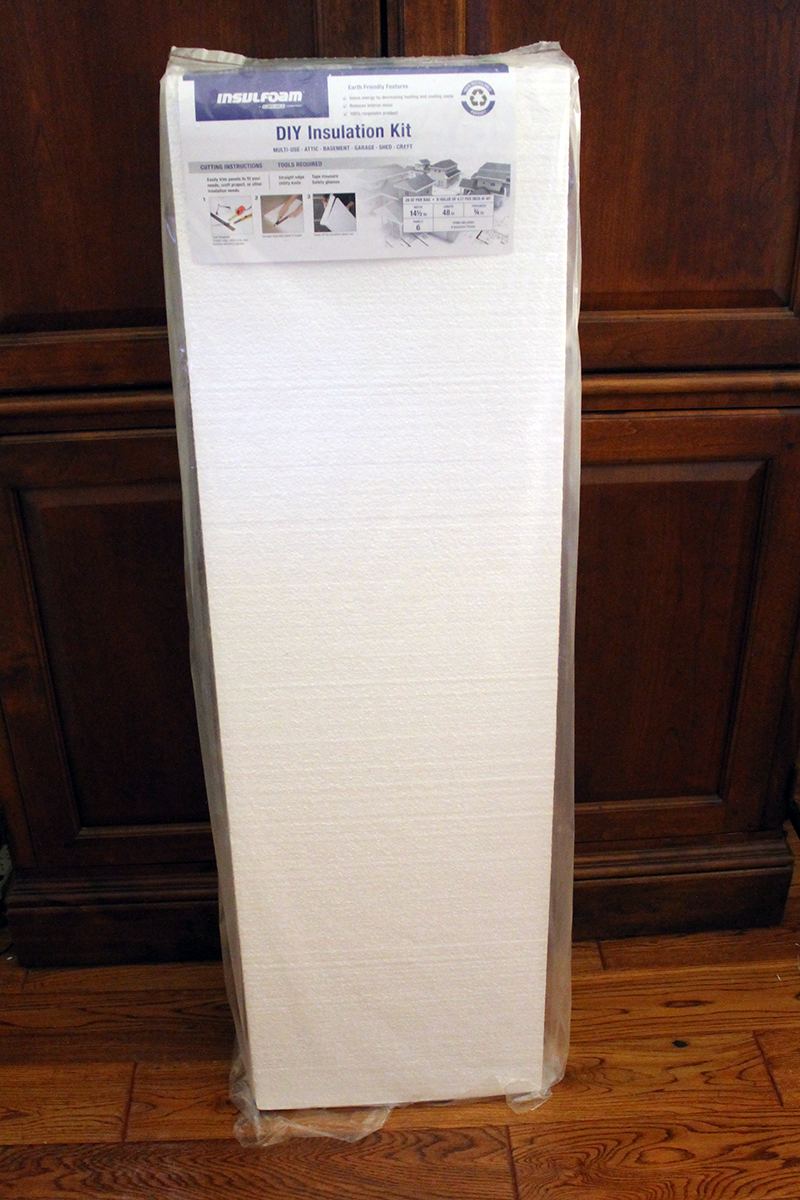
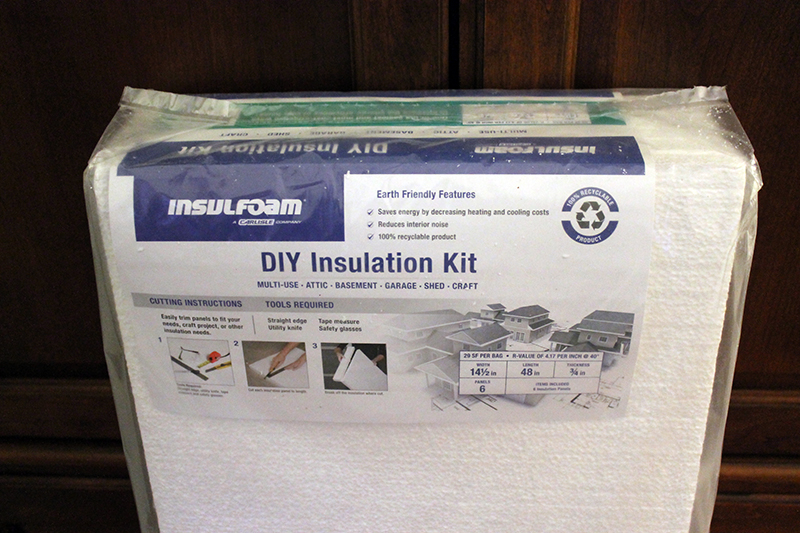
But I still needed a bulletin board. And almost a year later–Terry and I made it. Took about an hour. Seriously easy-peasy. (Except it was about a 100 degrees in my garage!)
The Insulfoam package comes with six panels and each is 14 1/2″ wide by 48 inches long by 3/4 inch thick. I couldn’t find it online to share with you. And I don’t have my receipt because I bought it a year ago. But it had to have been a reasonable price because I’m pretty cheap when it comes to home decor.
I decided to use four of the panels.
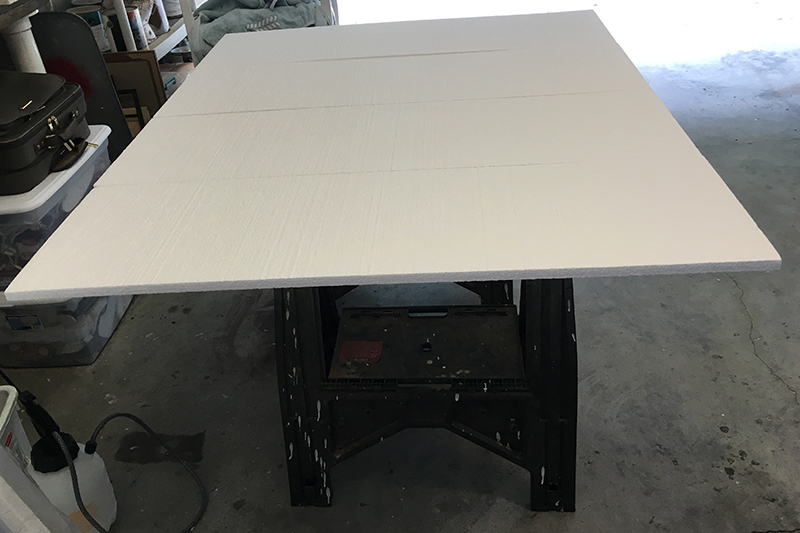
And we duct taped them together on one side. The duct tape did not want to stick. So we used a lot.
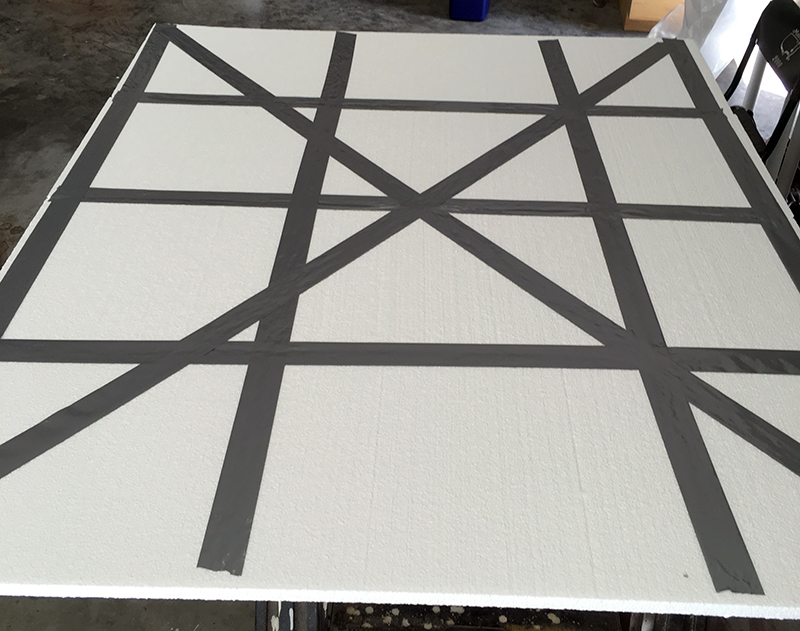
Then we flipped it over and sprayed Scotch Super 77 Multi-Purpose Adhesive on it. I’ve had this spray forever and was happy it was still good! (At Terry’s suggestion I tested the spray on a small spot to make sure it didn’t dissolve the panels.)
I bought 2 yards of anti-pill fleece at Joann’s. On sale. In a color that matched the room. Just laid it on the sticky side and smoothed it out.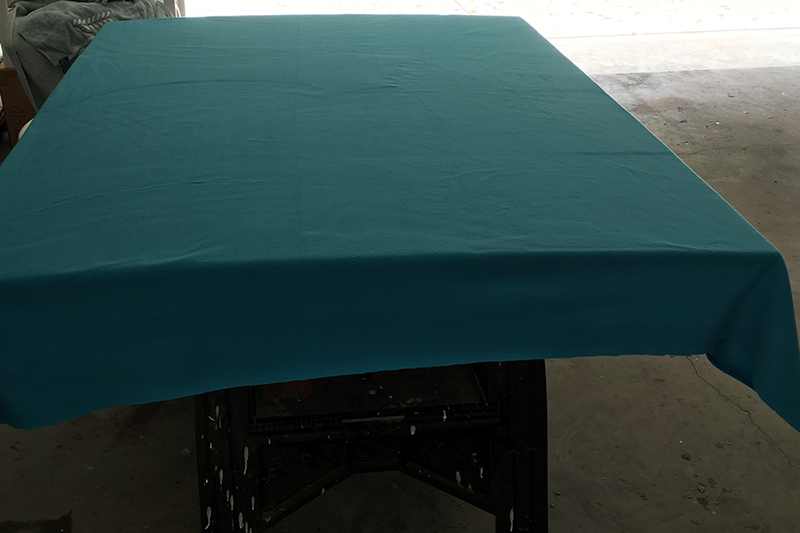 Flipped it back over and sprayed more adhesive. Trimmed. Pulled the corners up tight.
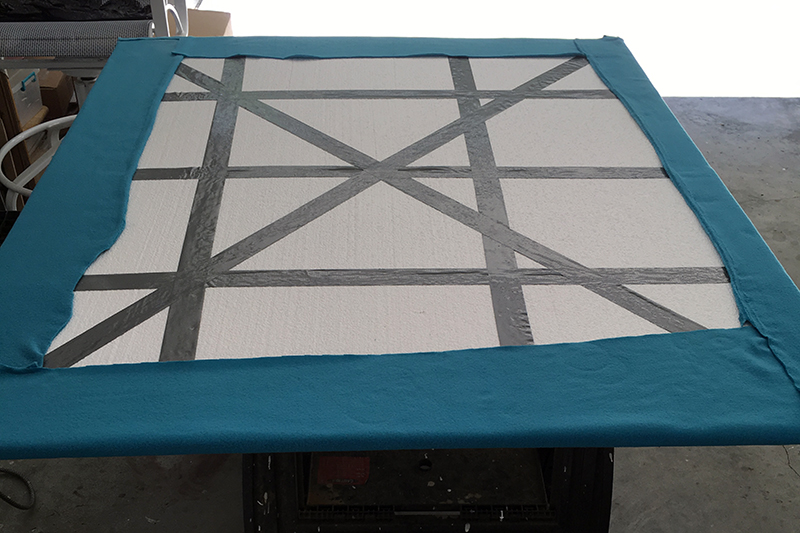
Carried it very carefully up to the bedroom. (Didn’t trust that duct tape to hold it together!)
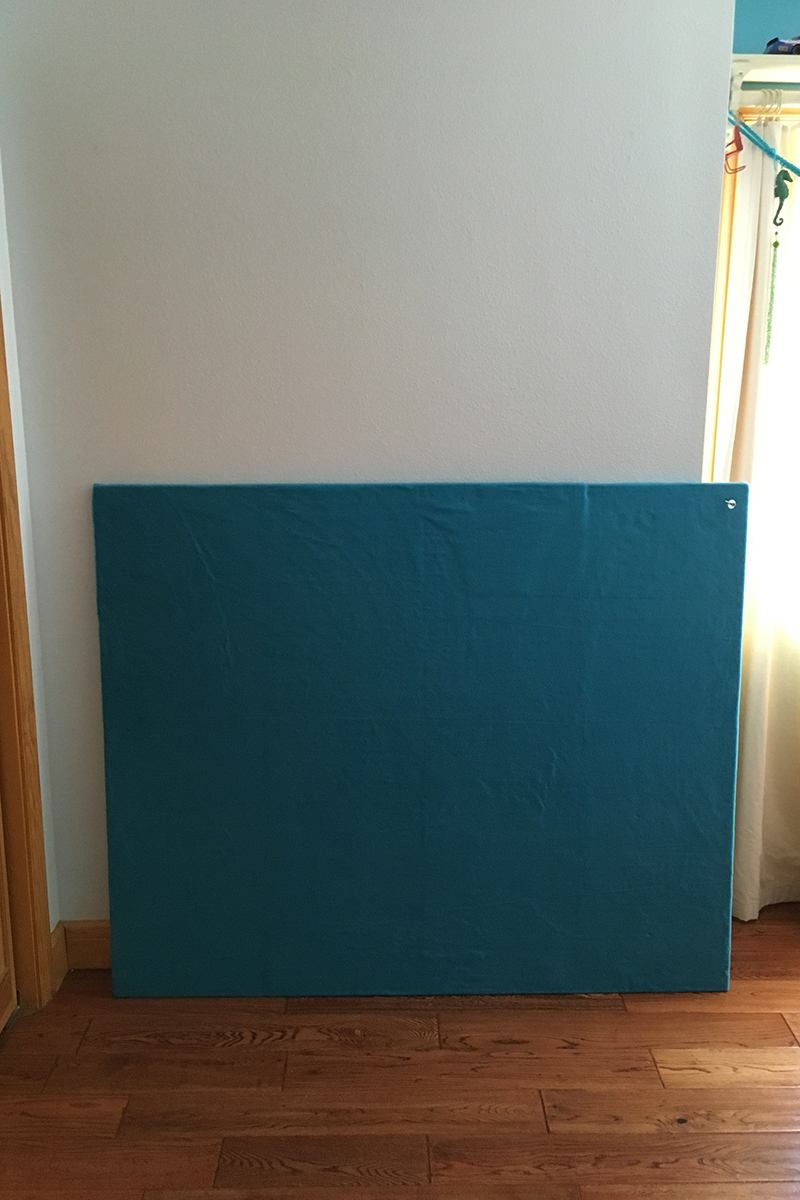
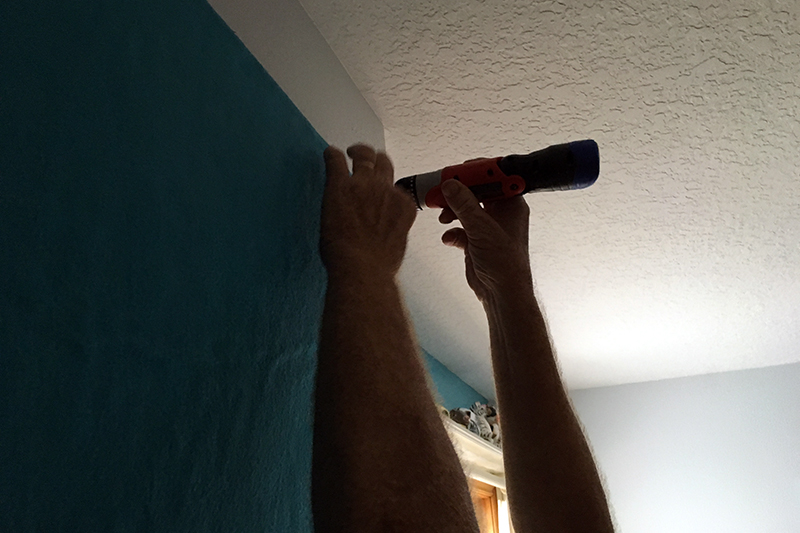
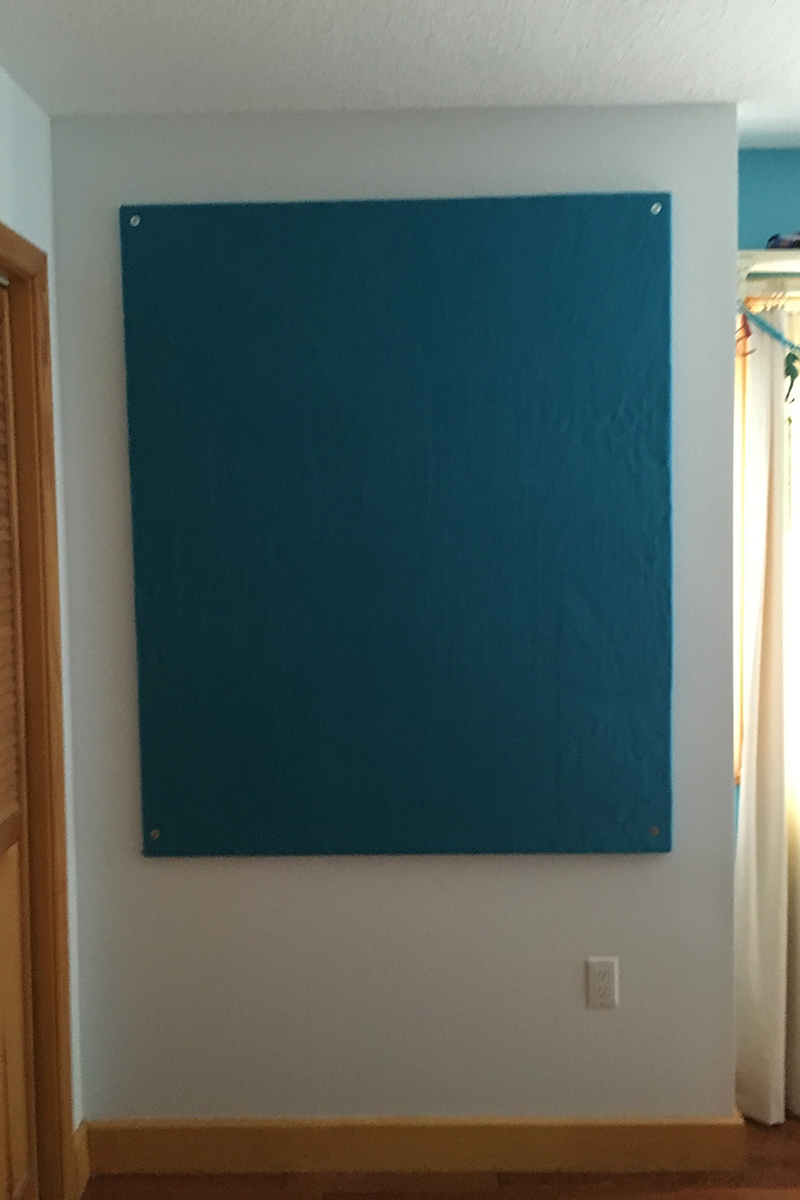
Then Terry put cool screws with washers on each corner.
And I covered it with photos! I had some fun tacks that weren’t sharp enough to get through the fleece so had to resort to the ugly ones that had the long sharp tack side.
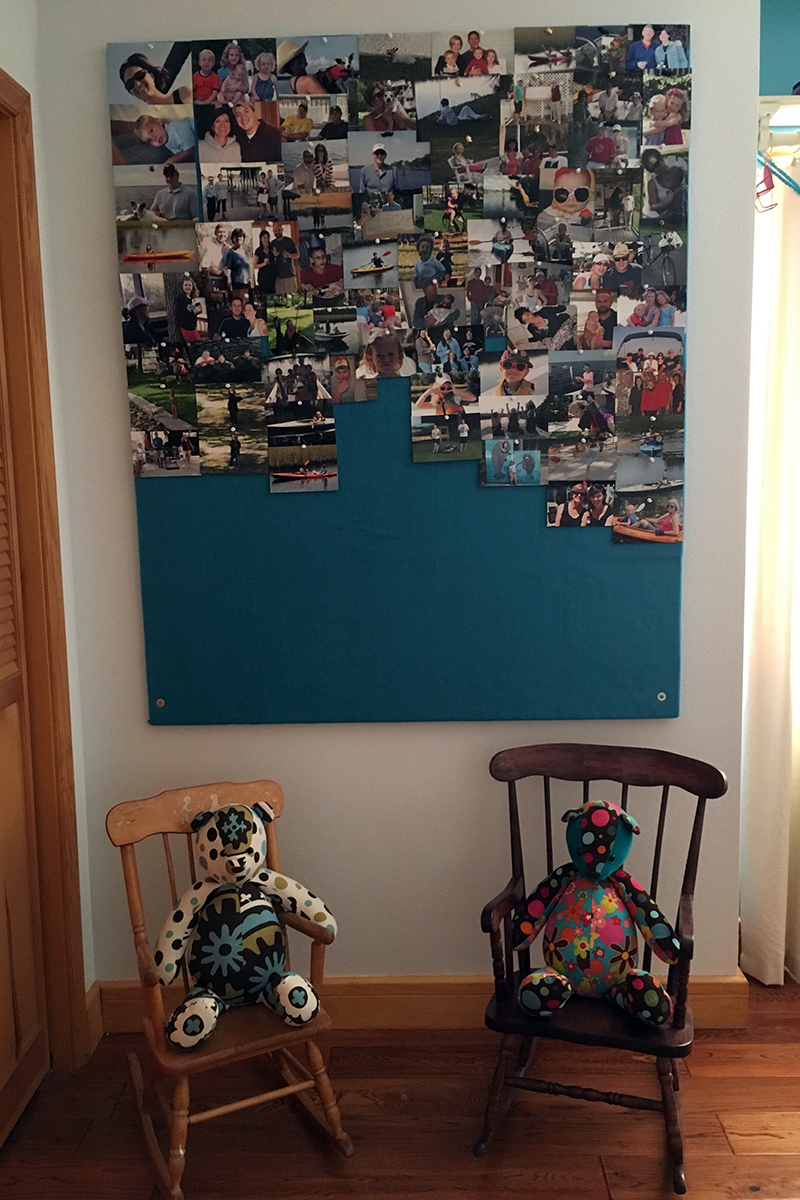

Jack is adequately represented on the board now!
I’m good until Adley’s next visit and she asks “Grandma, where’s my pictures?”
Discover more from
Subscribe to get the latest posts sent to your email.

Comments
DIY Photoboard — No Comments
HTML tags allowed in your comment: <a href="" title=""> <abbr title=""> <acronym title=""> <b> <blockquote cite=""> <cite> <code> <del datetime=""> <em> <i> <q cite=""> <s> <strike> <strong>