Quilted Table Runner and then a Shopping Tote
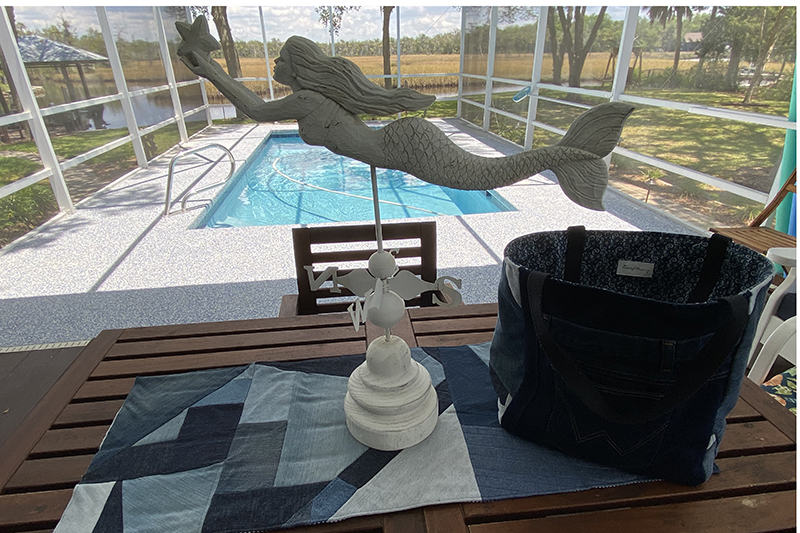
As I have posted a few times here already, we put our Florida house on the market back in the beginning of May. While I was rushing around trying to make everything perfect, I decided I definitely needed a table runner on the Lanai table. Just because.
I already had several projects that I had committed to finishing before the end of May but really wanted to make that table runner. And I thought it should be denim because I have a stash of denim and it would look great with all of the blue cushions that were already there. So this table runner that REALLY wasn’t necessary moved to the top of my priority list.
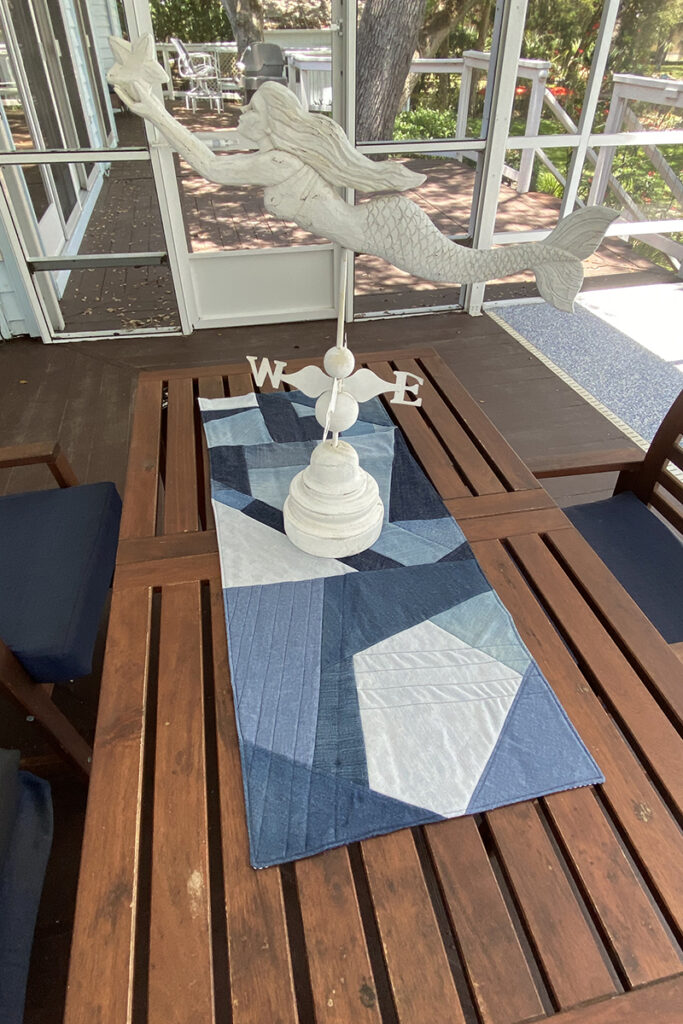
Since I had all kinds of different sizes of denim pieces, I put the table runner together as a type of crazy quilt. Made it about 72″ long so it would drape over the end of the table when it was set for four people and when I extended the table, it would reach to both ends.
All good so far. I used fusible fleece rather than batting. Fused it. Quilted. Then I put on the backing–I used the turn it inside out method rather than binding it. Did some more quilting. And it was so wonky. (I don’t know where I went wrong.)
I had spent SO MANY HOURS on this project. I was totally frustrated and threw it back into my denim stash.
The next day I got it back out–I was really determined to have that table runner! After careful examination, I found that one end was more warped than the other so I just whacked it off. Voila! I had a table runner, albeit a short one!
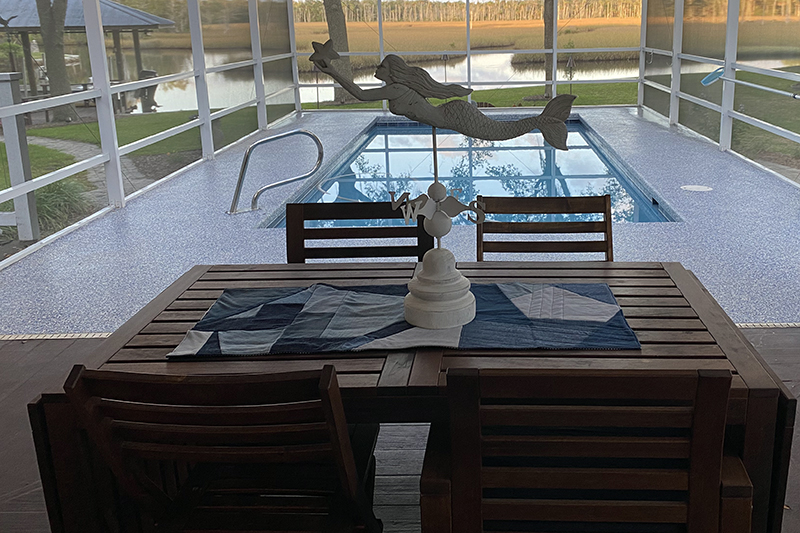
I was so burnt out on this project, I didn’t even bind the edge that I cut. I said to self “ it looks fine!” And it does. No one but me and you know that I still need to finish it—because I don’t point out my mistakes.
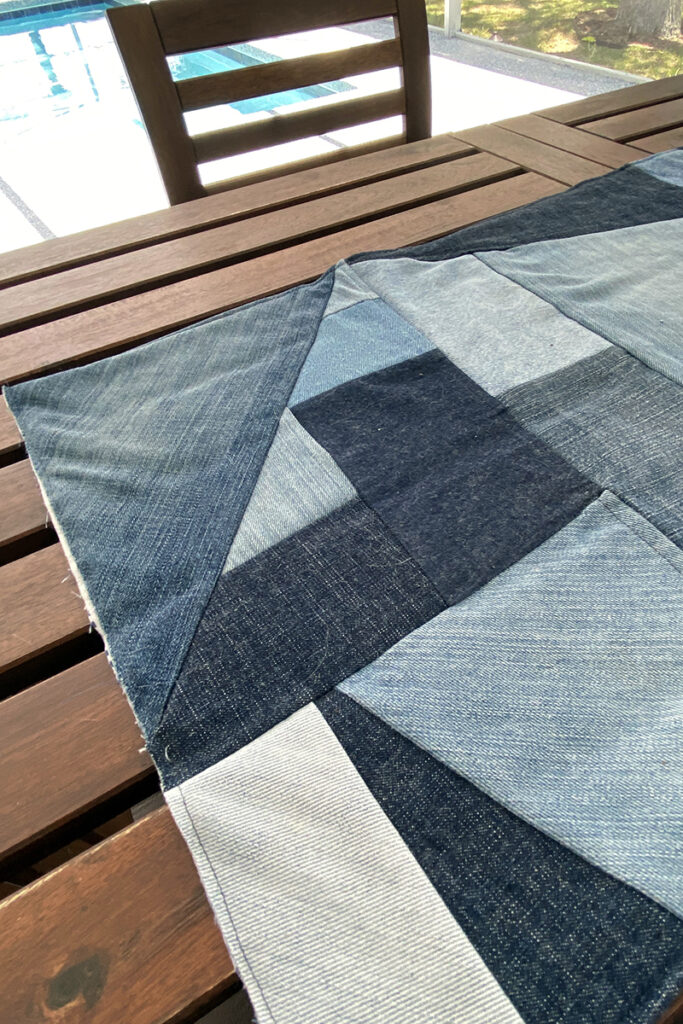
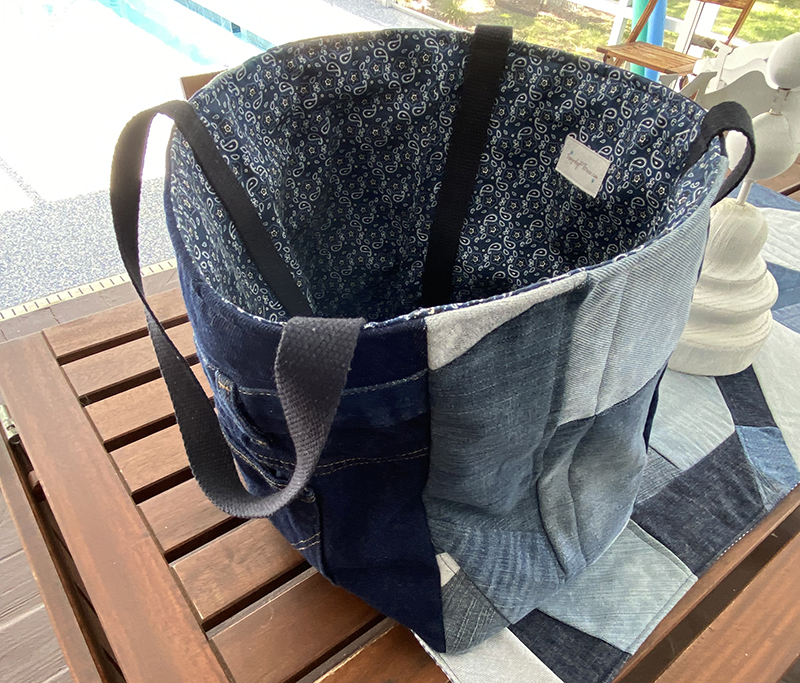
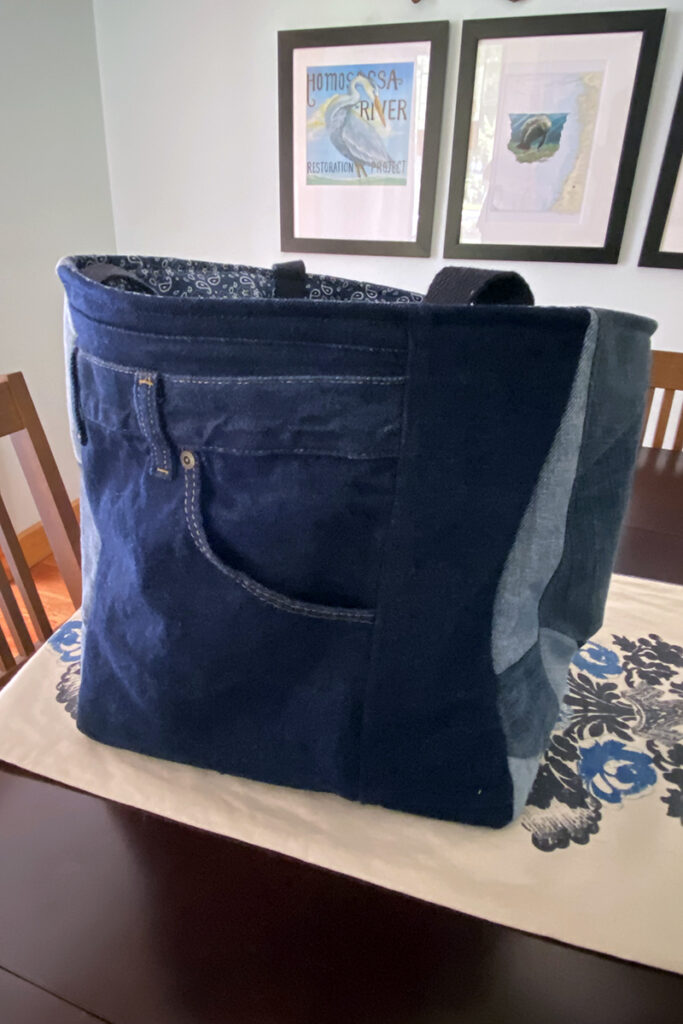
So what to do with the rest of the table runner that I cut off? I turned it into a shopping tote! Along with some other denim pieces I had in my denim basket.
I had planned on giving my friend Pam a shopping tote as a house warming gift—one of the projects I needed to get done before the end of May. She is my grandson’s aunt and would be attending his first birthday party in DC. I usually fill these bags with groceries when I give them as house warming gifts but Pam was taking the train from Connecticut to DC and I figured she wouldn’t want any extra stuff to haul back. So she just got the bag. And she told me that she loved it! Yippee!
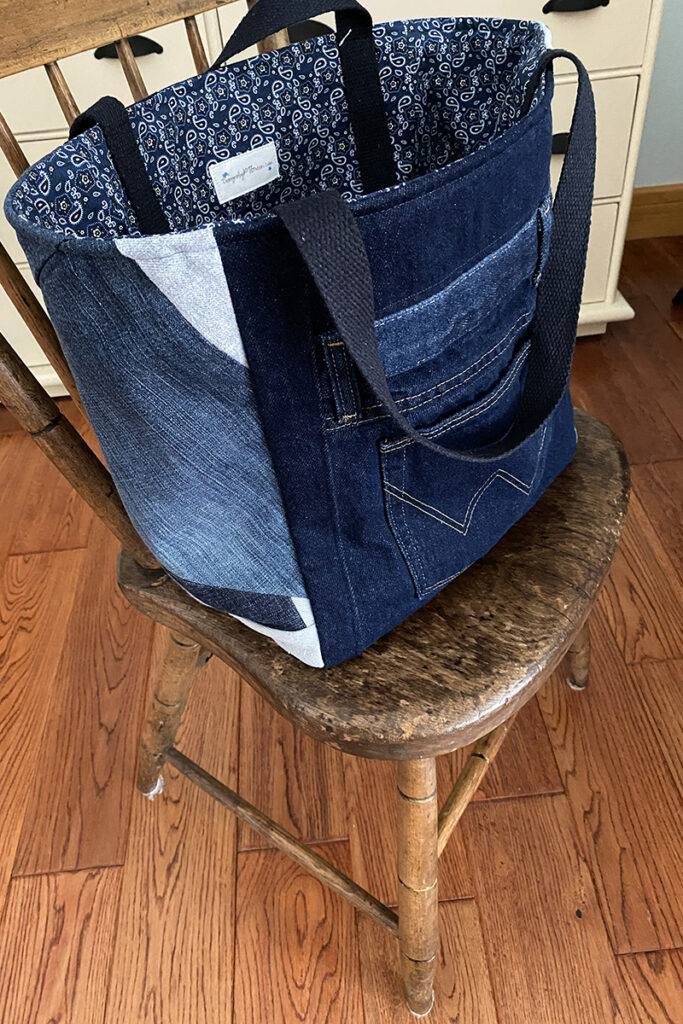
I followed my tutorial for the basic shopping tote but made some changes on this bag. That’s the thing about making your own creations. Change is good!
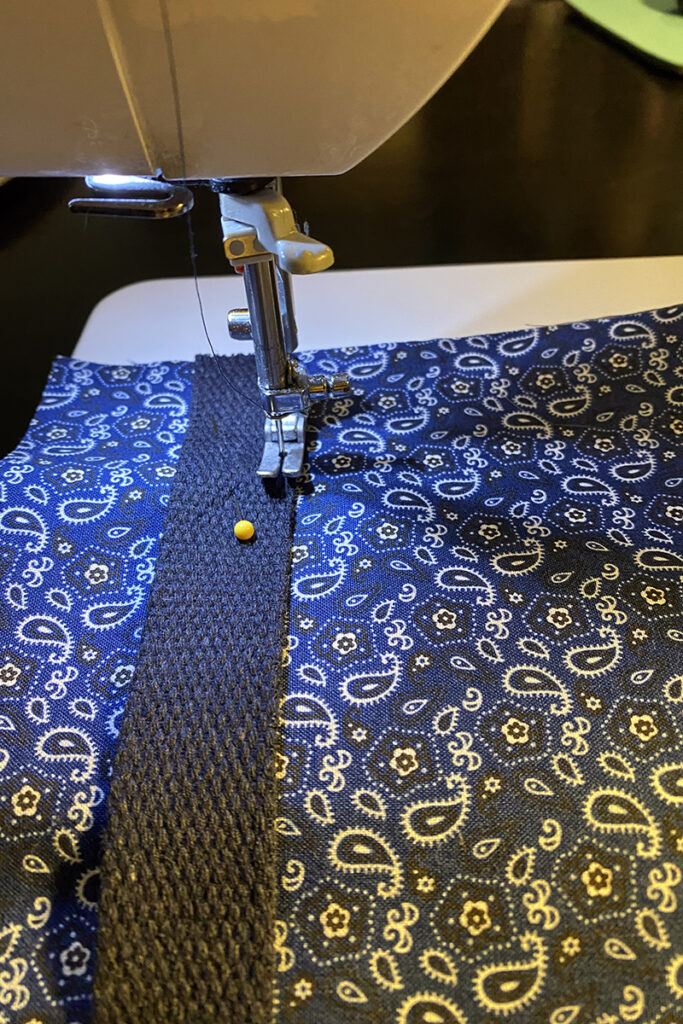
First, I put the handles on the interior. I typically put one pocket on these totes but for Pam I put two. And the straps would have been over one of those pockets if I had put them on the exterior.
I have been using “Soft and Stable byAnnie” on the bottom of these shopping totes. It’s easier than the plastic canvas that is referred to in the tutorial.
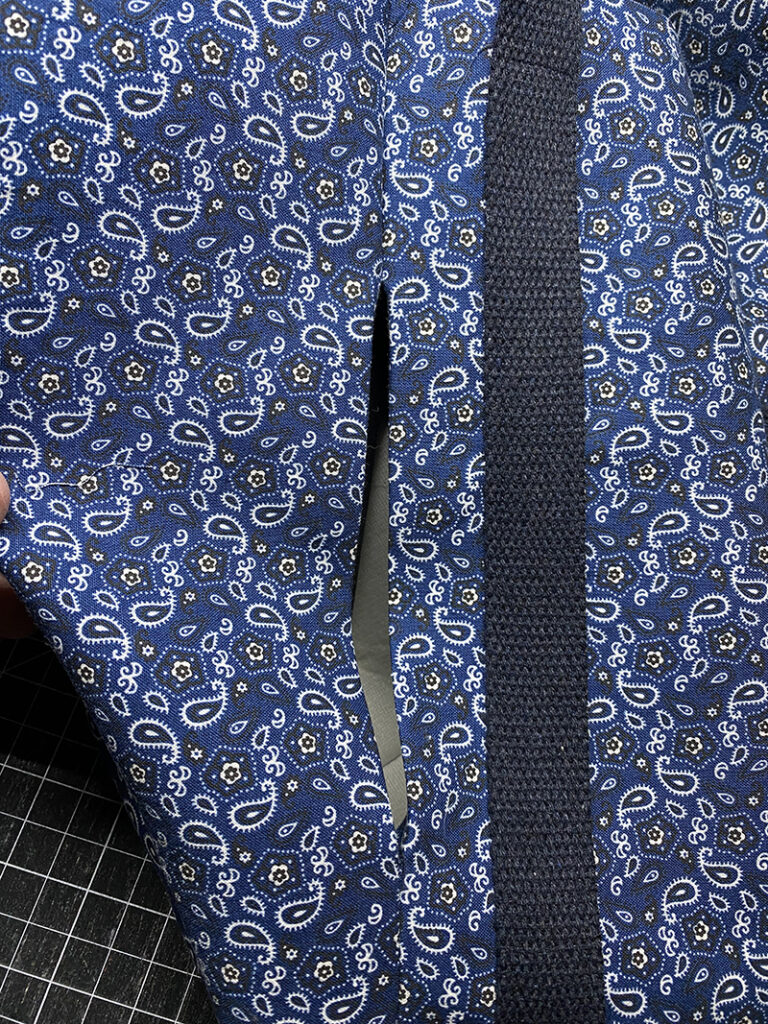
Rather than leaving an opening on the top to turn the bag right side out, I left the opening on one side of the lining.
After “birthing” the bag through the opening in the lining, I stitched it closed. Followed that up with top-stitching around the top of the bag.
So I got my table runner and checked off one of the projects on my list! Happy Ending!
Discover more from
Subscribe to get the latest posts sent to your email.

Beautiful! And Pam does love it as I love my “ditty” bag
Thanks Terry!