Basic Shopping Tote Revisited
I started making shopping totes over ten years ago. The first post I wrote about the totes was back on June 8, 2012. It’s on my other blog that I don’t update anymore but the posts are still there. You can check it out here! And I’m still using that shopping bag!
Since then I’ve made a lot of adjustments to the original tutorial and I completely revised it in 2020. You can get that PDF tutorial here Basic Shopping Tote 2020 Update.
Although I am not updating the tutorial referenced above, I thought I would share these options that I’ve tried and that you might like.
Lately I’ve been using “byAnnie’s Soft and Stable” instead of doing the “plastic canvas in a pocket” step. I’m just adding the “Soft and Stable” to the bottom of the tote. Yes, it’s more expensive than the plastic canvas but IT IS SO MUCH EASIER! And since like everyone else, I’m busy with so many projects and volunteering, easy is always better!
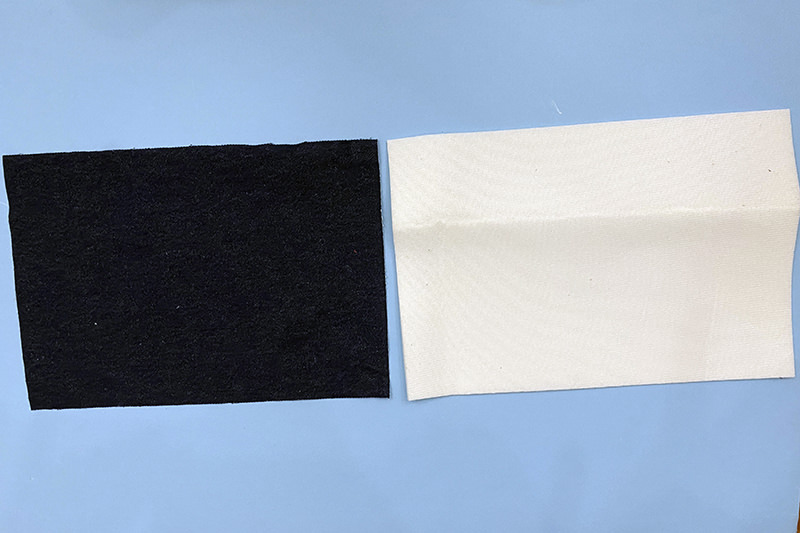
Another change. Rather than leaving the gap on the top of the bag to turn it right side out, I’ve been leaving a gap on one of the side seams in the lining. About 6 or 7 inches. Then pulling the exterior through and stitching the opening closed. Another IT IS SO MUCH EASIER!
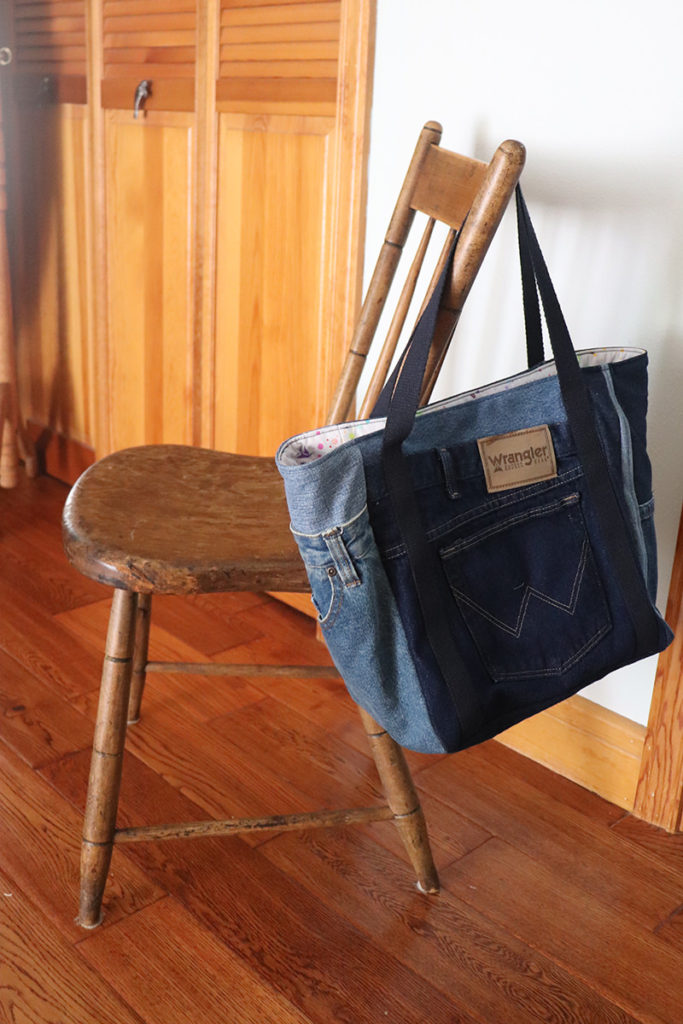
If you have any hints or updates, I would love to know. I make these bags a lot. This one is a gift for a friend’s 70th birthday. Terry uses one of these totes to carry his laptop and files in and she has remarked on how much she liked it several times. The celebration is tonight! Hope she likes it!
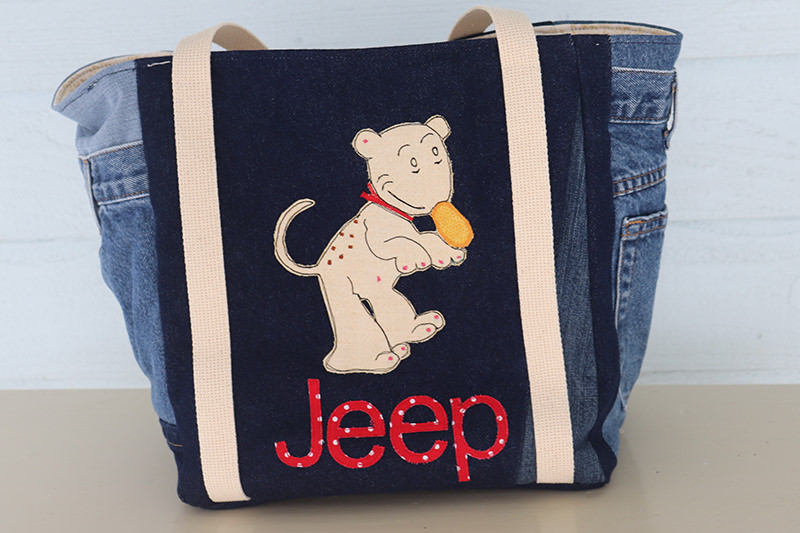
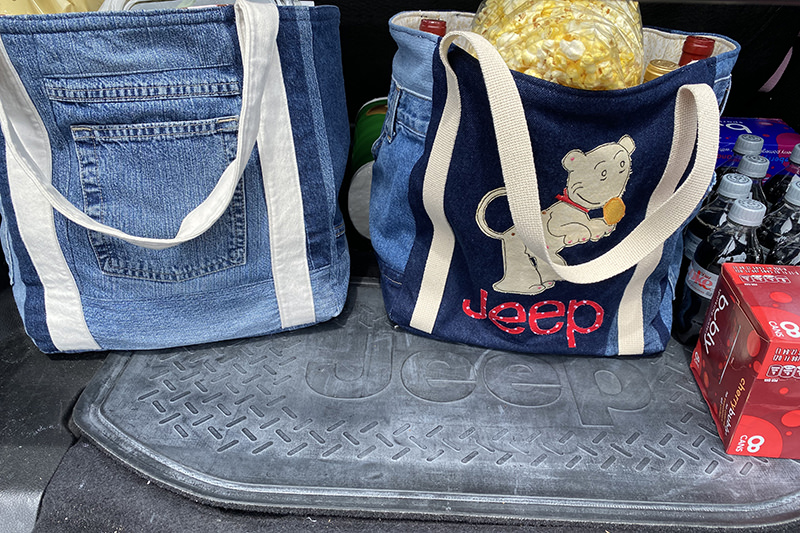
Then I made this bag for me! I drive a Jeep. Terry used to drive it but wanted to get a different vehicle so I volunteered to take it over. I thought it would be short term until I picked out a car. But I’ve been driving it for about 5 years. I love it. Its short—easy to maneuver, it’s high off the ground—good visibility, and it’s cute!
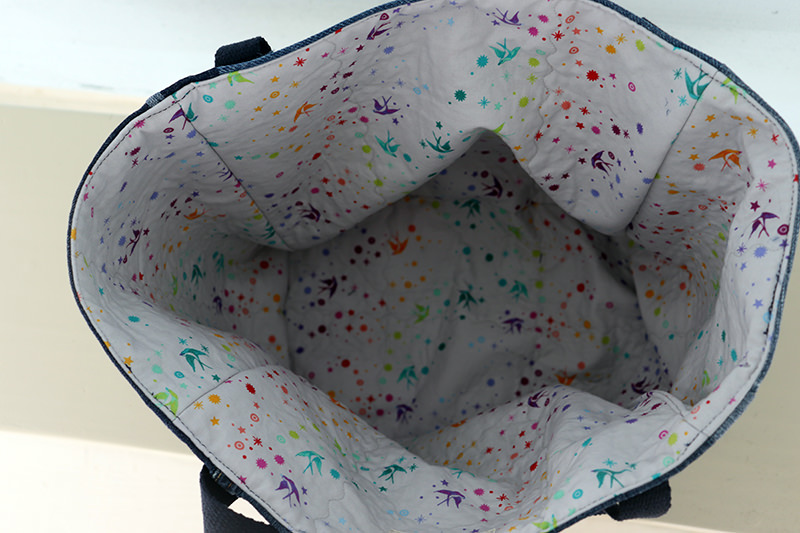
Anyhow, I like to keep three shopping totes in each vehicle. Somehow they all end up in Terry’s vehicle and then I have none. So now I have made three bags that are obviously mine. The first two have pink linings. And I just finished this one!
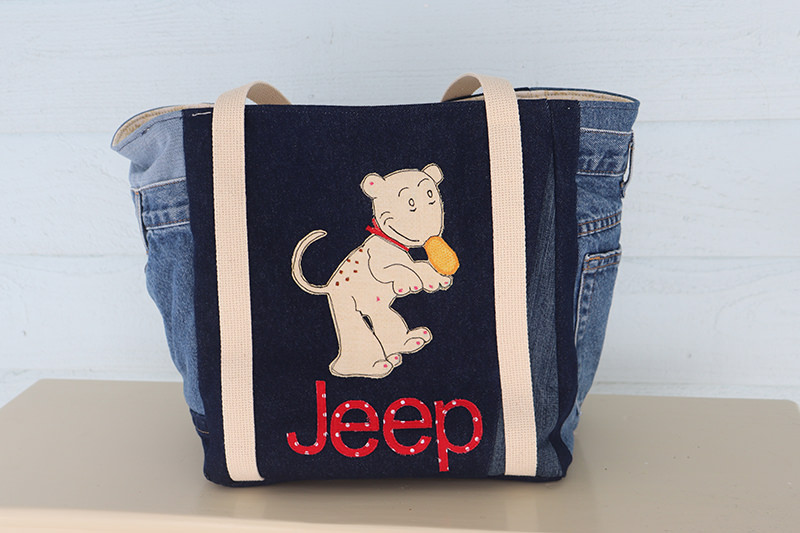
How cute! Right? Does anyone else remember Eugene the Jeep from Popeye? According to Wikipedia, Eugene was very popular back in the 1930s and 40s. I can vaguely recall watching really old Popeye reruns when I was a very small kid. (The sea hag scared the bejesus out of me!) And there are some stories that is how the Jeep got its name. There are also other stories referencing the naming of the Jeep, but I’m going with Eugene the Jeep!
I backed fabric with Heat n’ Bond Lite and cut the Jeep letters out with my Cricut Maker. I downloaded an image of Eugene the Jeep from Google and enlarged it to the size I wanted then used Heat n’ Bond Lite and fused everything on the bag’s front panel. I put all the features on with my sewing machine.
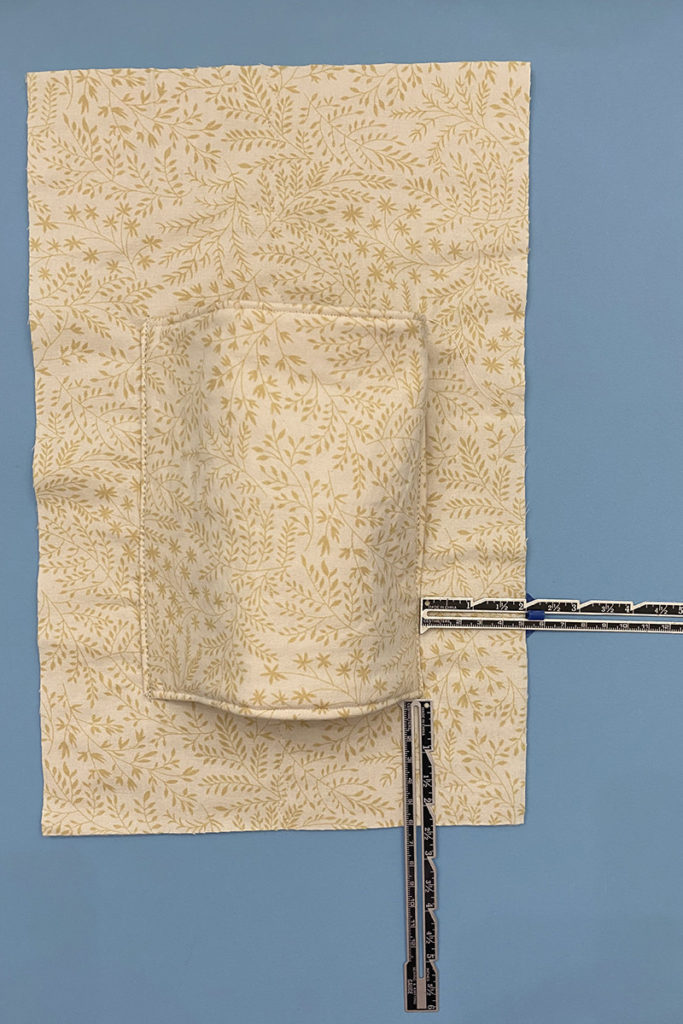
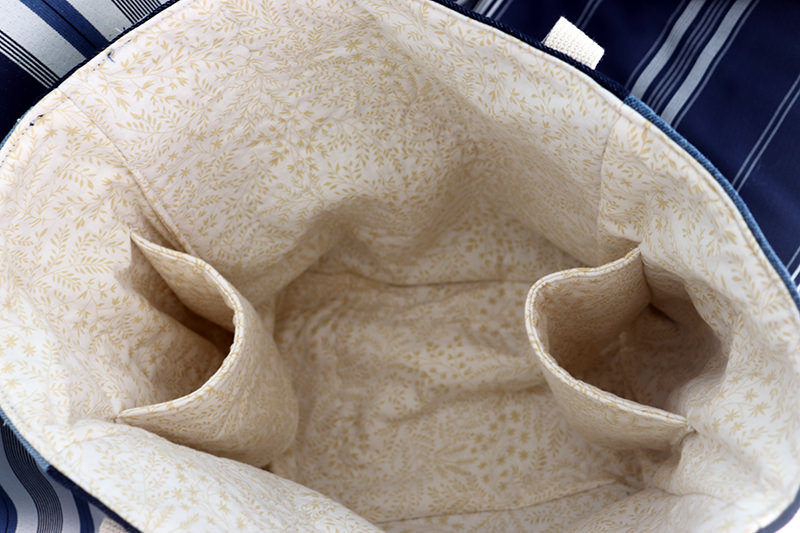
One more addition to this bag–my very first shopping tote way back in 2012, I added a wine bottle to one side. I don’t usually do that anymore but for this tote I added not one but TWO wine bottle pockets on the interior. I took 7 1/2″ x 7 1/2″ fabric, lining, and batting. Stitched around all 4 sides with a 1/4″ seam allowance but left a gap open (about 4″) for turning. Then I clipped corners, turned, pressed, top stitched the top and bottom and placed it 2 1/2” from the bottom and 2” from each side. Last step was stitching the sides very close to the edges.
Those pockets came in very handy when I was picking up supplies for the birthday party!
Next week I hope to share an updated “Let’s Go” Tote.
Discover more from
Subscribe to get the latest posts sent to your email.

Comments
Basic Shopping Tote Revisited — No Comments
HTML tags allowed in your comment: <a href="" title=""> <abbr title=""> <acronym title=""> <b> <blockquote cite=""> <cite> <code> <del datetime=""> <em> <i> <q cite=""> <s> <strike> <strong>