Shopping Tote
I made this bag last week. Thought I was way ahead of the game. Actually having the “giveaway” tote done way before I needed to post it.
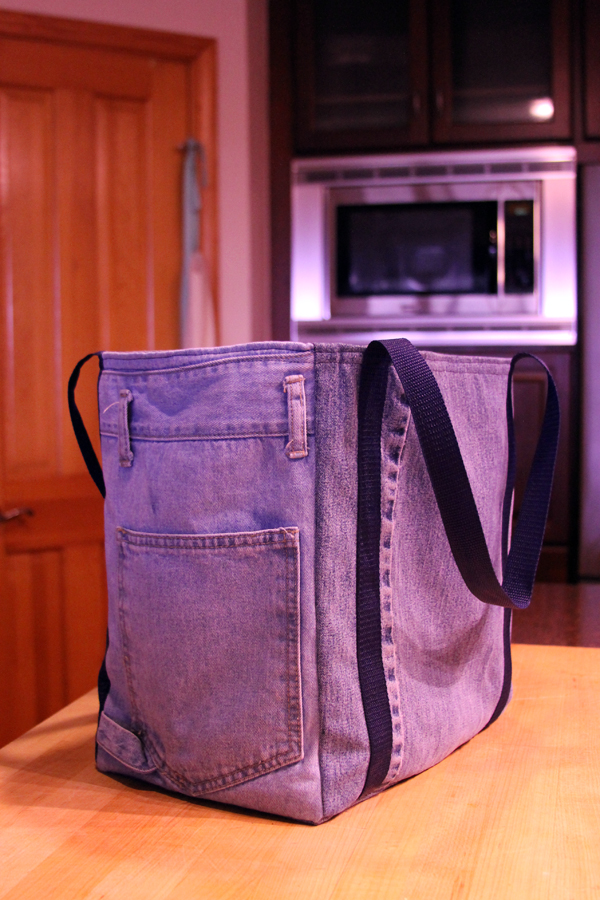
But, when I was doing the final pressing. I melted one of the handles.
Whaaaaaaaat?
Yes. In my ironing zeal to make sure that the edges were nice and crisp, I melted one of those polyester straps. Also called webbing. Or belting.
It’s still usable but I knew I couldn’t put that in a giveaway so I started all over. But no pictures. It takes me MUCH longer to take the photos, edit them, then write the tutorial than it does to make the actual project. Plus I had to make a mad dash to Joanne’s Fabric’s to pick up the new webbing. That’s a 35 minute drive one way. And then there’s that hour that I have to browse….
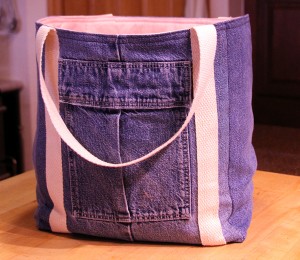
The tutorial will feature this tote.
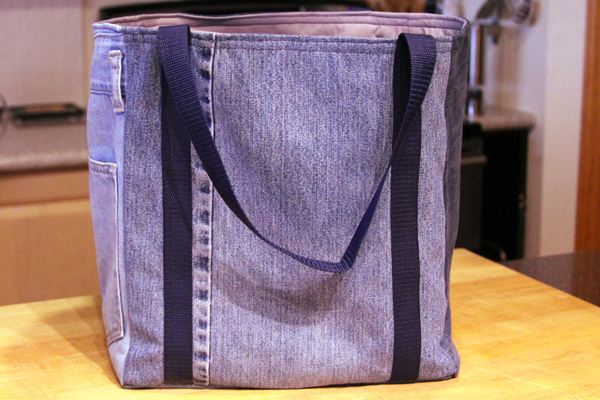
But I’ll be giving away this tote. Which I actually like much better. See those handles? Those are cotton, not poly, and will NOT melt. (Learned a valuable lesson!) The lining fabric is a pretty pink check from Moda which turned out much better than the gray I used on the first bag.
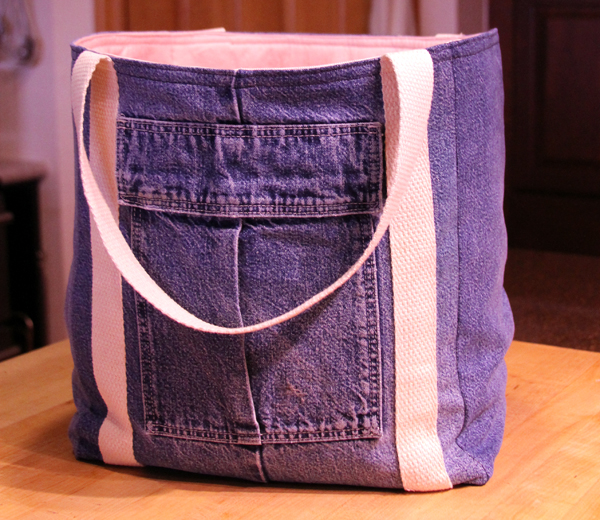
And do you wonder what did I do with the other tote? It’s in my husband’s jeep so when he stops to pick up some groceries he has a manly shopping bag! And he was really happy to get it! He said “cool”. That’s high praise.
This is
Week Five of the Giveaway! (giveaway closed)
One more week. This is a really nice bag but next week’s will be even better! Just leave a comment on this post, you’ll be entered into the giveaway. Then next week, comment again. Then I pull the totally random name out of the totally random grab bag and the winner gets to pick a tote.
So far we have
and now….
And I would love to show you next week’s tote. (If I only knew what it was or if I even had the fabric, yet)
I used denim for the outside of this bag. I’m a denim hoarder collector. Any old jeans or chambray shirts go into a box. I’ve been doing this for years and daughter-in-law Lauri has been giving me Riley’s old jeans since she found out about my secret stash. (I don’t call myself a hoarder because I actually eventually use the denim.)
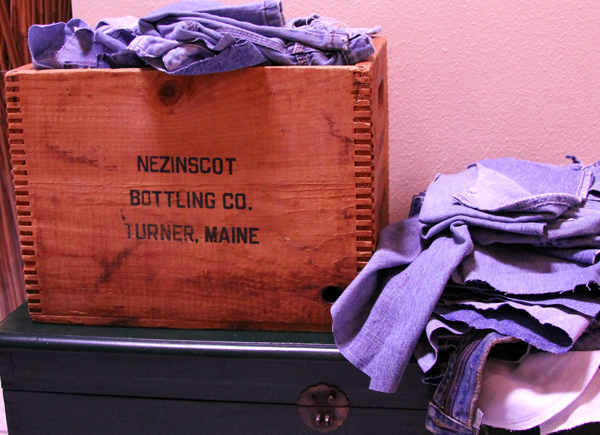
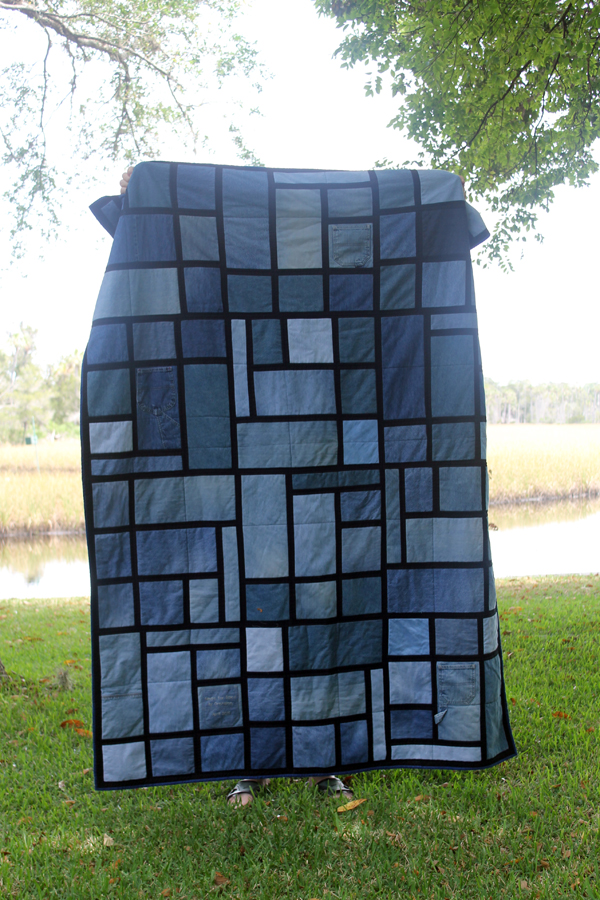
I made Riley this quilt from my “collection”.
And will probably use the same stuff when I make quilts for the other older grandkids, Courtney and Justin.
So I had lots of fun cutting up old jeans and trying to “fussy cut” the pockets.
What’s new in this week’s bag? I’m using the “plus method” to build the tote and adding a bottom insert to give it extra structure.
Here’s this week’s tutorial….
Shopping Tote Tutorial
The finished bag measures 13″ high, 12″ wide, and 8″ deep. I based it on those reusable grocery sacks that you can buy at Publix.
For the tote, you need fabric, fusible fleece, webbing, muslin, and plastic canvas.
I used denim for the exterior bag and quilting weight cotton for the interior.
 Cut the following:
Exterior Bag
2 – 13” x 14” (front and back)
2 – 9” x 14” (sides)
1 – 9” x 13” (bottom)
7 ½” x 8 ½” (pocket)
Lining
2 – 13” x 14” (front and back)
2 – 9” x 14” (sides)
1 – 9” x 13” (bottom)
7 ½” x 8 ½” (pocket)
Fusible Fleece
2 – 12” x 13”
2 – 8” x 13”
1 – 8” x 12”
Bottom Insert
Plastic Canvas – 8” x 12”
Muslin — 9” x 26 ½”
Handles
Webbing 2 – 47”
Now it’s time to sew! I used 1/2″ seam allowances throughout unless otherwise indicated. I also press as I go but I’m not putting that in the instructions!
Since this is a shopping bag that I want to be able to carry a watermelon if necessary, I have double stitched all seams. The handles also go all the way to the bottom of the bag to provide extra support.
Some sewing machines have issues going through denim. I have attempted to eliminate stitching over double layers of denim as much as possible.
Lining
Press the fusible fleece onto the wrong side of the fabric for the lining.
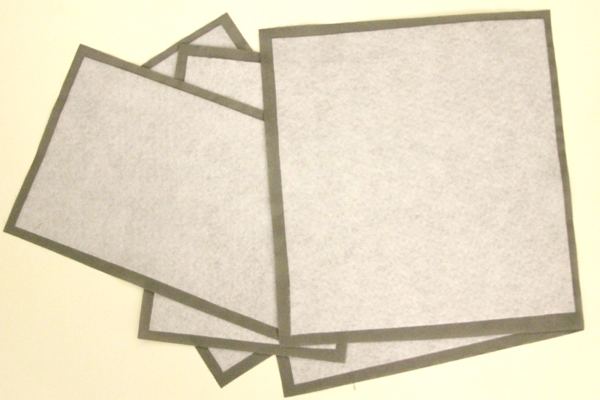
Add pocket.
Take the two pieces for the pocket (denim and lining)
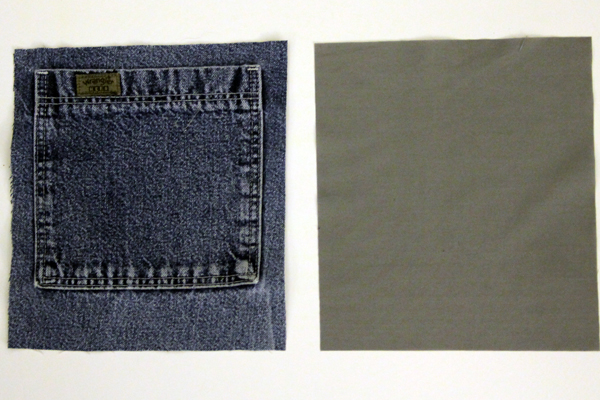 Sew them wrong sides together with 1/4″ seam, leaving an opening for turning it right side out. Turn right side out through the opening and stitch the top close to the edge and then another 1/4″ away.
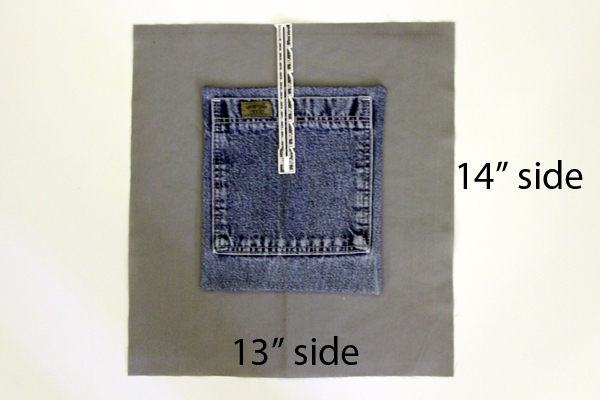
Fold one of the 13″ x 14″ pieces of lining fabric and press to mark the center. Fold the pocket and press the center. Place the pocket on the center of the fabric, 2 1/2″ down from the top edge. Stitch around the two sides and the bottom.
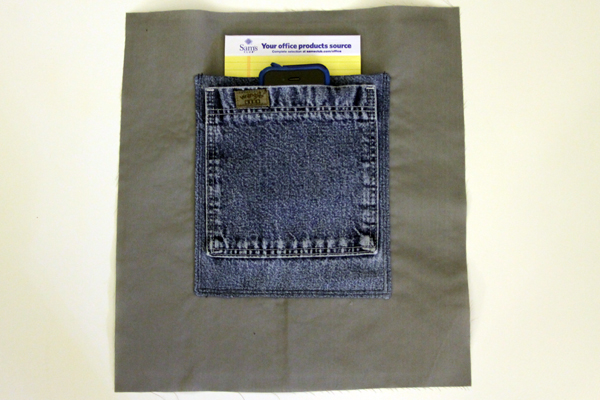
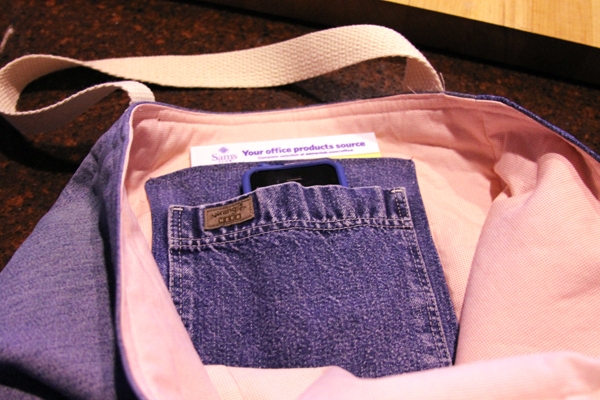
Now you have a double pocket for your phone and notepad!
 We are putting together the bag using the Plus Sign Method.
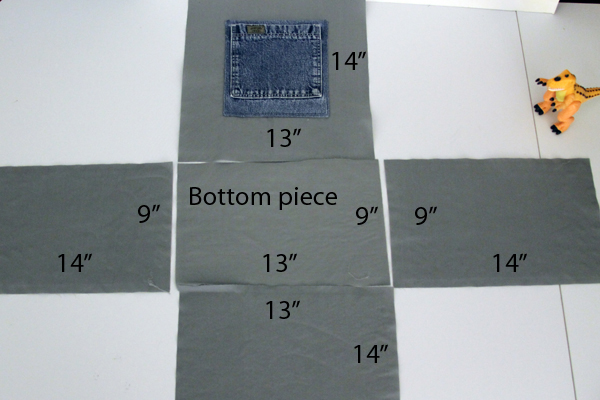
With right sides together, stitch the bottom to the four sides, starting at ½” from one end and ending at ½” from the other on each side.
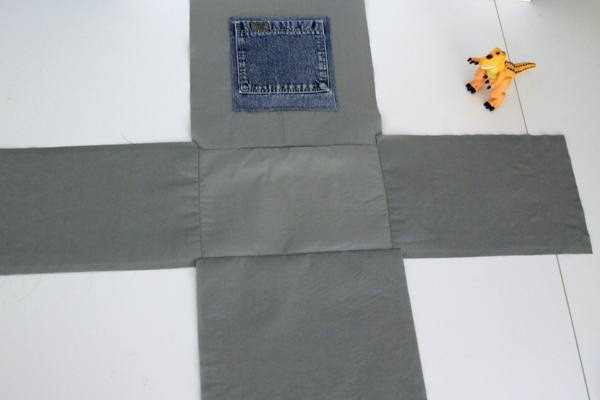
Fold the plus sign right sides together and sew the outer edges. Just the straight edges, not the diagonal that is the bottom piece. Seems weird but it WORKS!
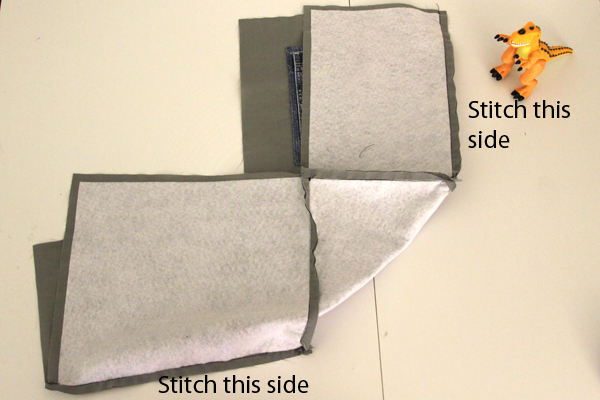
Fold right sides together (see the following photo) and sew up the remaining two sides.
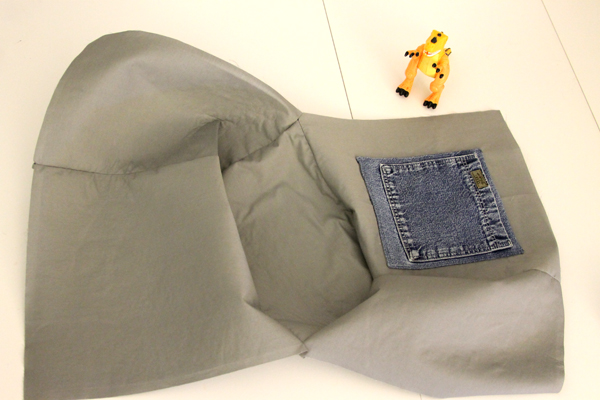
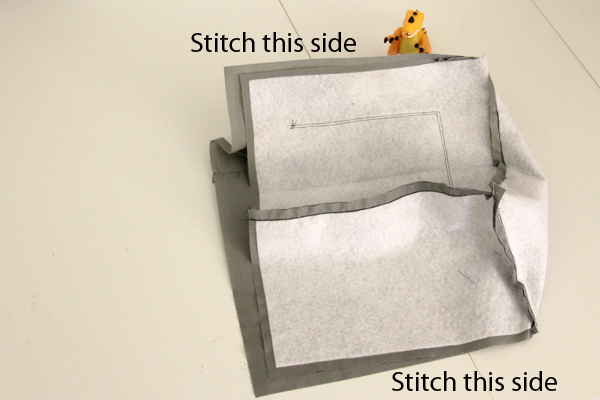
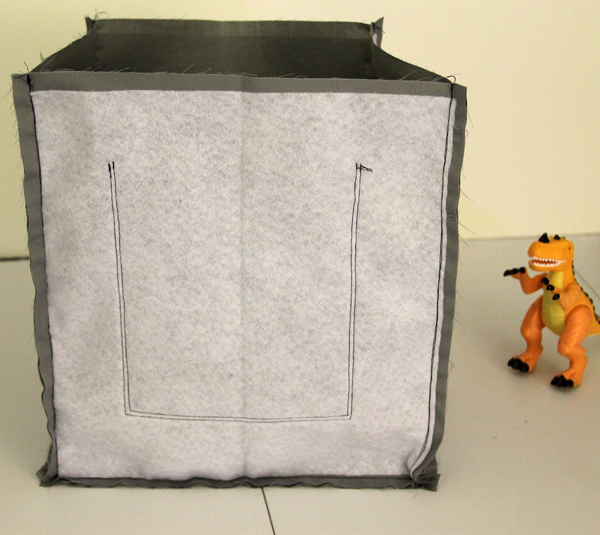
It’s a BOX! How cool is that?!
To make the bottom a bit sturdier, we’re adding a bottom insert,
No one will ever see this piece, so you can use whatever lightweight fabric you want. I’m using white muslin because it is cheap and I always have it on hand.
First you need a piece of plastic canvas cut to 8″ x 12″. You can get this at any hobby store or WalMart. I think it’s original purpose is needlepoint.
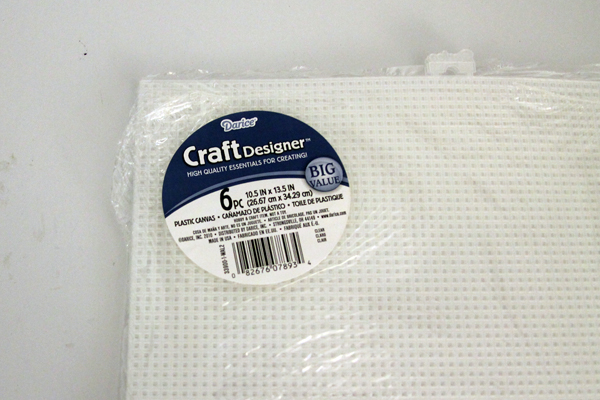 Take the 9” x 26 ½” piece of muslin and turn under ¼” on one of the long sides.
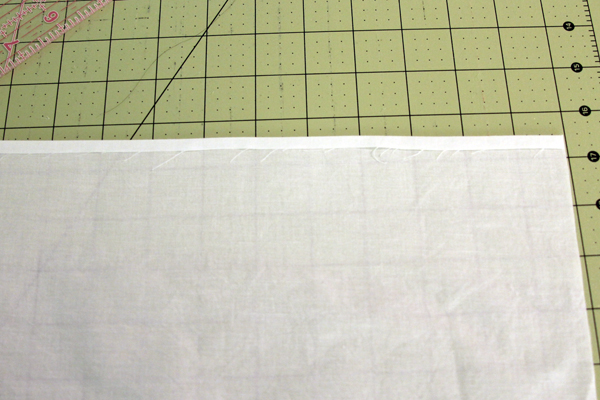
Fold right sides together of the fabric. Sew one narrow edge and the long side. (I’m using a dark thread so you can see the seams)
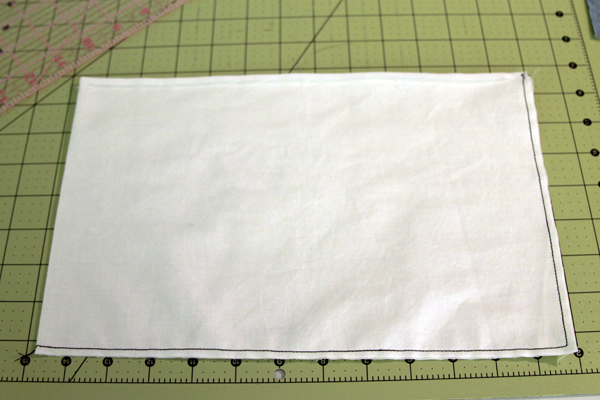
Turn right side out. Stitch a seam ½” away from each short edge. Slip the plastic canvas into sleeve and stitch close to the open side.
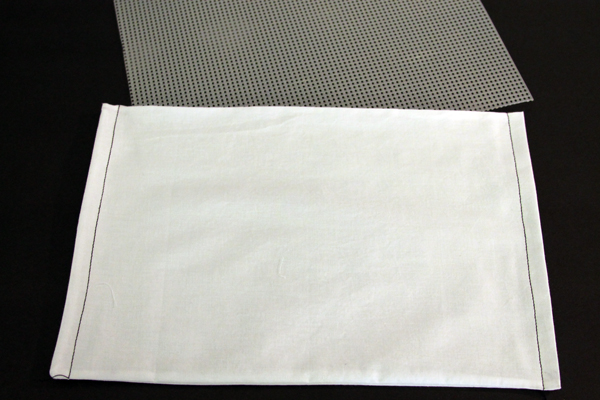 Turn the bag upside down and you’ll have the wrong side of the bottom.
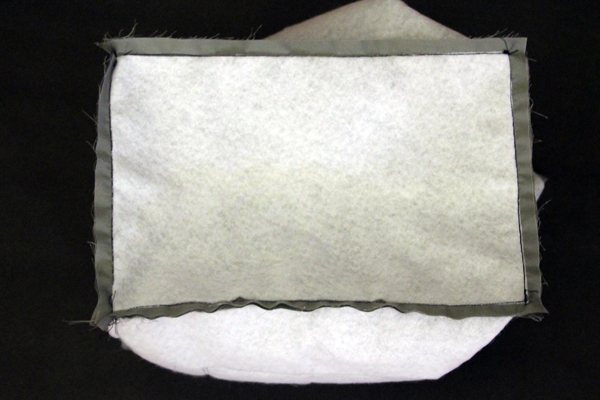
Line the insert up with the bottom and sew the insert’s little handles to the 8″ sides’ seam allowances. Here’s one side sewn in the following pic.
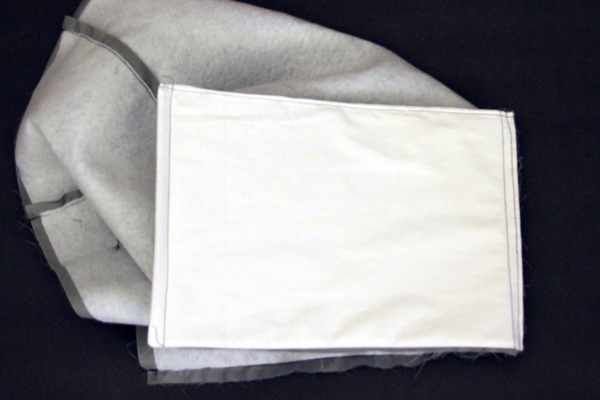
And the other side. Make sure the insert isn’t crooked or bowed.
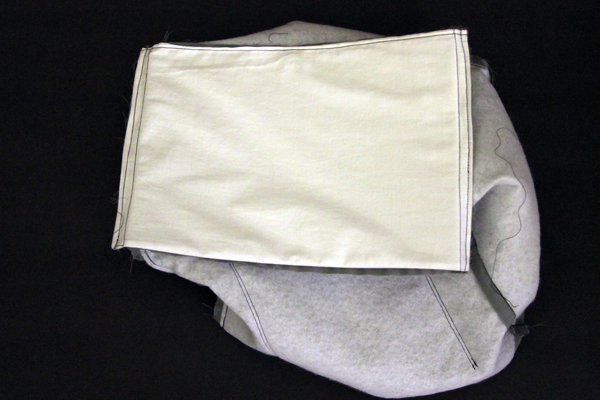
Wow! My stitching is really bad on these! But, no one (other than you) will ever see it!
Handles
Take the 12” x 14” pieces of the exterior bag.
Put the webbing 2” from each side. Make sure the handle is not twisted. The end of the webbing will go all the way to the bottom of the piece. Stitch very close to the edge on both sides of the handle, stopping 1” from the top.
Now I have to interject. The cotton webbing I bought for the second tote which is the giveaway was bit wider. So I placed it 1 1/2″ from the side.
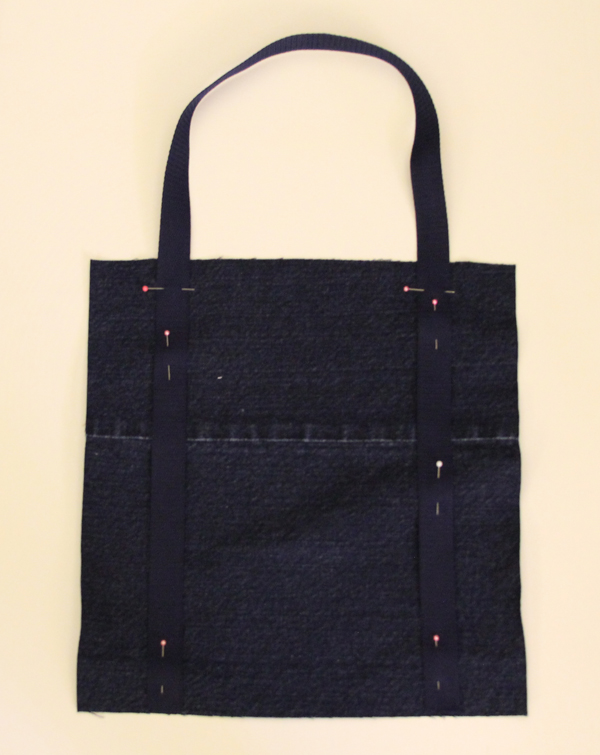
Exterior of Tote
Now use the Plus Method to put the pieces together just like we did with the lining. Make sure keep the handles are tucked in.
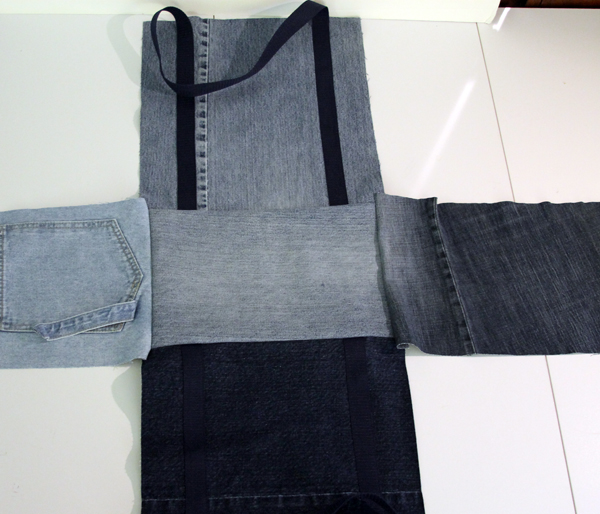
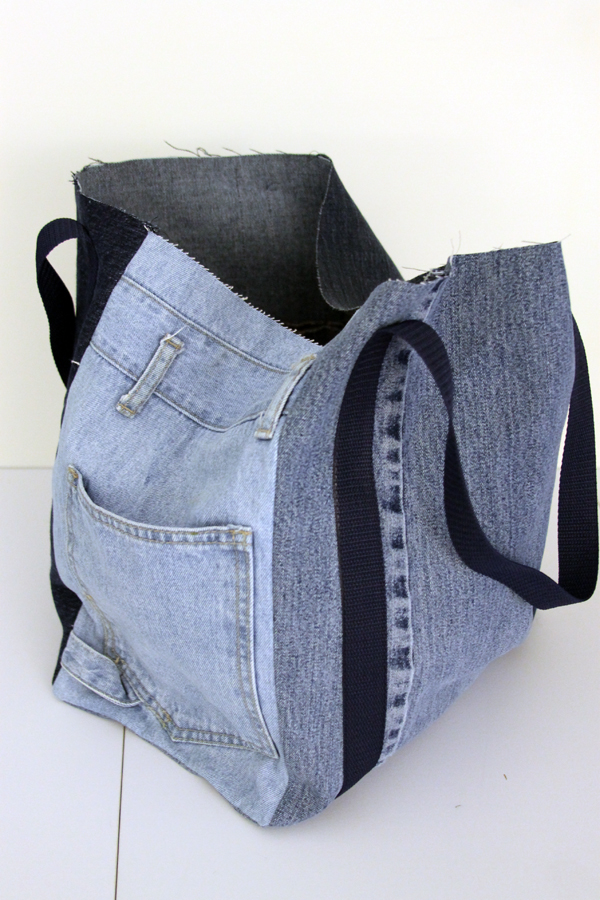
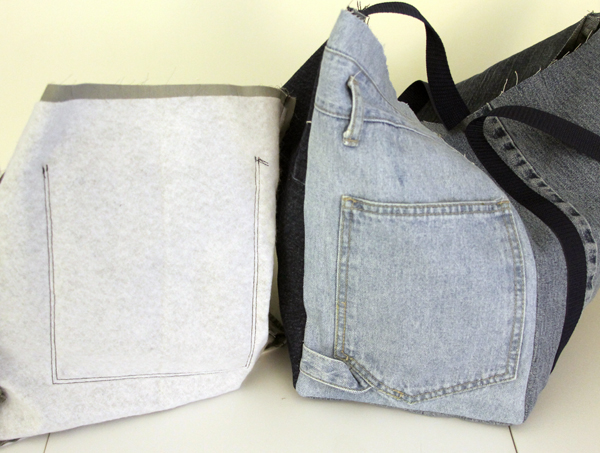
Put the exterior bag inside of the interior bag. Right sides will be together. Make sure the handles are inside.
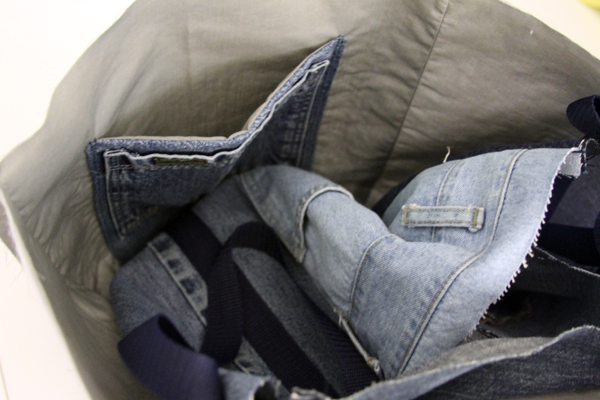
Match the seams and stitch along the top edge ½” leaving about a 6” opening so you can pull the lining out.
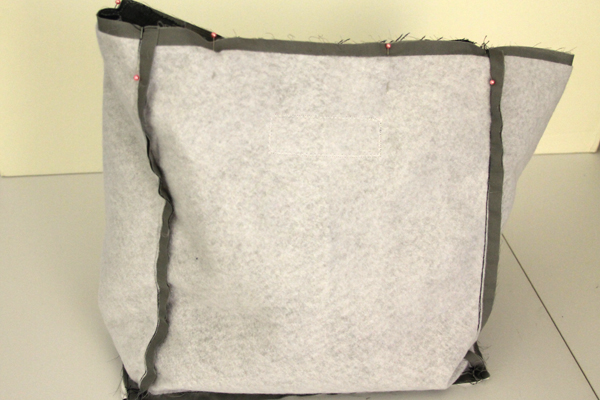
Pull the bag out through the opening. Tuck the interior bag inside the exterior bag. Right sides are now out and stitch close to the edge. Making sure you stitch over the handles. Then stitch another ½” away from the top edge.
Done!
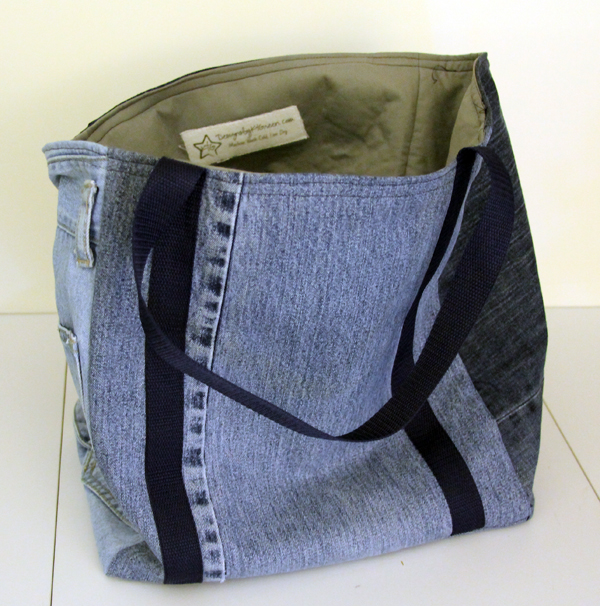
And here’s the tote that I will giveaway.
If that’s the one you want, of course!
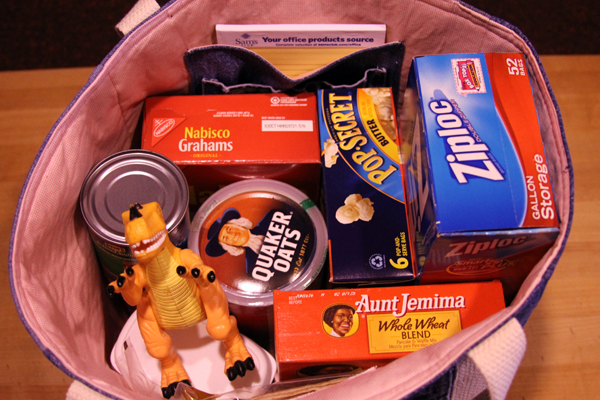
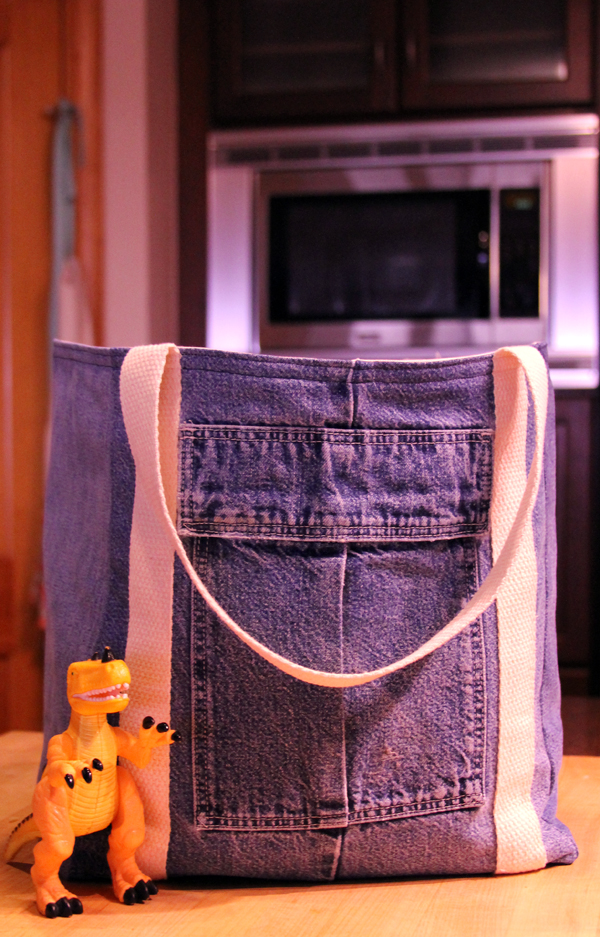 It’s very roomy and VERY strong. I have made several of these and I always tell the bagging person at the store to cram as much as possible into that tote.
 It’s got a fun little double pocket for your phone and grocery list.
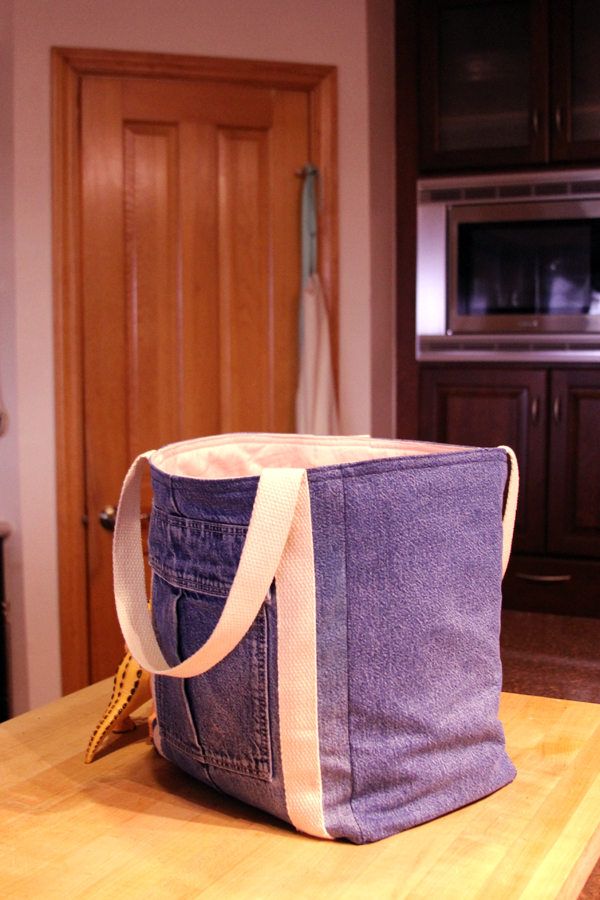 Here’s all the totes! You can win one! Just enter a comment!
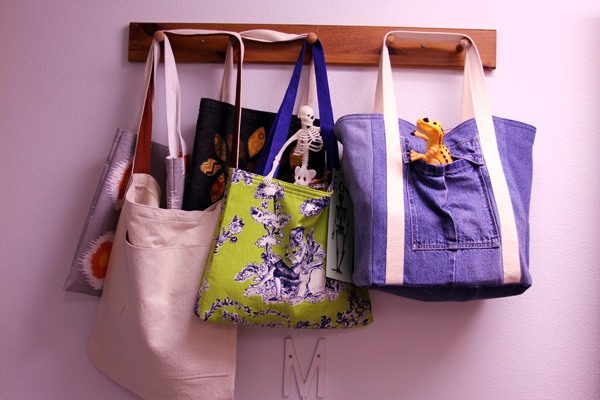
One more week, the next tote will be the best. Still need to decide what I’m making.

Discover more from
Subscribe to get the latest posts sent to your email.



complimenti!!!! le tue borse sono veramente belle e particolari. ciao
complimenti!!!! le tue borse sono veramente belle e particolari. ciao
Thanks Lory!
Such a usable bag & great directions
Thanks Terry, I always worry that I’ve missed a step in my tutorials so I try to make them twice.
Oh my goodness! That is the cutest one yet. It would be a handy manly one for sure. That is a great use of denim. Talk about recycle ideas!
Thank you Margaret, I agree, this bag turned out the best so far!
I love that you used denim….I also *ahem* collect denim for later use. The bag se3ms so sturdy and made to last.
Veronica, I love using denim. It’s so sturdy and always looks good.