Handy Tote
Week Three of the Giveaway!
Just leave a comment on this post and you will be automatically entered to win a tote. Not just this tote but your choice of five totes. You still have four chances to win. Just leave a comment on this post. And follow that up with a comment on the next three Tuesday’s posts.
Last tutorial will be on October 6, comments close on October 12th and I’ll do the totally random drawing then announce the winner on October 13th. Right here!
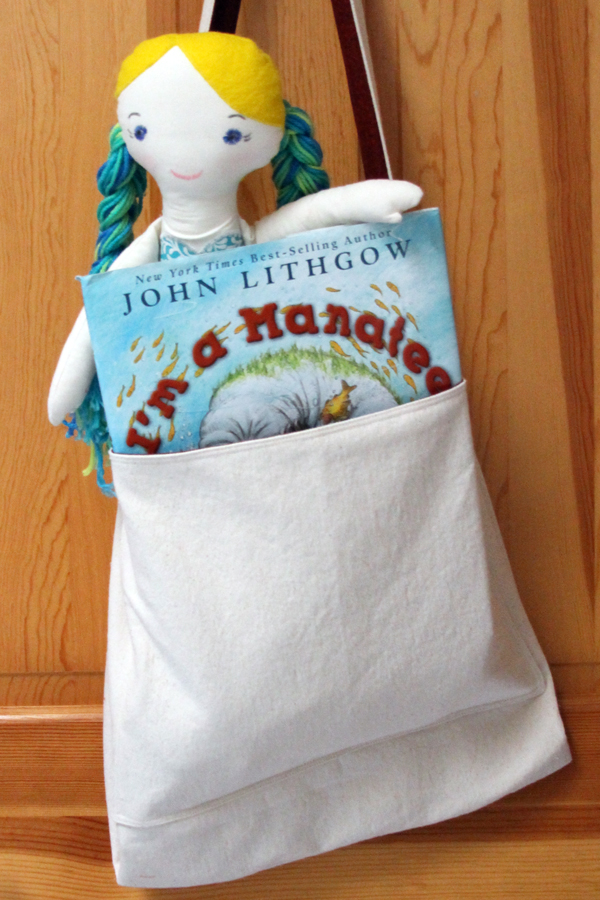
I’m calling this tote the Handy Tote. It’s sturdy and roomy and comes in handy when nothing else will do.

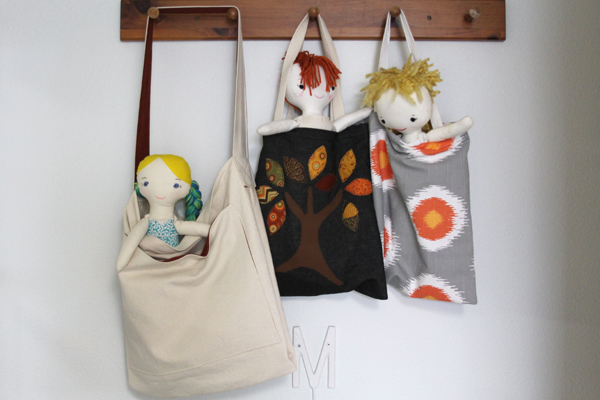
I’ve made three of these totes already. The first was at Jessica’s request. She had a bag that she really liked but it was getting worn out. So Jes left it with me to re-create. The first one I made was just supposed to be a test bag but Jes liked it so much, she took it home with her.
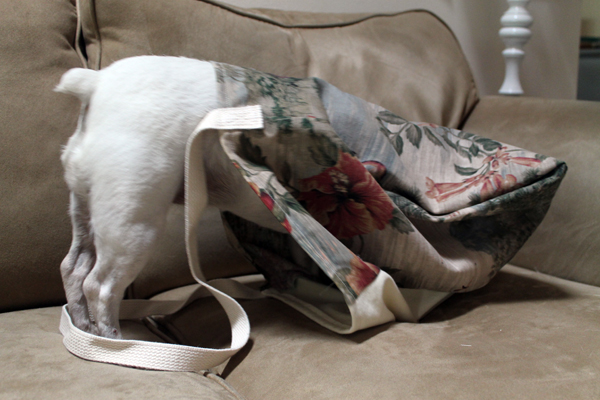
Then I made one out of some scrap upholstery pieces that I loved and wanted to use up.

I gave it to a friend that loved the vintage Florida theme.
The third tote, I made just for me and upgraded it a bit. I use it everyday for my banjo music and it’s really handy when I take my banjo on the road. The music stand fits right into a little section I added to the interior and I can wear it crossbody style. Makes getting in and out of doors much easier while I’m carrying that heavy case.
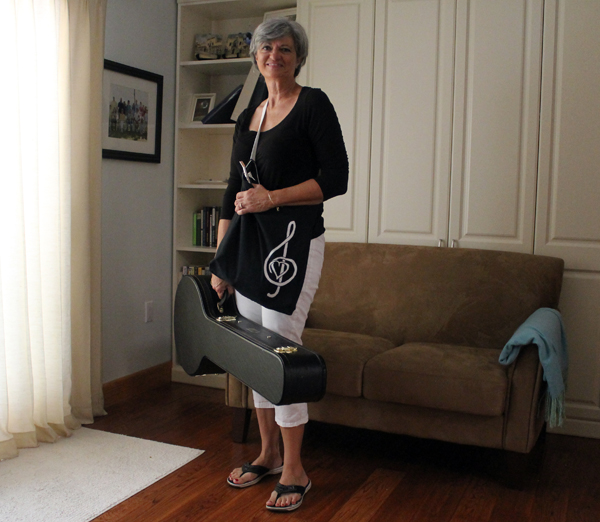
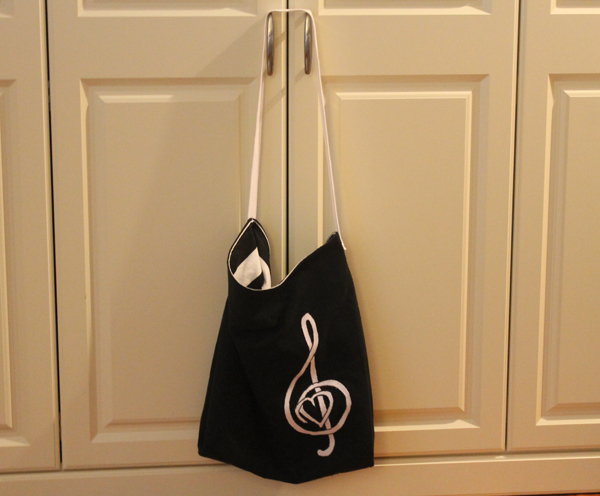 This is a simple tote to make. Unfortunately I made this version difficult for myself by trying a different finish along the top of the bag. Attaching the strap to the denim double layered top along with the bulky French seams was impossible to sew through. My sewing machine actually sounded an alarm. I worked around it
but it wasn’t pretty.
And I didn’t have time to start all over which is what I would normally do. Really. I just finished this up yesterday. I’m such a loser!
And I had a deadline!
Anyhow, I’ll point out the problem when I get to that step. But it’s still a nice sturdy tote that I will be happy to keep for myself if the winner doesn’t want it!
Since I need this tote to be extra durable to carry heavy loads like books, I double-stitched all the seams and the strap attachment.
So here are the instructions:
Handy Tote
This tote is 16 1/2″ in depth and 17 1/2″ wide. There’s a large lined outside pocket for a notebook or folder plus interior pockets large enough for an iPhone.
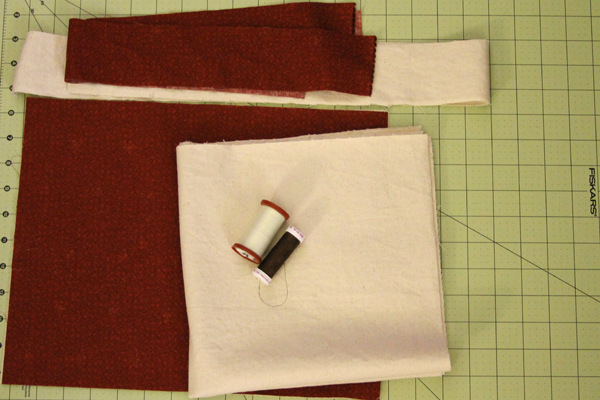
The main fabric should be sturdy like denim, duck, or upholstery fabric. I’m using a 10 oz. bull denim in natural that I purchased from Fabric.com. (It might be out of stock right now since it didn’t show up on my search of Fabric.com)
The interior pocket, the lining for the exterior pocket, and the lining for the strap should be lightweight. I used cotton quilting fabric from the Moda “Hello Fall” series.
Main Body: Cut two 19”x 19” pieces of the main fabric.
Strap: Cut two 35 ½” x 2 ½” pieces of fabric. One the main fabric, and another from the cotton print. Or you could use 35 1/2″ length of webbing.
Interior phone pocket, cut one 10” x 11” from the cotton print.
Exterior notebook pocket, cut two 13 ½” x 11” One the main fabric, the second from the cotton print.
Pockets
Take one of the 19” square main body denim pieces to place the pockets on.
First do the interior iPhone pocket
Interior iPhone Pocket
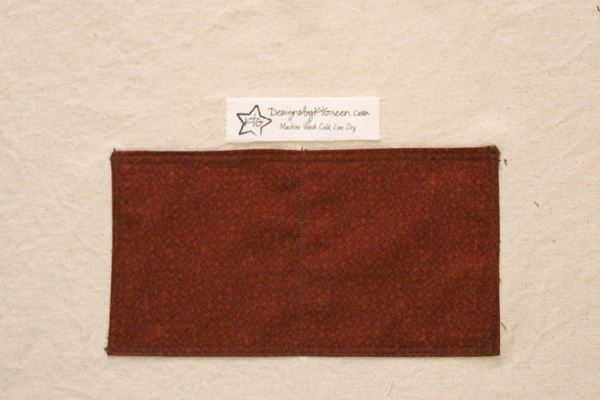
Pocket will be 9 ½” x 5 ¼”
Fold the 11” sides up, wrong sides together and stitch ¼” seams on three sides, leaving an opening for turning on one side. Trim corners, press. Turn right side out and poke out the corners. Press ¼” under on both sides of the opening. Top stitch close to top edge, then ¼” away from top edge.
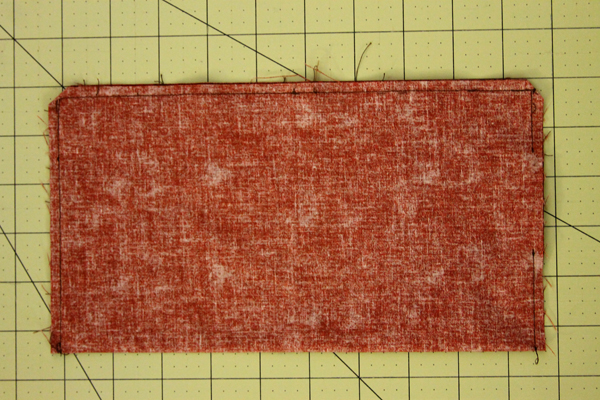
To mark the center–
Fold the pocket in half and press, then fold the 19″ square of the main body in half and press.
This pocket is going on the inside of the bag so you will place it on the wrong side of the fabric.
Position the pocket 6″ from the top with the pressed center of the pocket on the pressed center of the bag.
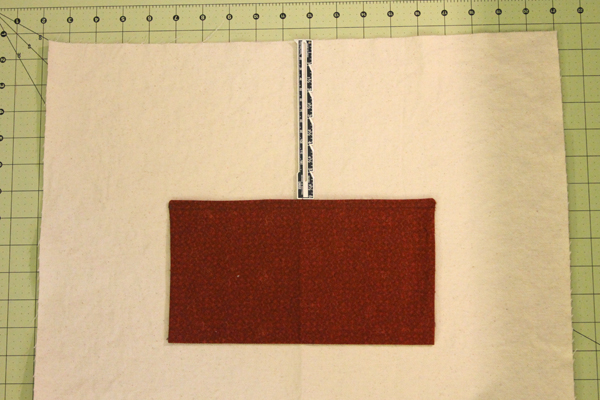
Stitch close to edge along both sides and the bottom. Stitch 1/4” inch away from edge. Stitch down center of pocket to make two pockets.
To make these pockets extra durable. I repeated all the stitching.
Exterior Large Pocket
This pocket will be 13” wide x 10 ½” high. Big enough for a paper notebook or maybe your iPad!
Put right sides together of the two 13 ½” x 11” pieces of fabric–one is denim and the other is cotton. Stitch around all four sides with ¼” seam allowance, leaving an opening to turn right side. Trim corners, turn, poke out corners. Stitch top close to edge then ¼” from edge. Fold in center and press to create a fold.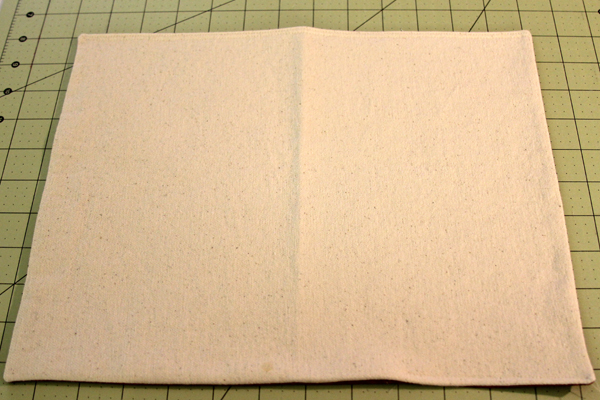
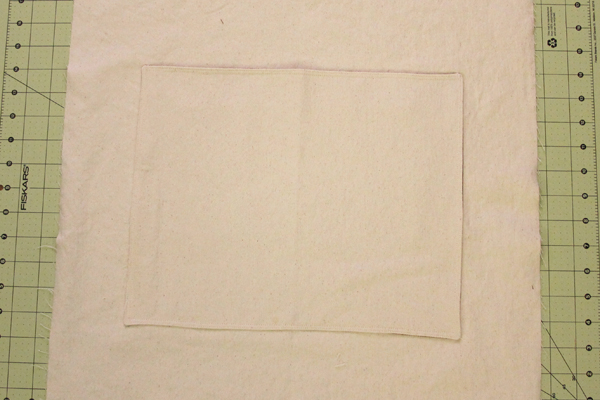
This pocket goes on the same piece that the interior pocket is on. But it goes on the right side of the fabric. This way the stitching lines are covered up from the interior pocket.
Place on the right side of the main bag piece and 4 ½” from the top. Make sure the exterior pocket and interior pocket are going in the same direction!
Sew around the three sides. First close to the edge then 1/4″ away.
Again, to make the pocket extra durable, I repeated all of the stitching.
 Main Body of Bag
French seams (I have a tutorial for French Seams if you have questions)
Take both of the 19″ pieces of the main body. Make sure the pockets are going in the right direction.
Put wrong sides together. Sew ¼” on three sides (bottom and two sides)
This denim really frayed along the edges. I trimmed it and did an overcast stitch just in case the fraying would continue and I want this bag to be extra strong.
Turn “wrong” side out (so the new seams are on the inside) The right side will be on the inside
Sew ½” seams on the 2 sides and bottom.
To make the bag extra durable, I stitched the sides and bottom again.
Pleated Bottom
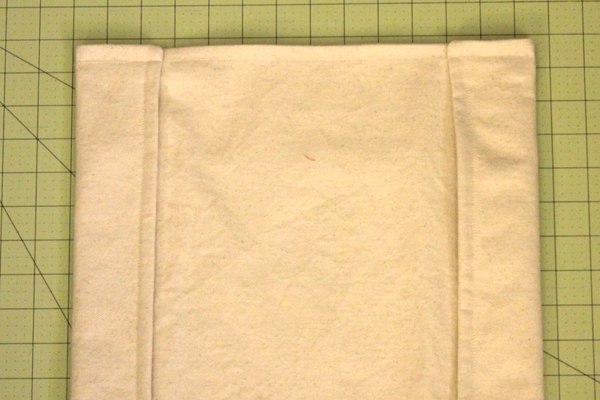
At the bottom, turn sides in 2 1/2″.
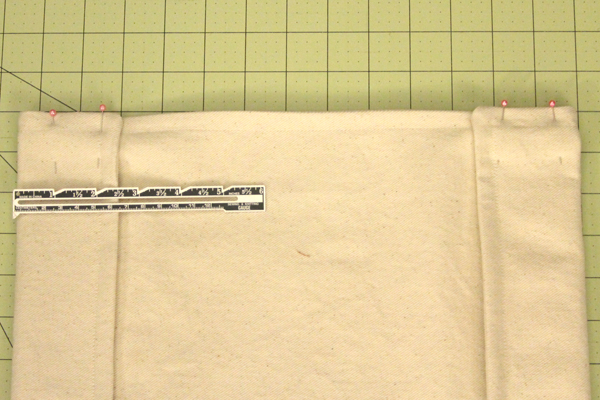 And sew a 1/2″ seam across the bottom.
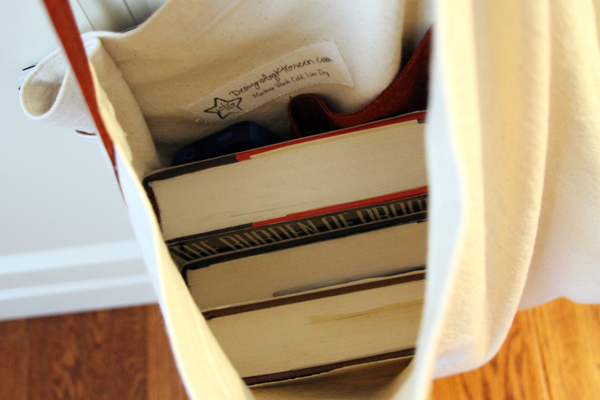
Yes, I did sew it twice. Those books are not going to fall out!
Finishing Top Edge
(Okay. This is the part that killed me. I usually put a lighter facing in the bag. But I thought just turning the fabric down would be easier to explain.)
Turn the top raw edge to the inside ½”, press and stitch close to the raw edge.
Turn under another 1”. Press, stitch close to the finished edge and topstitch along the top of the bag.
(So right there–with the French seams, you have about four layers of denim. Not a good idea!)
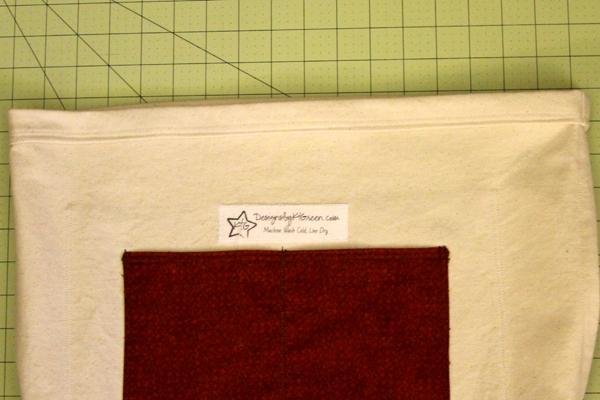
This is the inside of the bag
Strap
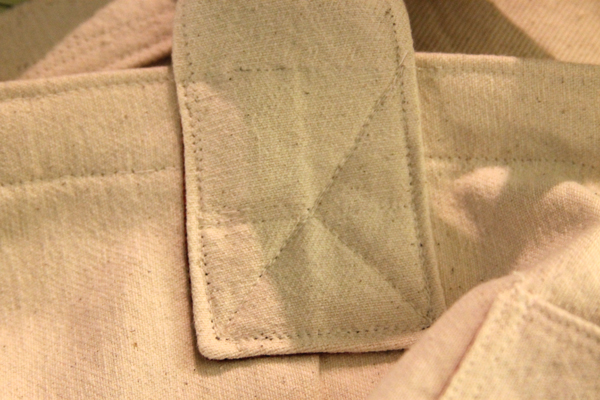
The easy way is to just use 35 ½” cotton webbing for the strap. Turn under ½” on each end. Center each end to the side seams on the bag. The bottom edge will be 2 ½” from the top edge. Stitch very close to the edge on both straps and then do a little box on the very end with an X in the middle. The box should be about 3/4″ square. This gives the strap extra strength.
And then there’s the hard way….
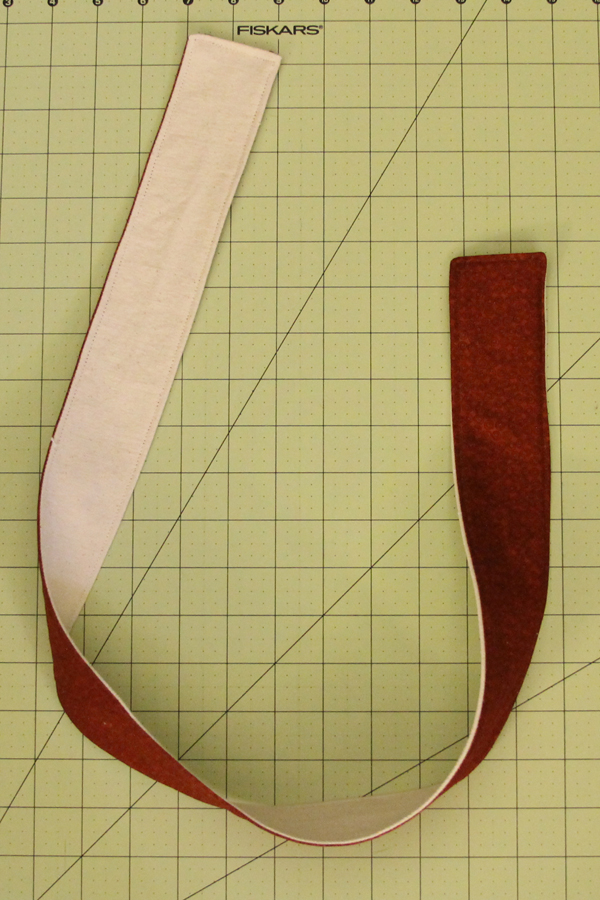
Take the two long pieces of fabric for the handle and with right sides together, sew along one of the short ends and the two long sides with a ¼” seam. Turn right sides out. Press. Tuck the open end in. Top stitch close to all sides.
Place the end of one of the handles 2 ½” from the top edge. Starting at the top edge of the bag on the strap, sew a box. It should be about 2″ square from the top edge to the bottom edge. I usually put an X in the box but I couldn’t get my sewing machine to go through all the layers of denim. Grrrrrr. I ended up sewing lines where I could. Not Pretty. But the strap should be very sturdy. And not come apart while you are carrying all your books in your Handy Tote!
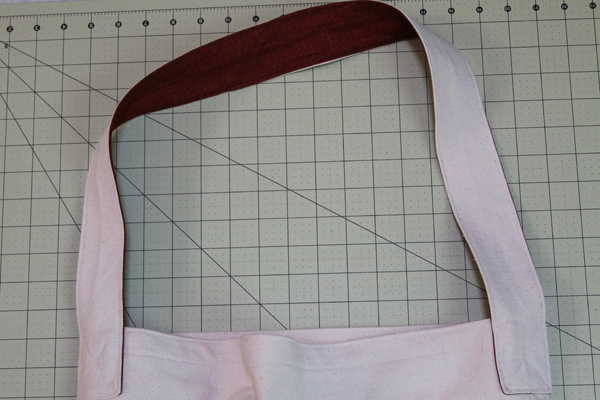 And that’s it!
Three more weeks of totes! And three more weeks with chances to win!

You might also like:
Discover more from
Subscribe to get the latest posts sent to your email.



Didn’t see the phrase “easy-peasy” next to this so may be a bit advanced for moi!
Terry, yeah, this one is one step up from easy peasy! I’m working on next week’s tote. I think you will like it!
Darling bag for all my books! Great job!
Thanks Liz!
I enjoy reading your tutorials but haven’t tried any of them. It looks like you have very detailed instructions so it should be easy to follow them. It must be lots of work to write them.
I have been reading your other blog right along and especially like the pictures of the kids. the waterway and your bike rides. It gets cold here in CT so it helps to stay warm when you see the warmer weather! Keep up the good work!
Thanks Margaret! I didn’t know you followed the blog. Glad you enjoy our sun and fun in Florida!
I’m with Terry! It needs to be easy peasy for my lack of sewing ability! I enjoy thinking about it though.
I love the beautiful greeting cards you make and took a few extra sets when I was in CT. And I still use them! I might be able to do a very basic “easy peasy” version of a card but doubt if I could do the detail you go to. But I can sit for hours and play with my sewing machine. Just matters what you love and enjoy!
I want to win! I have a bunch of these but I want more! 🙂