Easy Peasy Tote
Week Two of the Giveaway!
My daughter Jes was here for the weekend and says the rules for this Giveaway are confusing. She thought I was giving a tote away every week. No Jes. That’s not the way it goes. Comment one time every week, today and for the next four weeks then I will randomly chose a winner from all the comments from the tutorial posts.
I think I just made it even more confusing. Anyhow, stay with me. Just enter a comment after you read this!
This tutorial is for the Easy-Peasy Tote.
As its name implies, this is simple. Definitely a beginner sewist could make this one.
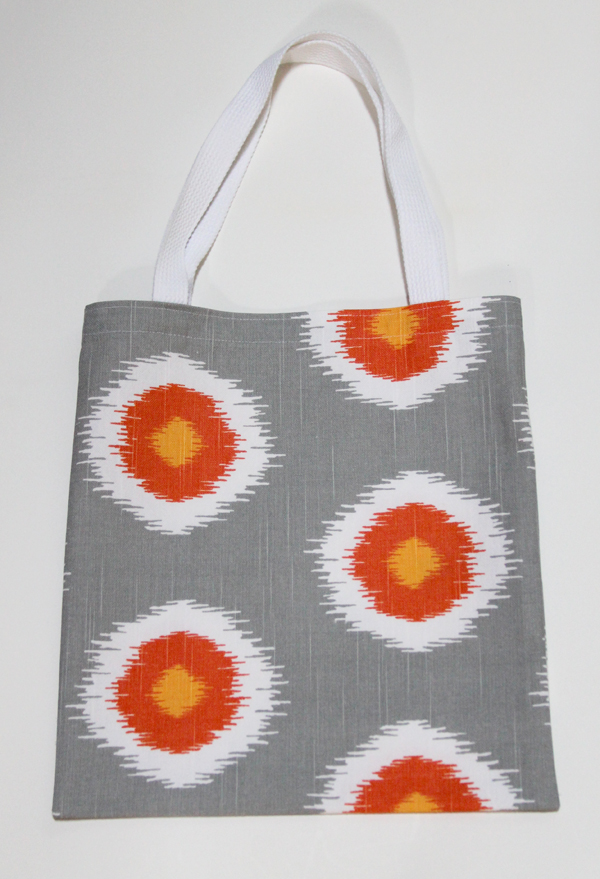
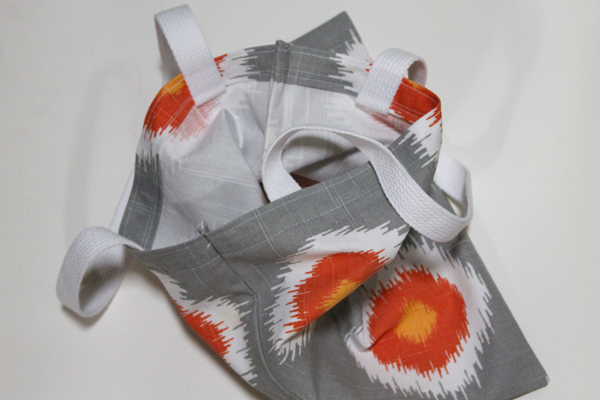
The finished bag is 12″ x 13.5″, with french seams and webbing for handles. I have probably made close to 100 over the last three years. We used them as gift bags for our guests for both my son and my daughter’s weddings and I keep a couple at the house. When I need a hostess gift, I’m ready. Throw a couple of handmade tea towels into the bag, add some little goodies–Perfect!
(I also hear from a reliable source that this bag very nicely holds a six-pack of beer.)
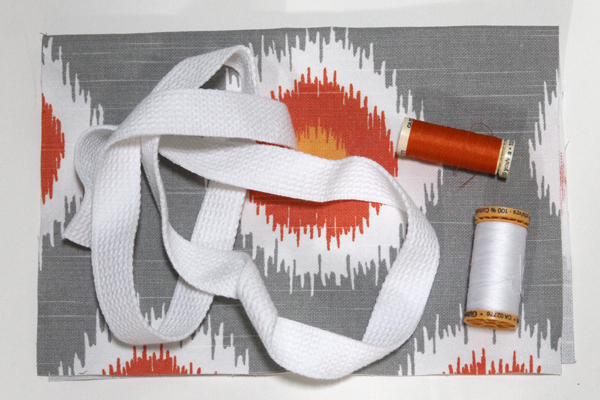
I use something sturdy like denim, duck, or upholstery fabric. For the demo bag, I’m using a fabric from Premier Prints.
Easy Peasy Tote Tutorial
Cut one piece of 14” x 30” fabric. The thread can match or contrast.
Cut two 22” pieces of webbing for handles.
Handles:
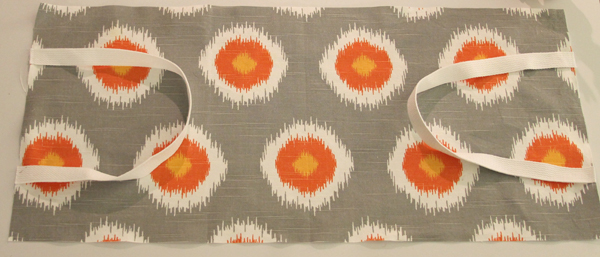
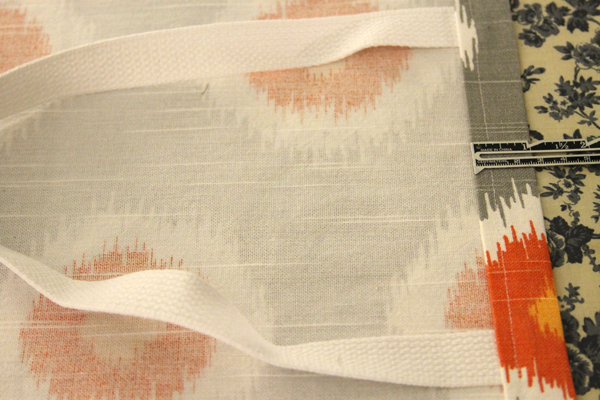
Attach handles 3 inches from each side on the right side of the fabric on both ends. Make sure the webbing is not twisted. Sew close to the edge.
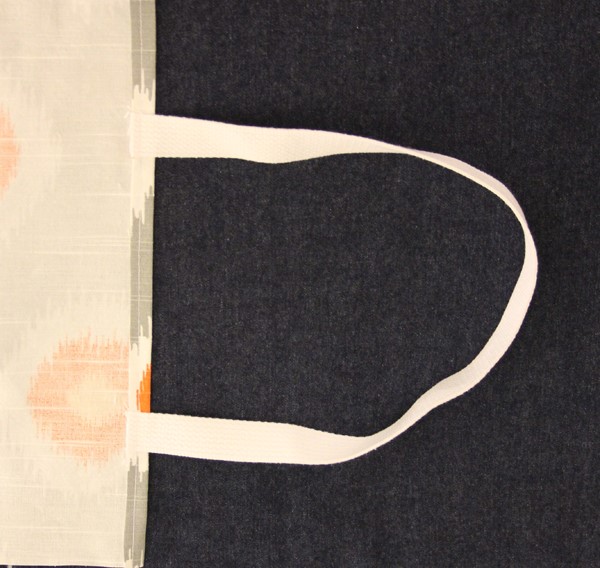
Turn under another under ½ ” and stitch 1/4” from edge.
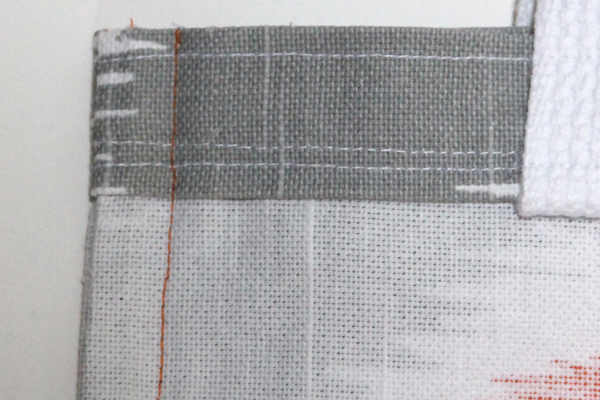
Turn under 1” .
Then push up the handles in the other direction. Stitch 7/8” from edge–this line should be right on top of the line you just stitched. Top stitch close to edge.
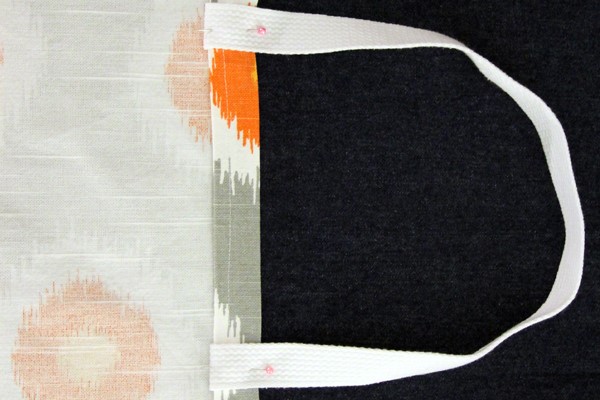 If adding embellishments, this is the time to do it! More about that later!
Put the Tote Together
French Seams: (I have more detailed directions here if you need further help!)
Put WRONG sides together
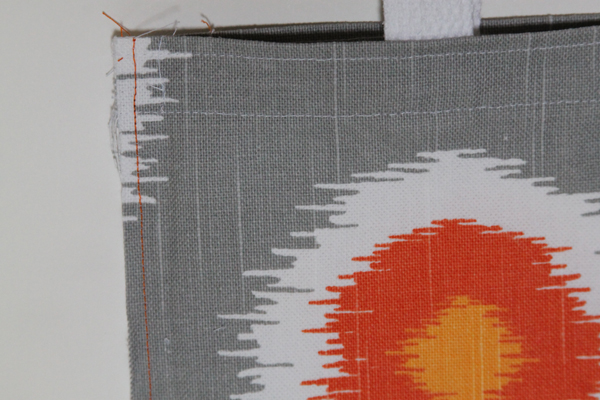
Stitch ¼” from each side.
Turn right side out, press.
Stitch ½” from edge on both sides
Turn right side out. Poke the corners out with a chop stick.
Press
Done!
With nice finished French seams.
Now, let’s make one a little prettier!
Embellished Easy-Peasy Tote
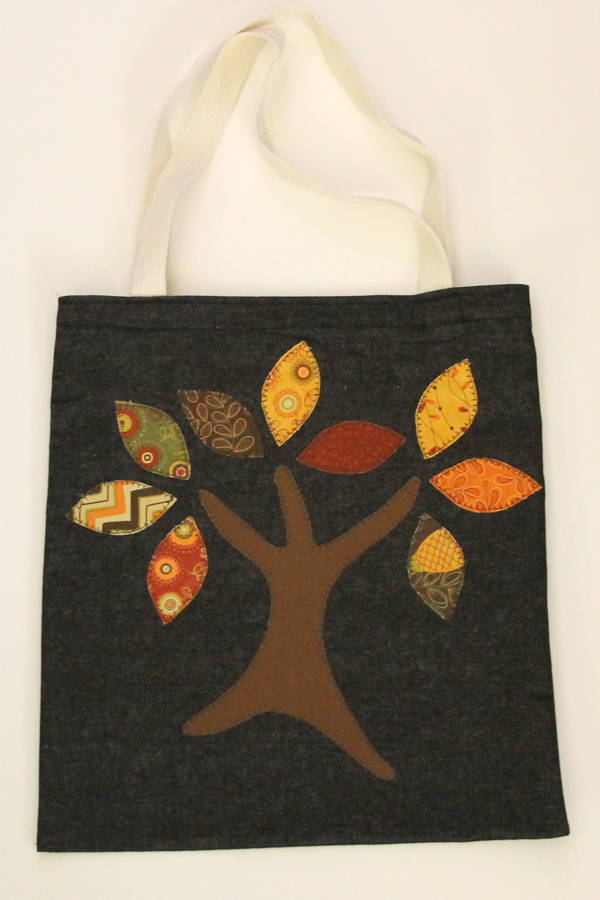
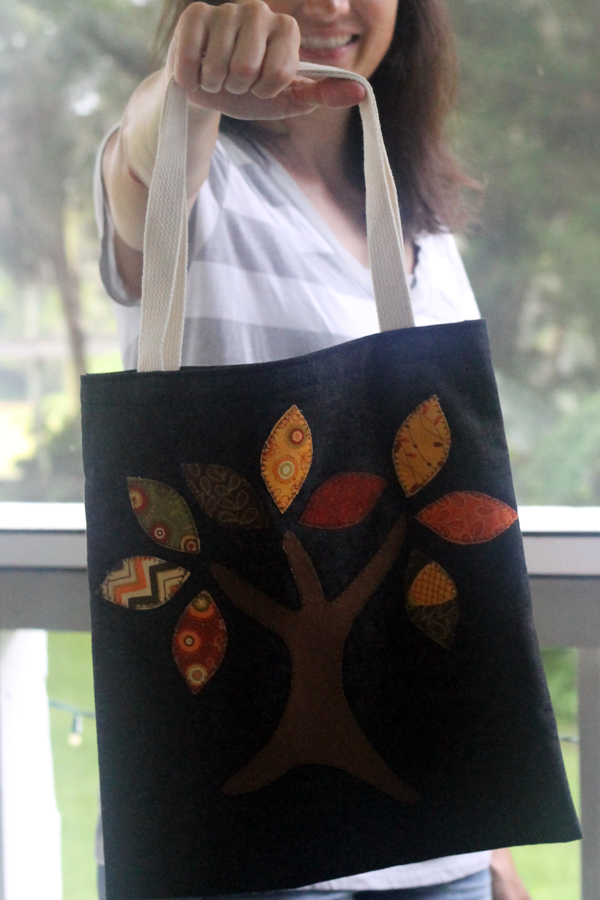
Same instructions, but before sewing the French Seams, let’s add an autumn themed applique.
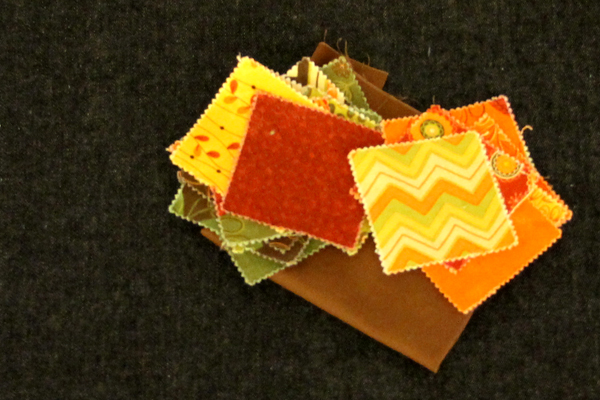
I used denim for the bag and I picked up a Moda mini charm pack “Hello Fall” at our local quilt shop. Plus I pulled a small piece of brown Moda Bella out of my scrap bag.
I drew a tree and a leaf freehand but to help you out I’ve attached a PDF of the pattern that can be printed. Just click here: Pattern for Tree and Leaves
I made one trunk and nine leaves. I use Heat n’ Bond Lite for my appliques but there are many other products out there. Follow the package instructions.
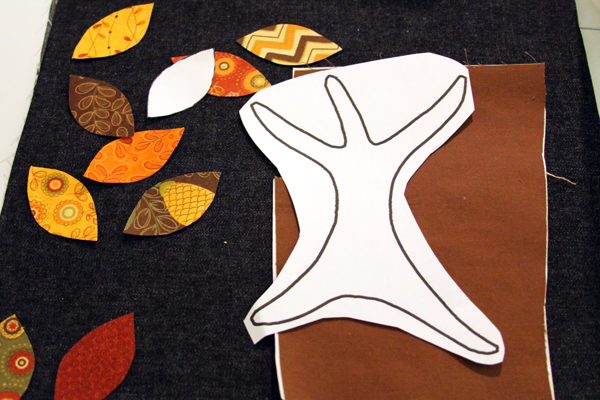
I arranged the pieces on the front of the bag.
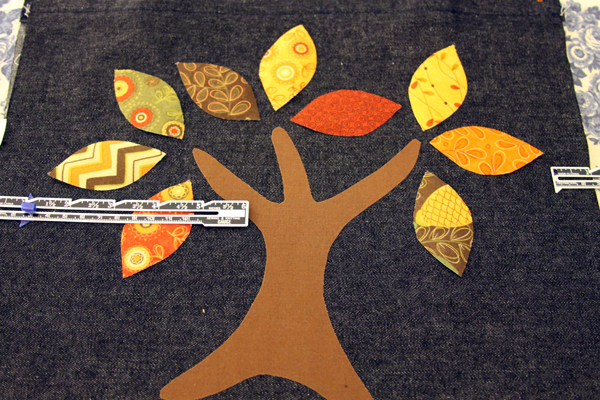
Any embellishments must be at least ¾” from the sides to account for the French seams so I put the applique 1″ from each side. Then did a little blanket stitch around each piece.
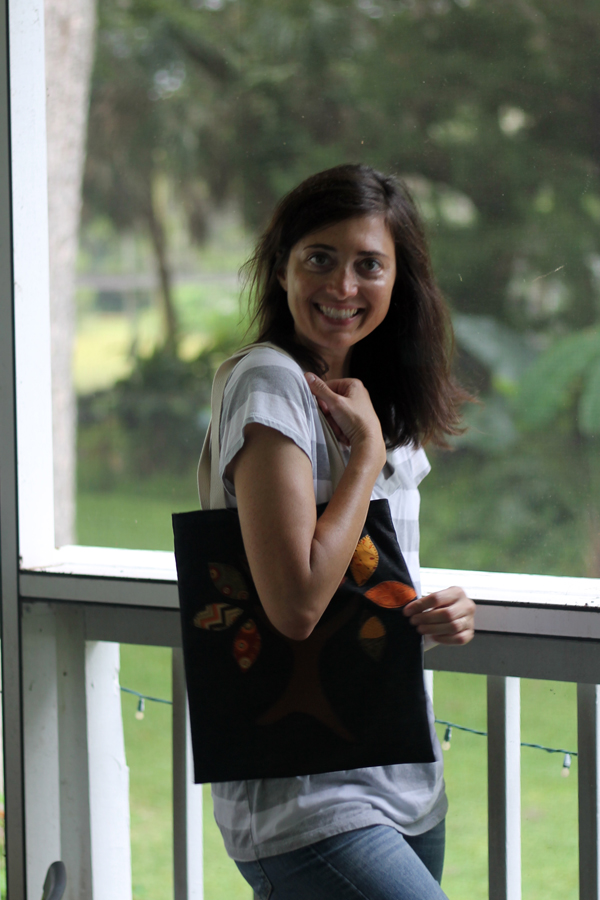
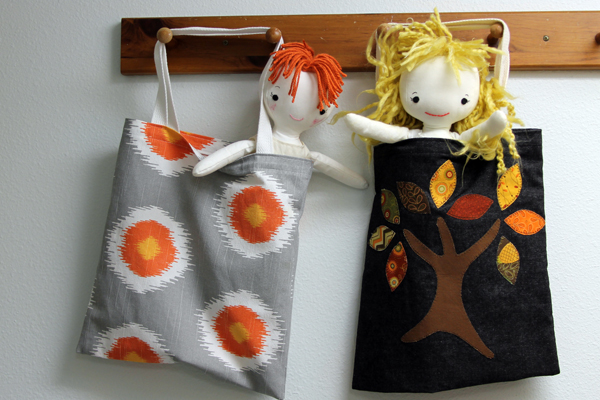
Since Jes was here, Maggie got a break from modeling. (Although Maggie still expected some dog biscuits after the photo session.)
Maggie wanted to know if I was paying Jes with her dog biscuits. No Maggie, Jes prefers wine.
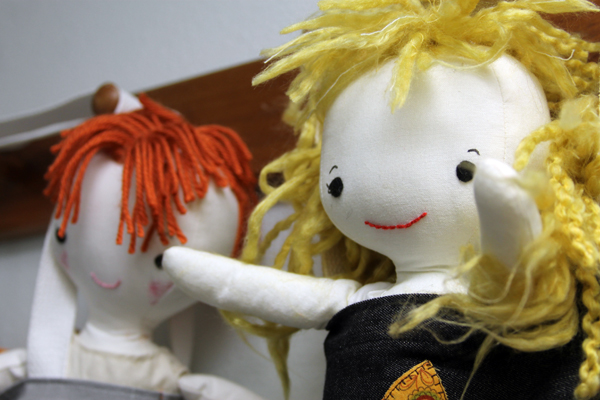
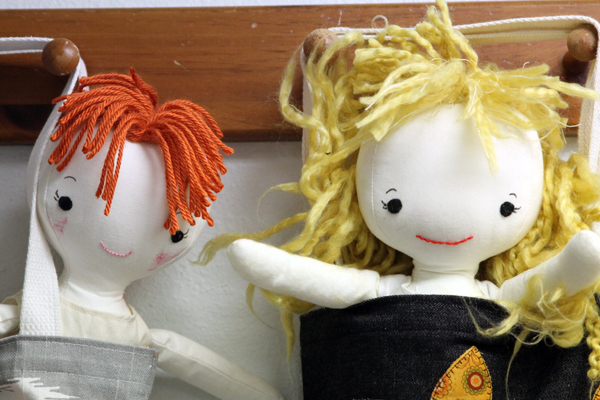
I made these dolls from a Wee Wonderful pattern a few years ago. The hair was falling out so Addy and Kendall asked if I would do a little updating. No problemo! Jes gave them haircuts while she was here.
Carrottop got a mohawk. Jes gave Happy a mohawk with a mullet. Think she called it a Momullet.
Don’t worry Addy and Kendall, Grandma will make them beautiful again!
Next week I’ll be featuring another simple and fun tote that will be a little bigger and will feature some pockets. Hope you come back to check it out!
Discover more from
Subscribe to get the latest posts sent to your email.

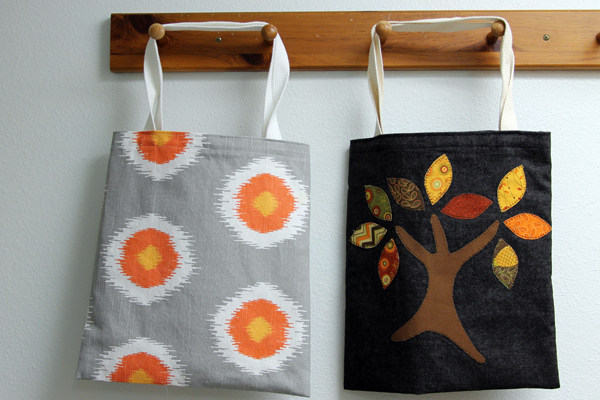
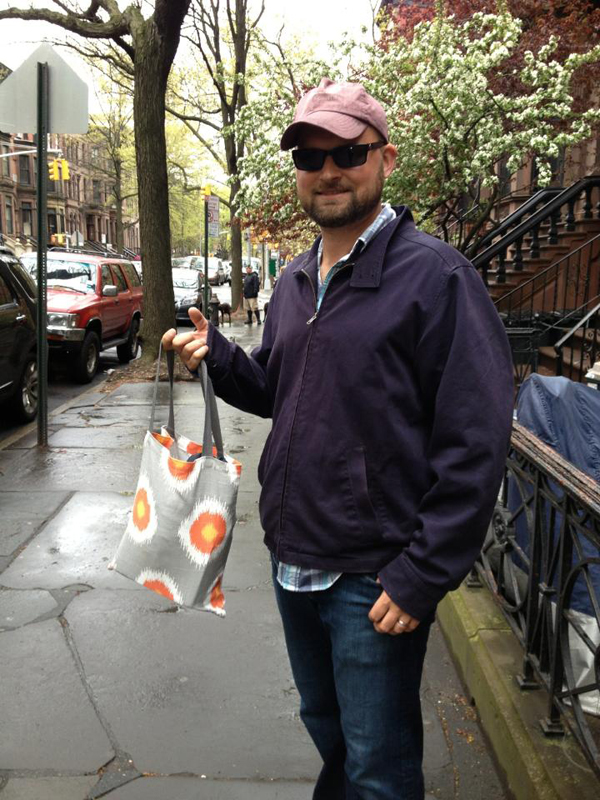

Beautiful models! Who is that metrosexual with a bag!
Yeah, those models are kind of cute Terry! So happy to have had them here this weekend! Won’t get to see them again until Darin and Kathryn’s wedding!
I like my bag & I still use it !! The instructions are very good & Clear. I was going to ask you if you were on Pinterest but then I saw your pin it icon — sew yay !!
Yes, been on Pinterest forever Pam. Love it! Get a lot of great ideas.